Lesson Plan Fine Arts Department Holy Trinity Episcopal Academy
advertisement
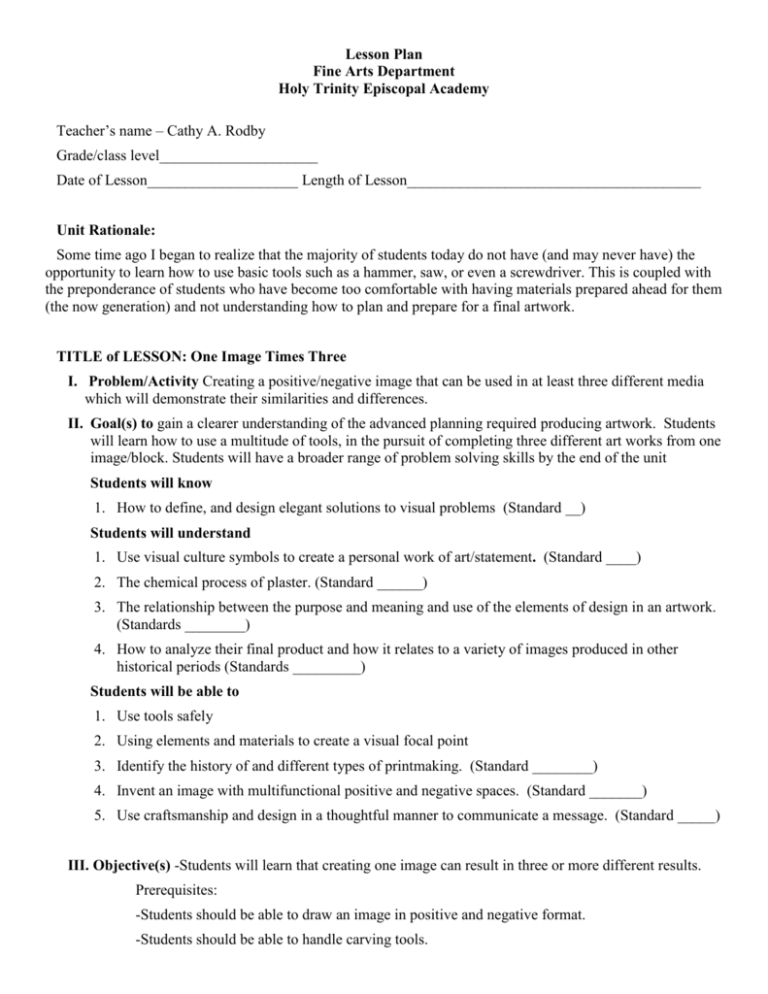
Lesson Plan Fine Arts Department Holy Trinity Episcopal Academy Teacher’s name – Cathy A. Rodby Grade/class level_____________________ Date of Lesson____________________ Length of Lesson_______________________________________ Unit Rationale: Some time ago I began to realize that the majority of students today do not have (and may never have) the opportunity to learn how to use basic tools such as a hammer, saw, or even a screwdriver. This is coupled with the preponderance of students who have become too comfortable with having materials prepared ahead for them (the now generation) and not understanding how to plan and prepare for a final artwork. TITLE of LESSON: One Image Times Three I. Problem/Activity Creating a positive/negative image that can be used in at least three different media which will demonstrate their similarities and differences. II. Goal(s) to gain a clearer understanding of the advanced planning required producing artwork. Students will learn how to use a multitude of tools, in the pursuit of completing three different art works from one image/block. Students will have a broader range of problem solving skills by the end of the unit Students will know 1. How to define, and design elegant solutions to visual problems (Standard __) Students will understand 1. Use visual culture symbols to create a personal work of art/statement. (Standard ____) 2. The chemical process of plaster. (Standard ______) 3. The relationship between the purpose and meaning and use of the elements of design in an artwork. (Standards ________) 4. How to analyze their final product and how it relates to a variety of images produced in other historical periods (Standards _________) Students will be able to 1. Use tools safely 2. Using elements and materials to create a visual focal point 3. Identify the history of and different types of printmaking. (Standard ________) 4. Invent an image with multifunctional positive and negative spaces. (Standard _______) 5. Use craftsmanship and design in a thoughtful manner to communicate a message. (Standard _____) III. Objective(s) -Students will learn that creating one image can result in three or more different results. Prerequisites: -Students should be able to draw an image in positive and negative format. -Students should be able to handle carving tools. IV. Resources and Materials -Computer and Overhead projector Visuals of block prints, paper pulp images, pressed tiles - Wood lath strips (these you will purchase in 10’ lengths and cut to your determined measurement (I use 5 ½”, or 6” x 4” for younger students – larger for older students. Small tack nails approximately 1” long Scrap clay as necessary. -Plaster (one bag should create 30 or so 5 ½” sq. blocks) Saran wrapped boards or Plexiglas or sheet glass Plaster carving tools or various tools that can carve into plaster Table stop to hold plaster block. Large buckets to mix plaster and clean up. Measuring cup Paper towels for clean up Newspaper -Paper pulp Scrap paper or paper linter Immersion blender or high powered blender Buckets for making paper pulp Water Screen or sieve (optional) Towels -Block Printing Brayers Block print paper Inking trays Block printing ink -Clay Rolling pin or slab roller Wood slats (1/2 inch thick) to roll out clay evenly Newspaper Small sponges for smoothing Glazes -Mounting board V. Motivation Topic question and/or discussion of related visuals Show printed, stamped and impressed images. Visualization Question(s) 1. What is positive and negative space in reference to a visual image? How does it differ from 2-D to 3-D? 2. What happens when we put ink on a surface (like our hands) and then press that surface onto paper? 3. How would you make that image three dimensional? VI. Procedures Demonstration / discussion of techniques Distribution of materials Work period Clean-up Closure: Teacher/Student summation VII. Evaluation Artwork Assignments Quizzes/ journaling Rubric and written self assessment Class critique Procedures: Creating the Plaster block: 1. Measure the wood lath and cut with hand saws. One student should hold the wood tightly on the edge of a table with the mark for cutting about an inch or two away. This will keep the wood stable and less likely to “chatter” as it is sawn. NOTE: Saws cut on the down stroke more than the up stroke! 2. Set a nail on either end of a wood piece. Holding the nailed piece tight against another which will now become one side, tap the nail through into the wood. 1. Turn it around and do the other side. Once you have three pieces tacked together, set a nail in either end of the remaining piece and nail in the remaining side. 3. Lay the frame on a very smooth surface (glass, saran wrap, plexi glas, etc. If it does not want to lay perfectly flat to the surface, add a small coil of clay to seal the clay to the surface. This will prevent the plaster from running underneath. 4. Mix the plaster (2 parts plaster to one part water). The plaster is added into the water. Stir gently until all of the lumps are worked out. Do not 2. stir rapidly or beat as you will incorporate air bubbles which can become trapped in the plaster. 5. Pour the plaster quickly into the forms, before it sets (at least 1” to 1 ½”). Your students will notice that the plaster becomes warm to the touch when it is setting. This is where you can talk to the students about the chemical reaction that is happening. 6. Clean up in the bucket of water. Throw the water outside. DO NOT put plaster down the sink drain unless you want to endure a very 2a. unhappy relationship with the maintenance crew! 7. Allow the plaster blocks to set over night before removing the frames. 8. Once the frame is removed, the plaster should set up for about one week before working on it. Moist plaster is fragile and will break easily. 9. While students are working on carving their images in the plaster, the paper pulp should be soaking to soften. Carving the Plaster Block: 1. Use a table stop or carving stop to hold the plaster block in place. Students should never carve toward themselves or others. Review safety rules before beginning! 2. Review block print images with the students. Discuss how deep to carve (no more than ¼”, preferably 1/8”. For younger children, you might give them a pencil with an eraser. The eraser is a good visual for depth. 3. Transfer the image to the plaster block by tracing the image right onto the plaster. Have the students put an “X” in the areas to remove. If they are very careful with markers, they can use a light colored marker to denote the negative areas to remove. 4. If a student removes too much plaster, it is possible to mix more plaster and fill in the area. Sand lightly with very fine sand paper. Making the paper pulp impression: 1. Mix the paper pulp to an even consistency either with a regular or immersion blender. 2. You may use a screen to sieve an even layer of paper pulp from the water. Otherwise, scoop up handfuls of pulp, gently squeezing out most of the water (don’t clump). Press into the plaster block, gently pushing the pulp into all of the crevices and creating an even layer on top of the block. 3. Press firmly with towels to pull up most of the water from the paper pulp. You may be able to pull up the paper form but most likely you will have to let it set up overnight so it doesn’t tear when you pull it up. 4. The paper pulp impression can be colored by rubbing a brush on a pastel stick, then “painting” the paper. Another method is to use watercolor however, this tends to bleed easily. Personally, I prefer leaving them un-colored. Block printing: 1. Using a brayer, roll out an even layer of block printing ink on an inking tray. 2. Roll the inked brayer on the plaster block. 3. Lay a sheet of printing paper on top and rub with the side of your (clean) hand or use a clean wooden spoon to transfer the image. Talk to the students about cleanliness on prints. 4. After the prints are dry, sign the bottom with a number 2 pencil in the proper manner. Clay tile impression: 1. Using the wood strips, roll the clay to ½” thick. Place the clay slab on the plaster block. Use a rolling pin or sponge to press the clay onto the block to pick up the image. 2. Trim and smooth the edges of the clay tile. 3. Remove carefully with as little curling of the clay slab as possible. Dry the tile with a block of wood or wall board on top of it to keep it from curling as it dries. 4. Bisque fire the clay tile. 5. Glaze and glaze fire the clay tile. - An additional idea is to make an extra clay tile of each student’s work. When the clay is leatherhard, build a large container with all of the clay tiles. Mount the paper pulp and printed image together for display. Resources and Visuals Heilbrunn Timeline of Art History (2010), http://www.metmuseum.org/toah/ http://www.artic.edu/sites/default/files/libraries/pubs/1962/AIC1962AmPrint_comb.pdf L: Arthur Deshaies Cycle of a Large Sea: Unbeing Myself 1961 Plaster relief engraving 54” x 36 ¾” Brooklyn Museum Ross, J. & Romano, C. The Complete New Techniques in Printmaking, p. 16 The Free Press, 1974 A.Frasconi, Miscellaneous plaster print images Ross, J. & Romano, C. The Complete New Techniques in Printmaking, p 17 The Free Press, 1974 Patrick Longworth The Raven 2005, Plaster relief print 12” x 12” Lindsay Rowland Fish On 2005 Plaster relief print 12” x 12”
![First Aid Training : Bronze [Power Point]](http://s2.studylib.net/store/data/005424634_1-e0b0e5e602f7c1666ebc2e9ff3f4a1b5-300x300.png)
