Atmospheric Temperature Inversions and Urban Air Pollution
advertisement
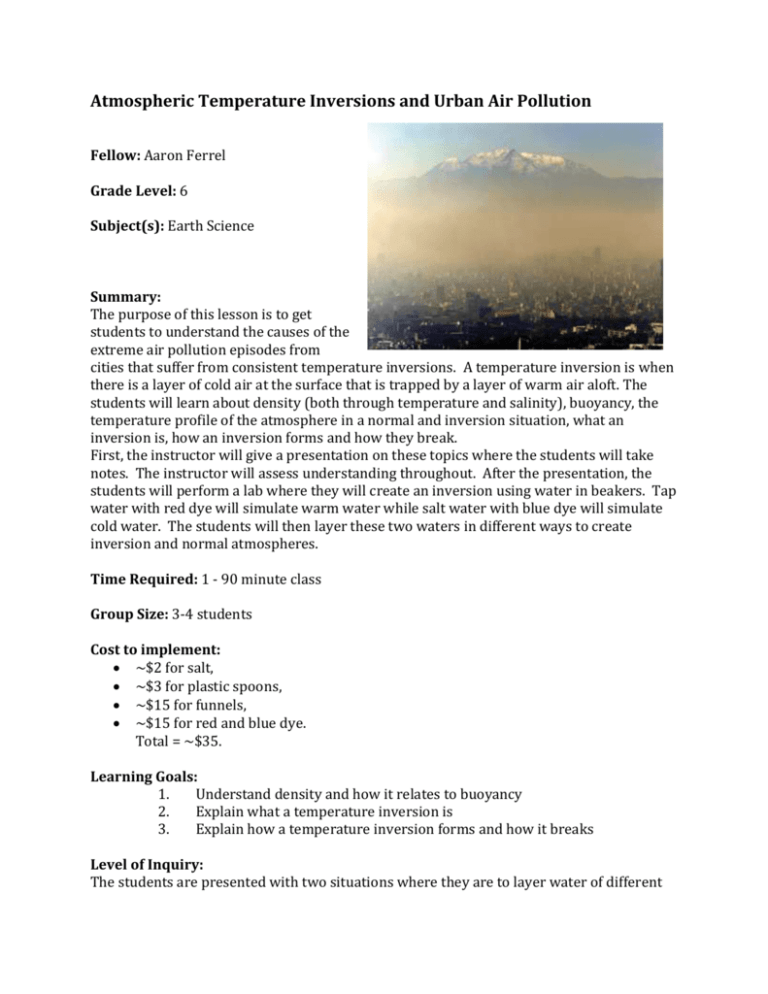
Atmospheric Temperature Inversions and Urban Air Pollution Fellow: Aaron Ferrel Grade Level: 6 Subject(s): Earth Science Summary: The purpose of this lesson is to get students to understand the causes of the extreme air pollution episodes from cities that suffer from consistent temperature inversions. A temperature inversion is when there is a layer of cold air at the surface that is trapped by a layer of warm air aloft. The students will learn about density (both through temperature and salinity), buoyancy, the temperature profile of the atmosphere in a normal and inversion situation, what an inversion is, how an inversion forms and how they break. First, the instructor will give a presentation on these topics where the students will take notes. The instructor will assess understanding throughout. After the presentation, the students will perform a lab where they will create an inversion using water in beakers. Tap water with red dye will simulate warm water while salt water with blue dye will simulate cold water. The students will then layer these two waters in different ways to create inversion and normal atmospheres. Time Required: 1 - 90 minute class Group Size: 3-4 students Cost to implement: ~$2 for salt, ~$3 for plastic spoons, ~$15 for funnels, ~$15 for red and blue dye. Total = ~$35. Learning Goals: 1. Understand density and how it relates to buoyancy 2. Explain what a temperature inversion is 3. Explain how a temperature inversion forms and how it breaks Level of Inquiry: The students are presented with two situations where they are to layer water of different densities on top of each other. Specifically, they will hypothesize what happens when less dense water is placed on top of denser water, and when denser water is placed on top of less dense water. Introduction / Motivation: First, to get their attention, the instructor will show pictures of cities (Ex: Los Angeles, Mexico City, Santiago, Denver, etc) with extreme pollution episodes where an inversion can clearly be seen. In these cities, there are generally two distinct layers: a surface brown, hazy layer and a layer above with clean, blue skies. If possible, include pictures of the city or location that the students live in or nearby. Also, there are rural areas with this same problem (ex: Central Valley in California). Then it is necessary to explain density and how it relates to buoyancy (ex: hot fluids rise), and the temperature profile in the atmosphere (ex: normally in the troposphere you get cooler with height). Lesson Background Concepts for Teachers: The basic concepts behind the lesson are that warm fluids are less dense and tend to rise, whereas cold fluids are denser and tend to sink. Normally in the troposphere, the surface is the warmest and it gets colder with height. This means that air is always less dense then air above it, therefore air naturally wants to rise and mix. Pollution can be spread out throughout the entire troposphere. In an inversion, there is a surface layer of cold air, which is dense and wants to sink. Therefore, the cold surface layer cannot rise and mix with the rest of the troposphere, trapping air and consequently pollution near the surface. As a result, pollution levels are highly elevated during temperature inversions. During the lab session, the students combine water with salt to simulate cold air. When you put a layer of salt, blue water at the bottom of the beaker, two layers form- a blue and clear layer. Then, if you put red dye at the top of the water, it sinks but stops sinking at the interface of the blue and clear waters. This shows that during an inversion, air (water) from the two layers cannot mix, so any pollution at the surface will be trapped. Procedure: 1. Label the two 250mL beakers as “Normal” and “Inversion” NORMAL BEAKER INSTRUCTIONS 1. Measure 100 mL of water in “Normal beaker” beaker and stir in one teaspoon of salt until salt is completely dissolved. This simulates cold air. 2. Measure 100 mL of water in the 150mL beaker. Put three drops of red dye in the beaker and stir. This simulates warm air. 3. Carefully insert the tubing into the “Normal” beaker so the tubing touches the bottom of the beaker. 4. Place one end of the beaker over the funnel and tilt slightly until water begins to pour. Pour slowly and carefully, avoiding bubbles. If bubbles arise, pour slower. Remove funnel carefully. INVERSION BEAKER INSTRUCTIONS 1. Measure 100 mL of water “Inversion” beaker. This simulates warm air. 2. Measure 100 mL of water in the 150 mL beaker and stir in one teaspoon of salt until salt is completely dissolved. Put three drops of blue dye with the plastic dropper. This simulates cold air. 3. Carefully insert the tubing into the “Inversion” beaker so the tubing touches the bottom of the beaker. 4. Place one end of the beaker over the funnel and tilt slightly until water begins to pour. Pour slowly and carefully, avoiding bubbles. If bubbles arise, pour slower. 5. After all water is poured, students will record observations. 6. Put red dye in a plastic dropper. Put the opening of the dropper at the water surface of the beaker labeled “Inversion” and insert three drops. 7. Students will record observations. 8. Students will answer lab questions, and participate in lab group discussion Materials List Each group will need: (2) 250 ml beakers (1) 150 ml beaker Spoon Funnel Plastic tubing Marker Plastic Dropper To share with the entire class: Water Salt Red Dye Blue Dye Lesson Closure: If some students finish early, there are questions to be answered at the end of the lab. These questions involve, drawing the inversion beaker and labeling what represents the warm and cold air. Also, there are questions about why an inversion makes pollution worse, and what suggestions the student has for making pollution better. Assessment: Pre-Activity Assessment: The density was review for my students, so the density portion of the lecture is how I assessed the students’ prior knowledge. I also had to ask if they could define and give sources of pollution. I would provide answers if needed. Activity Embedded Assessment: After the density lecture, I had representative fluids with different densities and asked which would sink or rise. During the rest of the lecture I had them take notes on drawings I already printed out for them. I walked around during to check on their progress. During the lab I walked around to make sure they were on task but also to ask questions about the lab to see if they were making connections. Post-Activity Assessment: I walked around as they were answering the questions and checked their answers and understanding. References: I got the idea of inversions using water in beakers from http://www.stevespanglerscience.com/experiment/denvers-brown-cloud Attachments: Inversion_Worksheet.docx Inversion_Presentation.pptx List CA Science Standards addressed: 3c. Students know heat flows in solids by conduction (which involves no flow of matter) and in fluids by conduction and by convection (which involves flow of matter). 4e. Students know differences in pressure, heat, air movement, and humidity result in changes of weather.
