Snow Globe
advertisement
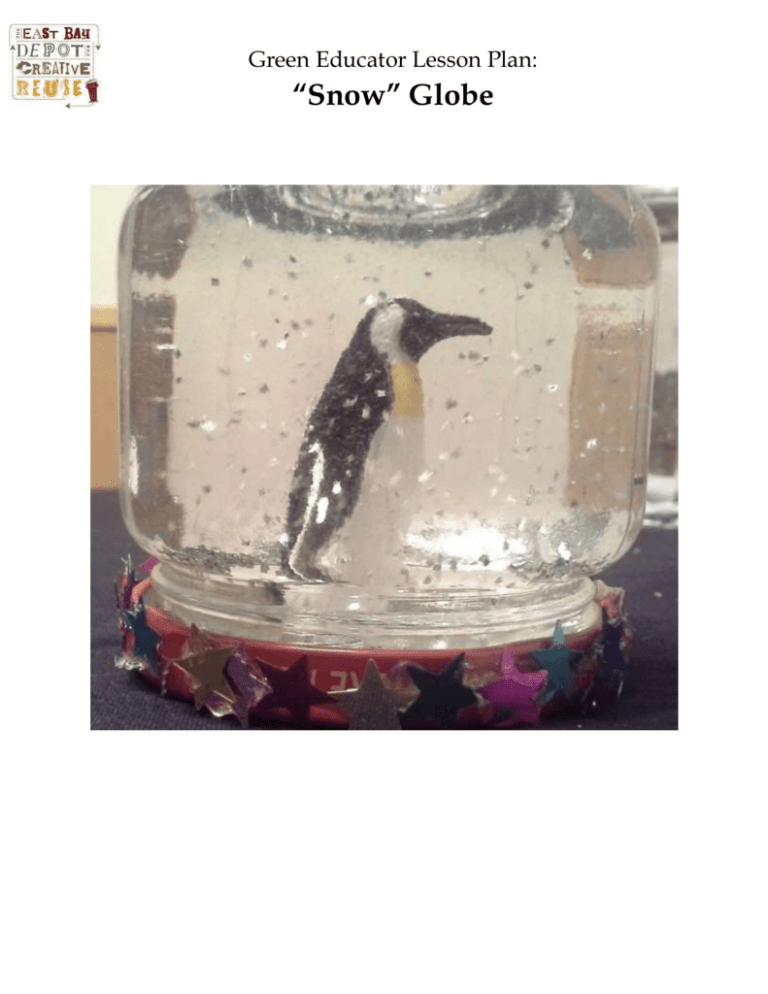
Green Educator Lesson Plan: “Snow” Globe Green Educator Lesson Plan: “Snow” Globe Time: Age Level: Supervision required: 30 minutes 5 and up Yes, for gluing. Also be sure to warn students about breakability of glass jars. Can be used in conjunction with curricula about: Art, Reuse Materials (per student) Used Jar (depending upon the age of students consider using baby food jars for small hands or plastic jars for children under 5) Sink or basin Old credit card/library card/ for removing jar labels Strong waterproof glue (superglue or hot glue guns work well) Glitter ½ cup corn syrup ½ cup water Plastic or ceramic figurines, small enough to fit in jar. Before you start: Have your students bring in jars from home ideally with the labels already removed. Students can also bring in small toys that they don’t play with anymore and old library cards/ school IDs that are made of stiff plastic. Green Educator Lesson Plan: “Snow” Globe Instructions: 1. Have students select a jar. If the labels are not removed, fill up a basin with warm water and take turns soaking jars in the water for about 3-5 minutes. Once the label is soggy, use the plastic card to scrape away the glue. 2. Have students select a figurine for their snow globe. Be sure to let them know that the figurine with stay in the jar and they cannot take it out again. 3. Open the jar and put the lid upside down on the table. 4. Put a generous dab of glue on the inside of the jar lid and carefully place the figurine on. If there is room you can create a small scene with two or three pieces. 5. Allow the glue to set. 6. Have the students fill their jars half way with water. 7. Let the students add a pinch or two of glitter to the water. It is fun to provide a few colors of glitter to choose from. You can also add a few shiny sequins or stars. 8. Then, fill the rest of the jar almost to the top with corn syrup. The syrup is denser than the water so it helps the glitter float. 9. Before putting the lid back on, add a dab of glue on the lip of the jar. When the lid is screwed on, the glue will spread. 10. Screw the lid on the jar extra tight. Be sure to tell your students that they cannot open the jar again. Green Educator Lesson Plan: “Snow” Globe 11. Take this opportunity to warn the students about being careful with their snow globes because glass can break. 12. Tip the jar right side up and watch the figurine suspended upside down. Then, shake the jar and place it on the table with the lid down and watch the glitter snow. Extra Credit: Send pictures of your snow globes to: greenteachers@creativereuse.org Share this tutorial with the parents and other teachers
