JHG Generic Y2H Screen Protocols
advertisement
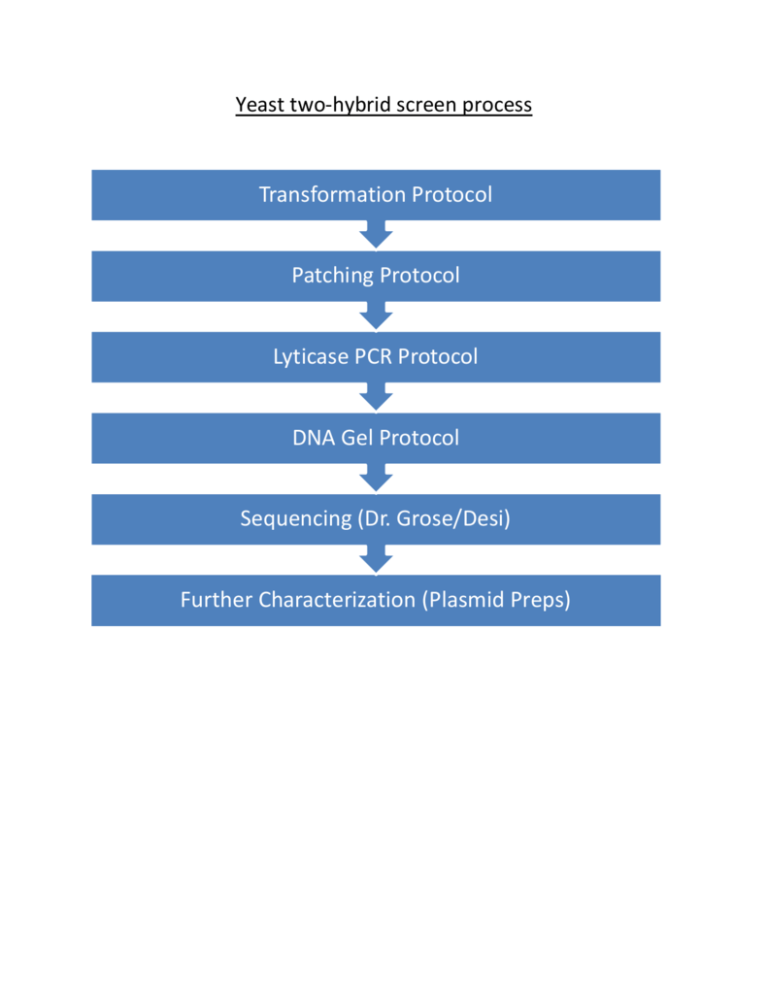
Yeast two-hybrid screen process Transformation Protocol Patching Protocol Lyticase PCR Protocol DNA Gel Protocol Sequencing (Dr. Grose/Desi) Further Characterization (Plasmid Preps) Both Bait and Prey library must be moved into the same yeast by either mating or by Transfromation. Y2H Transformation Protocol (60x screen) Before starting make sure: a) Plate of BaitPlasmid-Y2H Gold is freshly streaked (<1 month in fridge) b) 300 mls of 2X YPAD has been made and placed in 30˚ shaker to check for contamination c) Enough plates have been poured (SD –leu –trp –his –ade) Steps: 1. Pick colony from BaitPlasmid-Y2H Gold plate and inoculate into a tube of 6 mls SD –trp. Grow overnight in the 30˚C incubator. 2. Add 5 mls of the overnight to 300 mls 2X YPAD. Grow in 30˚C shaker until OD600= 0.51.0. Record OD600 at harvest. *Make sure that the leftover 1 ml of overnight settles and that your control isn’t contaminated 3. Spin down culture in two 50 ml blue cap tubes (program 1 on centrifuge). Wash 2x with ddH20 (~40 mls each). Remove ddH20. 4. Mix together in 2 separate eppendorfs: a. 1.2 ml ssDNA b. 40 uL library Record which library you use. 5. Add ssDNA and library to the blue cap tubes containing the yeast cells 6. Then to each blue cap tube add: a. 14.4 ml 50% PEG b. 2.16 ml 1M LiAc (10x stock) c. 1.8 ml ddH20 7. Vortex tubes 8. Incubate at 42˚C for 45 min., vortexing every 5 min. 9. Spin down cells (program 1 on centrifuge) and remove liquid 10. Re-suspend pellet in SD –leu –trp (4.8 ml/tube) 11. Leave at 30˚C until ready to plate 12. Make two 1/10 dilutions and plate to SD –leu –trp 13. Plate the rest to appropriate plates (SD –leu –trp –his –ade) 14. Incubate plates at 30˚C for ~4 days 15. Once plates have grown up, record # of transformants from the SD –leu –trp dilution plates Y2H Patching Protocol Before starting make sure: a) Have plates to patch on (SD –leu –trp –his –ade + α-Xgal) b) Have autoclaved toothpicks Steps: 1. Make sure to use sterile technique and have a flame on. 2. With a sterile toothpick, pick colony from transformation plate (SD –leu –trp –his –ade) and patch to SD –leu –trp –his –ade + αX-gal plate. 3. Incubate at 30˚C for ~2 days or until colonies have grown up 4. Number each colony that grows up blue and record these as # of putative interactors. 5. Record Strength of interactions. His3 (Histidine biosynthesis) Ade2 (Adenine biosynthesis) Aur-C (Auerobasidin antibiotic) Mel1 (like β-galactosidase) The yeast two-hybrid Gold system (Clonetech) Lyticase PCR Protocol Things to remember for these protocols: a) After using the lyticase make sure to put it back in the freezer! b) Keep PCR reactions on ice c) Make sure to keep TAQ polymerase cold in freezer box and only get it out right before you add it to the mix. d) Use sterile technique! Lyticase Steps: 1. Combine in a labeled PCR tube: a. 10 uL 0.5 M Tris-HCl (get a stock from Dr. Grose) b. 5 uL lyticase 2. Use a pipet tip to gently grab some of a colony off of the patch plate and swish into the solution. *You should pull enough yeast off of the plate to make a turbid solution. 3. Vortex 4. Incubate at 37˚C with shaking for 30 minutes 5. Boil at 98˚C in the PCR machine for 5 minutes 6. Aliquot 2 uL for PCR reaction and immediately freeze at -20˚C or use immediately in PCR reaction. PULL FROM THE TOP TO GET THE 2 uL FOR PCR. TRY NOT TO GET TOO MUCH CELL DEBRIS. PCR Steps: 1. Make enough master mix for the # of lyticase samples plus a control. Master Mix (for 1 sample): a. 18 uL ddH20 b. 2.5 uL Thermo Pol Buffer c. 0.75 uL 10mM dNTPs d. 0.75 uL each primer (forward and reverse) *Mix together then add, e. 0.3 uL TAQ polymerase 2. Aliquot 23 uL of master mix into labeled PCR tubes (including a control) 3. Then add 2 uL of lyticase sample to PCR tube 4. Make sure that PCR tube lids are closed tightly so evaporation doesn’t occur 5. Run on TAQ PCR program in Thermo Cycler 6. Place PCRs in -20˚C freezer until ready to run them on a gel DNA Gel Protocol Steps: 1. 2. 3. 4. 5. 6. 7. Make a regular agarose gel according to protocol taped above the gel bench Add 1 uL of 10X orange dye to 10 uL of PCR sample Load 6 uL ladder and samples to gel Run gel, image it under the UV light, and take a picture Print off picture, label the sample numbers and tape in notebook. Record band sizes of PCRs that worked Place PCRs that worked into Desi’s “Ready for Sequencing (Lyticased PCRs) PAS KINASE SCREEN” box in the freezer 8. Repeat PCR on samples that didn’t work

