Standization of NaOH lab
advertisement
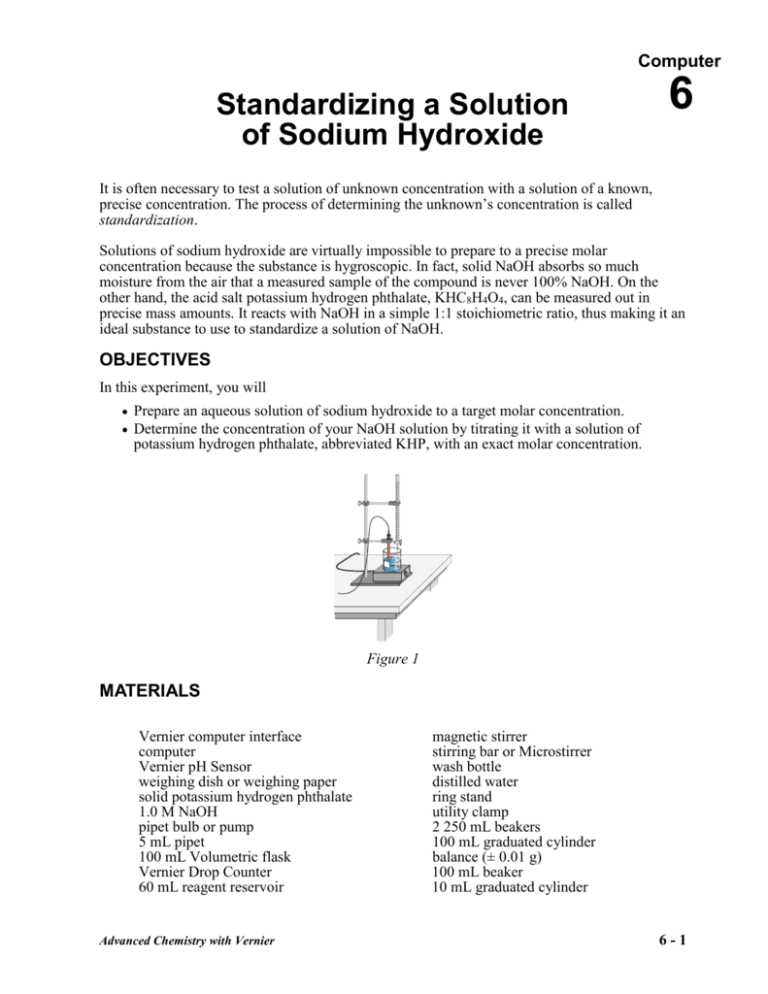
Computer Standardizing a Solution of Sodium Hydroxide 6 It is often necessary to test a solution of unknown concentration with a solution of a known, precise concentration. The process of determining the unknown’s concentration is called standardization. Solutions of sodium hydroxide are virtually impossible to prepare to a precise molar concentration because the substance is hygroscopic. In fact, solid NaOH absorbs so much moisture from the air that a measured sample of the compound is never 100% NaOH. On the other hand, the acid salt potassium hydrogen phthalate, KHC8H4O4, can be measured out in precise mass amounts. It reacts with NaOH in a simple 1:1 stoichiometric ratio, thus making it an ideal substance to use to standardize a solution of NaOH. OBJECTIVES In this experiment, you will Prepare an aqueous solution of sodium hydroxide to a target molar concentration. Determine the concentration of your NaOH solution by titrating it with a solution of potassium hydrogen phthalate, abbreviated KHP, with an exact molar concentration. Figure 1 MATERIALS Vernier computer interface computer Vernier pH Sensor weighing dish or weighing paper solid potassium hydrogen phthalate 1.0 M NaOH pipet bulb or pump 5 mL pipet 100 mL Volumetric flask Vernier Drop Counter 60 mL reagent reservoir Advanced Chemistry with Vernier magnetic stirrer stirring bar or Microstirrer wash bottle distilled water ring stand utility clamp 2 250 mL beakers 100 mL graduated cylinder balance (± 0.01 g) 100 mL beaker 10 mL graduated cylinder 6-1 Computer 6 PRE-LAB EXERCISE 1. Create a table of reagents 2. Write a purpose for this lab 3. Calculate the volume of 1.0 M sodium hydroxide needed to prepare 100 mL of a 0.10 M solution. 4. Calculate the mass of KHP needed to react completely with 25 mL of a 0.10 M NaOH solution. Consider the reaction equation to be as shown below. HP– (aq) + OH– (aq) → H2O(l) + P2– (aq) Procedure 1. Obtain and wear goggles. 2. Measure out the volume of 1.0 M NaOH needed to prepare 100 mL of a 0.10 M solution and add it to the 100 mL volumetric flask. Dilute with distilled water to 100 mL. CAUTION: Sodium hydroxide solution is caustic. Avoid spilling it on your skin or clothing. 3. Connect the pH Sensor to CH 1 of the Vernier computer interface. Lower the Drop Counter onto a ring stand and connect its cable to DIG/SONIC 1 of the interface (see Figure 2). Figure 2 4. Start the Logger Pro program on your computer. Open the file “06b NaOH(Drop)” from the Advanced Chemistry with Computers folder. 5. Measure out the mass of KHP that will completely neutralize 10 mL of 0.10 M NaOH solution. Dissolve the KHP in about 40 mL of distilled water in a 100 mL beaker. 6-2 Advanced Chemistry with Vernier Standardizing a Solution of Sodium Hydroxide 6. Obtain the plastic 60 mL reagent reservoir. Close both valves by turning the handles to a horizontal position. Follow the steps below to set up the reagent reservoir for the titration. a. Rinse the reagent reservoir with a few mL of the 0.10 M NaOH solution and pour the NaOH into an empty 250 mL beaker. b.Use a utility clamp to attach the reservoir to the ring stand. c. Fill the reagent reservoir with slightly more than 60 mL of the 0.10 M NaOH solution. d.Place the 250 mL beaker, which contains the rinse NaOH, beneath the tip of the reservoir. e. Drain a small amount of NaOH solution into the 250 mL beaker so it fills the reservoir’s tip. To do this, turn both valve handles to the vertical position for a moment, then turn them both back to horizontal. f. Discard the drained NaOH solution in the 250 mL beaker as directed. 7. Calibrate the drops that will be delivered from the reagent reservoir. To perform a new calibration, select the Automatic button, and continue with this step. a. Place a 10 mL graduated cylinder directly below the slot on the Drop Counter, lining it up with the tip of the reagent reservoir. b. Open the bottom valve on the reagent reservoir (vertical). Keep the top valve closed. c. Click the Start button on the dialog box. d. Slowly open the top valve of the reagent reservoir so that drops are released at a slow rate (~1 drop every two seconds). You should see the drops being counted on the computer screen. e. When the volume of NaOH solution in the graduated cylinder is between 9 and 10 mL, close the bottom valve of the reagent reservoir. f. Enter the precise volume of NaOH in the edit box. Record the number of Drops / mL displayed on the screen for possible future use. g. Click . Discard the NaOH solution in the graduated cylinder as directed, and set the graduated cylinder aside. 8. Assemble the apparatus. a. Place the magnetic stirrer on the base of the ring stand. b. Insert the pH Sensor through the large hole in the Drop Counter. c. Attach the Microstirrer to the bottom of the pH Sensor. Rotate the paddle wheel of the Microstirrer, and make sure that it does not touch the bulb of the pH Sensor. d. Adjust the positions of the Drop Counter and reagent reservoir so they are both lined up with the center of the magnetic stirrer. e. Lift up the pH Sensor, and slide the 100 mL beaker containing the KHP solution onto the magnetic stirrer. Lower the pH Sensor into the beaker. f. Adjust the position of the Drop Counter so that the Microstirrer on the pH Sensor is just touching the bottom of the beaker. Make certain the bulb on the pH sensor is completely covered by the solution. g. Adjust the reagent reservoir so its tip is just above the Drop Counter slot. 9. Turn on the magnetic stirrer so that the Microstirrer is stirring at a fast rate. 10. You are now ready to begin collecting data. Click . No data will be collected until the first drop goes through the Drop Counter slot. Fully open the bottom valve. The top valve should still be adjusted so drops are released at a rate of about 1 drop every 2 Advanced Chemistry with Vernier 6-3 Computer 6 seconds. When the first drop passes through the Drop Counter slot, check the data table to see that the first data pair was recorded. 11. Continue watching your graph to see when a large increase in pH takes place—this will be the equivalence point of the reaction. When this jump in pH occurs, let the titration proceed for about 3 more milliliters of NaOH solution, then click . Turn the bottom valve of the reagent reservoir to a closed (horizontal) position. 12. Dispose of the reaction mixture as directed. 13. Follow the steps below to find the equivalence point, which is the largest increase in pH upon the addition of a very small amount of NaOH solution. A good method of determining the precise equivalence point of the titration is to take the second derivative of the pH-volume data, a plot of 2pH/vol2. a. View a plot of the second derivative on Page 3 by clicking on the Next Page button, b. Analyze the second derivative plot. Record the volume of NaOH at the equivalence point. . 14. Return to the original titration graph. Print a copy of the graph and the data set. If you wish to save the results of the first titration, click on Store Latest Run in the Experiment menu. 15. Repeat the titration with a second KHP solution. Analyze the titration results in a manner similar to your first trial and record the equivalence point. DATA TABLE Trial Equivalence point (mL) 1 2 DATA ANALYSIS 1. Calculate the molar amount of KHP used to neutralize the NaOH solution. Calculate the molar concentration of the NaOH solution that you prepared, and the concentration of the original “1 M” NaOH solution. 6-4 Advanced Chemistry with Vernier
