David_3275_PickleDissection
advertisement
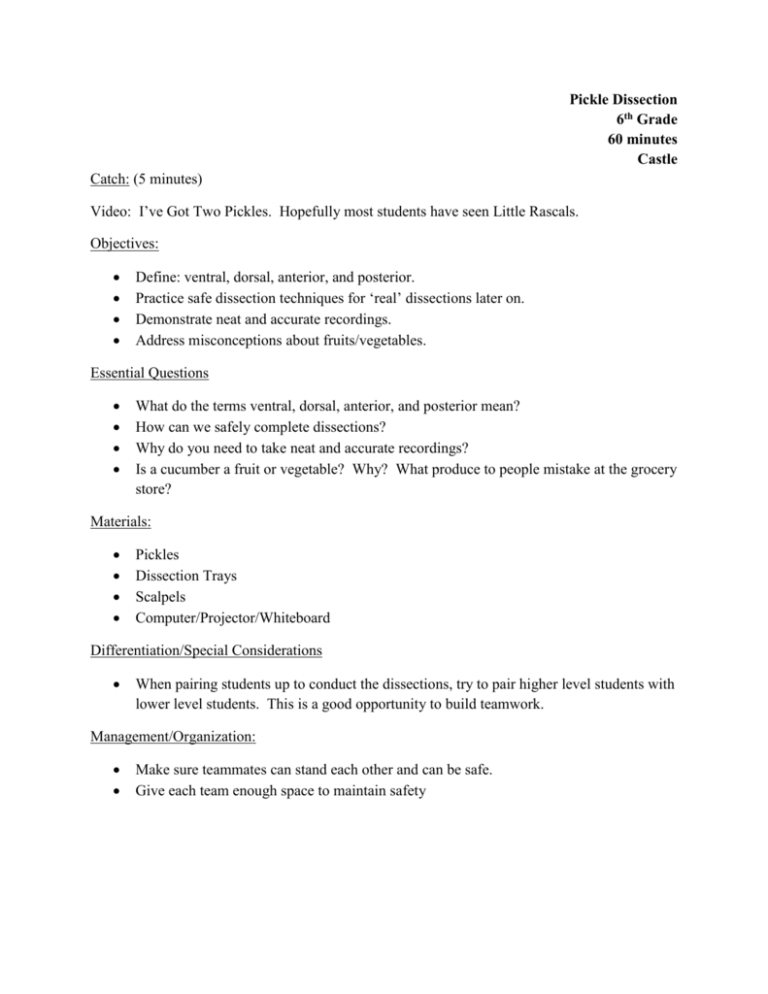
Pickle Dissection 6th Grade 60 minutes Castle Catch: (5 minutes) Video: I’ve Got Two Pickles. Hopefully most students have seen Little Rascals. Objectives: Define: ventral, dorsal, anterior, and posterior. Practice safe dissection techniques for ‘real’ dissections later on. Demonstrate neat and accurate recordings. Address misconceptions about fruits/vegetables. Essential Questions What do the terms ventral, dorsal, anterior, and posterior mean? How can we safely complete dissections? Why do you need to take neat and accurate recordings? Is a cucumber a fruit or vegetable? Why? What produce to people mistake at the grocery store? Materials: Pickles Dissection Trays Scalpels Computer/Projector/Whiteboard Differentiation/Special Considerations When pairing students up to conduct the dissections, try to pair higher level students with lower level students. This is a good opportunity to build teamwork. Management/Organization: Make sure teammates can stand each other and can be safe. Give each team enough space to maintain safety Procedure/Agenda: (40 minutes) 1. Introduce the Pickle Monster (10 minutes) a. Draw a pickle on the board i. Draw its head on one end, a tail at the other, a dorsal fin on top, and a belly on the bottom. ii. Talk through where each is located. 1. Dorsal = back/top. Ventral = belly. Anterior = head end. Posterior = butt end. b. Hand out worksheet i. Introduce dissection tools/safety. ii. Go through instructions verbally and on the handout so everyone’s on the same page. iii. Be clear that they can answer the Assessment questions as they go. We’ll review them before they turn them in. c. Have one student from each group grab a pickle; the other will get a dissection tray, a scalpel and a probe/poker. 2. Complete Dissections and Worksheet (20 minutes) a. Formative Assessment – be involved in their dissections and ask questions b. Clean up when done with pickles 3. PowerPoint on Fruits/Vegetables – attached (10 minutes) a. Address misconceptions about fruits and vegetables. Assessment/Review: (last 10-15 minutes) The PowerPoint should help students answer the last question on the worksheet. Go through worksheets aloud – they reflect the essential questions. o It’s fine if students “steal” other people’s answers. It’s important that they understand the material. Students turn the worksheets in at the end of class – summative assessment. Name: __________________ Pickle Dissection Worksheet Procedure: (Read ALL Directions Carefully) 1. Look at your pickle, notice the shape and texture. 2. Make a detailed sketch of your pickle and label its regions in Figure 1 (next page). 3. With your scalpel, cut your pickle in half LONG WAYS (hot dog style) from anterior to posterior. 4. Sketch your dissected pickle in Figure 2 (next page) 5. Clean up. Rinse scalpels and dissection trays. Throw away pickles. DO NOT EAT THE PICKLES YOU DISSECTED!!! Hopefully there will be some extras after class you can eat. 6. Complete Review Questions if you haven’t finished them (last page) Figure 1: Sketch of Pickle Label: dorsal, ventral, anterior, and posterior Figure 2: Sketch of Dissected Pickle Label: Skin, flesh, and seeds. Reflection Questions 1. When using a scalpel, what are some safety procedures you should keep in mind? List 3. 2. Why do you need to take neat and accurate recordings/sketches? 4. Where on an animal would you find the dorsal, ventral, anterior, and posterior regions? Dorsal: Ventral: Anterior: Posterior: 5. Is a pickle a fruit or a vegetable? Why? What fruits/vegetables might people mistake at the grocery store?
