Amgen Bruce Wallace Biotechnology Program PTC PCR Protocol
advertisement
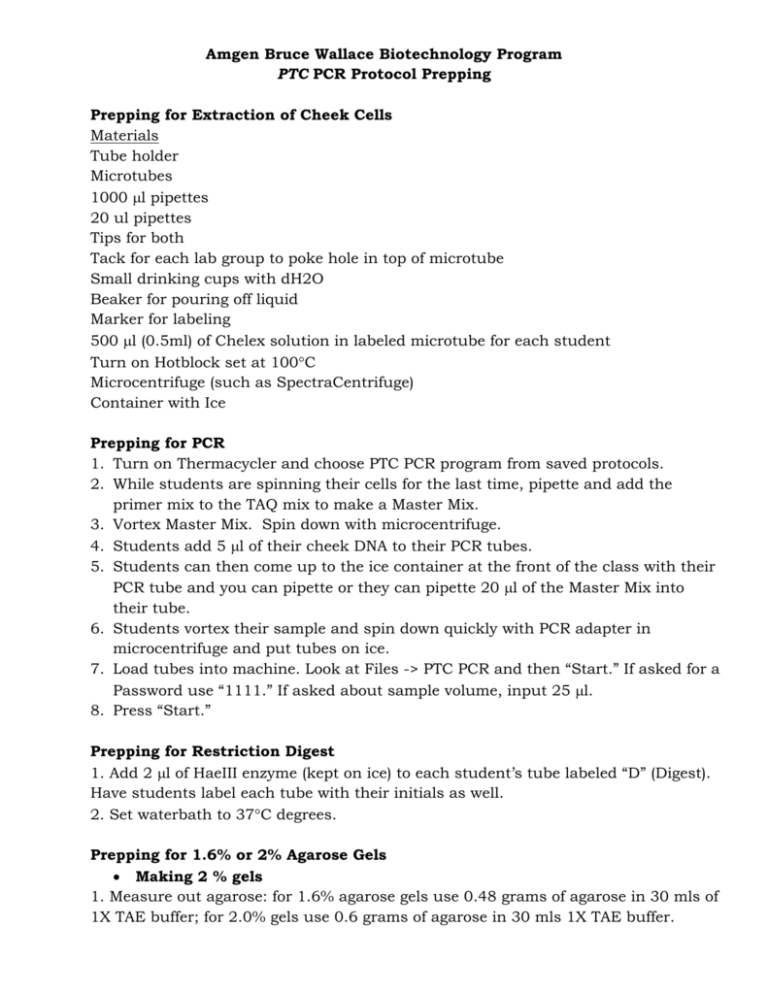
Amgen Bruce Wallace Biotechnology Program PTC PCR Protocol Prepping Prepping for Extraction of Cheek Cells Materials Tube holder Microtubes 1000 l pipettes 20 ul pipettes Tips for both Tack for each lab group to poke hole in top of microtube Small drinking cups with dH2O Beaker for pouring off liquid Marker for labeling 500 l (0.5ml) of Chelex solution in labeled microtube for each student Turn on Hotblock set at 100C Microcentrifuge (such as SpectraCentrifuge) Container with Ice Prepping for PCR 1. Turn on Thermacycler and choose PTC PCR program from saved protocols. 2. While students are spinning their cells for the last time, pipette and add the primer mix to the TAQ mix to make a Master Mix. 3. Vortex Master Mix. Spin down with microcentrifuge. 4. Students add 5 l of their cheek DNA to their PCR tubes. 5. Students can then come up to the ice container at the front of the class with their PCR tube and you can pipette or they can pipette 20 l of the Master Mix into their tube. 6. Students vortex their sample and spin down quickly with PCR adapter in microcentrifuge and put tubes on ice. 7. Load tubes into machine. Look at Files -> PTC PCR and then “Start.” If asked for a Password use “1111.” If asked about sample volume, input 25 l. 8. Press “Start.” Prepping for Restriction Digest 1. Add 2 l of HaeIII enzyme (kept on ice) to each student’s tube labeled “D” (Digest). Have students label each tube with their initials as well. 2. Set waterbath to 37C degrees. Prepping for 1.6% or 2% Agarose Gels Making 2 % gels 1. Measure out agarose: for 1.6% agarose gels use 0.48 grams of agarose in 30 mls of 1X TAE buffer; for 2.0% gels use 0.6 grams of agarose in 30 mls 1X TAE buffer. 2. ALWAYS make at least 2 gels when preparing 2% gels. When using the microwave to melt the agarose in the 1X TAE buffer, be sure to keep an eye on the boiling liquid as the buffer in these solutions can evaporate quickly. You want to completely dissolve the agarose but not allow the solution to boil too much. 3. Once the container of melted agarose is cool to the touch and ready to pour, add your Gel Red or Gel Green dye using 1 l of dye per 10 mls of agarose. 4. Swirl the solution to mix and then slowly pour into the gel trays. 5. Let gels set for 15 minutes. 1. 2. 3. 4. 5. 6. Day of Gel Running Add 1X TAE to gel boxes. Slide in the gel and gel tray into the gel box with the wells of the gel closest to the power box side of the aparratus. Load 10 l of PCR Marker (also called “Ladder” or 100 bp marker) in lane A. As students come up to load their samples, give them a lane assignment; i.e., the first student would load in lane B, the second in lane C, etc. Run gels at 75 V for 35 – 40 minutes. Take pictures of gels, label each well with A->X, and photocopy pictures for each student. PCR Protocol 1) 95 degrees for 1:00 2) 95 degrees for :30 3) 68 degrees for :30 4) 68 degrees for :30 5) 40x 2-4 6) 4 degrees for infinity

