classificationlabb
advertisement
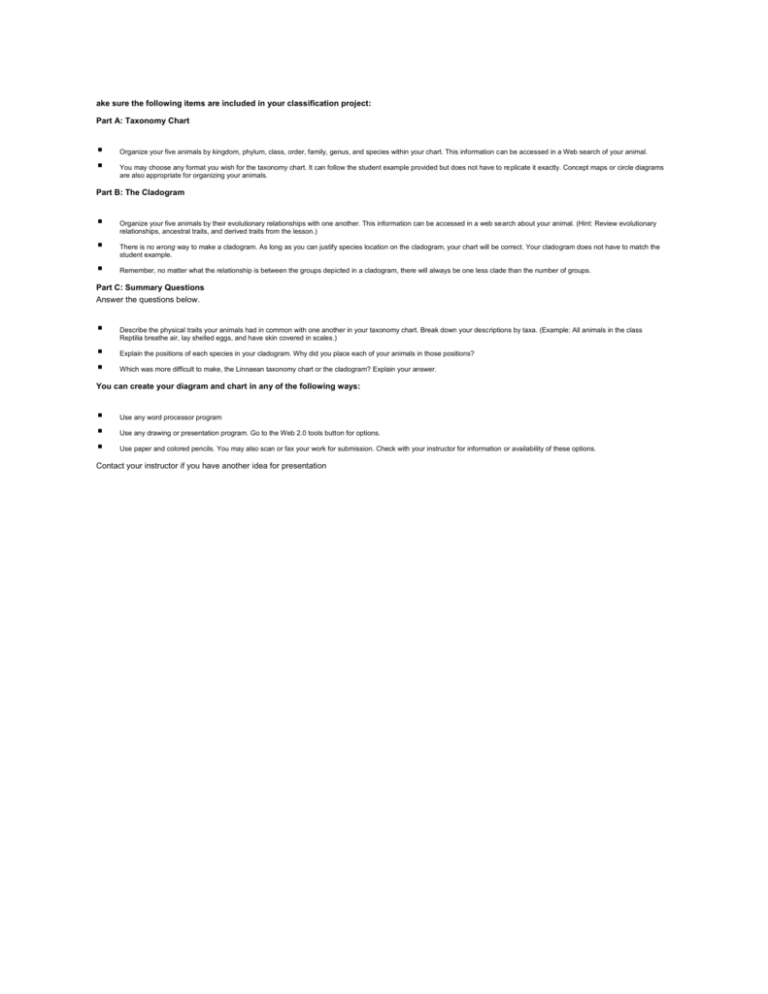
ake sure the following items are included in your classification project: Part A: Taxonomy Chart Organize your five animals by kingdom, phylum, class, order, family, genus, and species within your chart. This information can be accessed in a Web search of your animal. You may choose any format you wish for the taxonomy chart. It can follow the student example provided but does not have to replicate it exactly. Concept maps or circle diagrams are also appropriate for organizing your animals. Part B: The Cladogram Organize your five animals by their evolutionary relationships with one another. This information can be accessed in a web search about your animal. (Hint: Review evolutionary relationships, ancestral traits, and derived traits from the lesson.) There is no wrong way to make a cladogram. As long as you can justify species location on the cladogram, your chart will be correct. Your cladogram does not have to match the student example. Remember, no matter what the relationship is between the groups depicted in a cladogram, there will always be one less clade than the number of groups. Part C: Summary Questions Answer the questions below. Describe the physical traits your animals had in common with one another in your taxonomy chart. Break down your descriptions by taxa. (Example: All animals in the class Reptilia breathe air, lay shelled eggs, and have skin covered in scales.) Explain the positions of each species in your cladogram. Why did you place each of your animals in those positions? Which was more difficult to make, the Linnaean taxonomy chart or the cladogram? Explain your answer. You can create your diagram and chart in any of the following ways: Use any word processor program Use any drawing or presentation program. Go to the Web 2.0 tools button for options. Use paper and colored pencils. You may also scan or fax your work for submission. Check with your instructor for information or availability of these options. Contact your instructor if you have another idea for presentation
