H2O Teacher Guide
advertisement
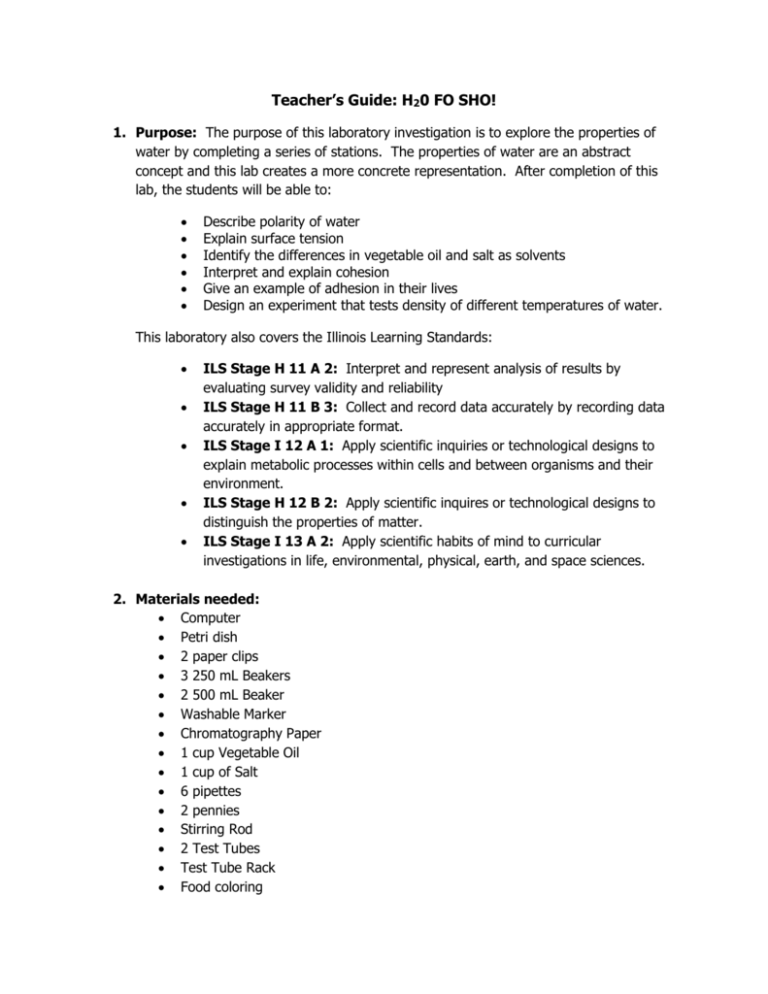
Teacher’s Guide: H20 FO SHO! 1. Purpose: The purpose of this laboratory investigation is to explore the properties of water by completing a series of stations. The properties of water are an abstract concept and this lab creates a more concrete representation. After completion of this lab, the students will be able to: Describe polarity of water Explain surface tension Identify the differences in vegetable oil and salt as solvents Interpret and explain cohesion Give an example of adhesion in their lives Design an experiment that tests density of different temperatures of water. This laboratory also covers the Illinois Learning Standards: ILS Stage H 11 A 2: Interpret and represent analysis of results by evaluating survey validity and reliability ILS Stage H 11 B 3: Collect and record data accurately by recording data accurately in appropriate format. ILS Stage I 12 A 1: Apply scientific inquiries or technological designs to explain metabolic processes within cells and between organisms and their environment. ILS Stage H 12 B 2: Apply scientific inquires or technological designs to distinguish the properties of matter. ILS Stage I 13 A 2: Apply scientific habits of mind to curricular investigations in life, environmental, physical, earth, and space sciences. 2. Materials needed: Computer Petri dish 2 paper clips 3 250 mL Beakers 2 500 mL Beaker Washable Marker Chromatography Paper 1 cup Vegetable Oil 1 cup of Salt 6 pipettes 2 pennies Stirring Rod 2 Test Tubes Test Tube Rack Food coloring Paper Towels Spoon 6 small Plastic cups Tap Water 3 different salt solutions (varying amounts of salt in them) Goggles http://www.biology.arizona.edu/biochemistry/tutorials/chemistry/page3.html 3. Preparation and Set Up: Acquire materials Make 3 different salt solutions with varying amounts of salt in each. Station 1: You will be using the website, http://www.biology.arizona.edu/biochemistry/tutorials/chemistry/page3.html, to describe the polarity of water to your students. Station 2: Open the petri dish so that and place lids face down. Fill one petri dish with tap water and the other with the least concentrated salt solution. Have paper clips and paper towels next to the petri dish. The students will be attempting to make the paper clips float. Station 3: Put out 2 250 mL beakers and 1 500 mL beaker. Also located at this station will be two small plastic cups. One will have vegetable oil and the other will have salt in it. You will need a pipette for the oil and a spoon for the salt. Students will fill the 500 mL beaker with water, and then divide that water into the 2 250 mL beakers. They will then pipette vegetable oil into one of the beakers and stir, and in the other they will put salt and stir. They will record how water worked as a solvent. Station 4: Cut the large chromatography paper into strips. Draw a line in washable marker about a quarter of away from the bottom. Fill a 250 mL beaker with a ½ and inch of water. Place the chromatography paper in the beaker. MAKE SURE THE WATER DOES NOT GO OVER THE MARKED LINE. The students will be observing adhesion as the ink travels up the paper via water. Station 5: Put two small plastic cups out and two pipettes. Label one cup tap water and the other salt water. Add tap water to one and salt water to another. Have two pennies at this station also. Students will be observation cohesion of water on the surface of the penny. Station 6: Put the three different salt solutions in three different small cups and add food coloring and stir with the pipette for that solution. You will also have a test tube rack, test tube, and 500 mL beaker at this station. The students will be observing the density of water by adding the different salt solutions to the test tube and recording their results. 4. Time: This lab will take anywhere from 30 to 50 minutes to complete depending on the level of your students. 5. Safety Issues: Students must always wear goggles Students must be careful when handling glassware Never ingest any material in lab 6. Pre-Lab Discussion: The previous day the students will have been introduced to what water is, how life depends on it, and they will be given a brief introduction on the properties of water via demonstration. For the demonstration you will put water in a large beaker then put pepper on top of the water. Notice how the pepper floats. Then you will add a drop or two of soap and have your students observe what they think is happening on an exit slip. The day of the lab we will review some of the ideas on the exit slips, and then they will be shown the YouTube clip. 7. Post-Lab Discussion: Depending on how long the lab took the students, the post lab discussion may be immediately after the lab or the following day. However, the post-lab discussion will mainly be a review of the concepts learned. Then make a connection to the extension activity. The extension activity was created to do much of the explaining about how the properties of water occur in nature. 8. Adaptations for Students with Special Needs: For students with special needs, prompt them, or read the prompt to them at the more difficult stations. Explain what is meant by the prompt and allow them to ask questions. Another thing to do is to pair them with a very strong student and discuss with the strong student that they need to spend a little more time at each station for the student with special needs.
