Quantitative HALO Assay
advertisement
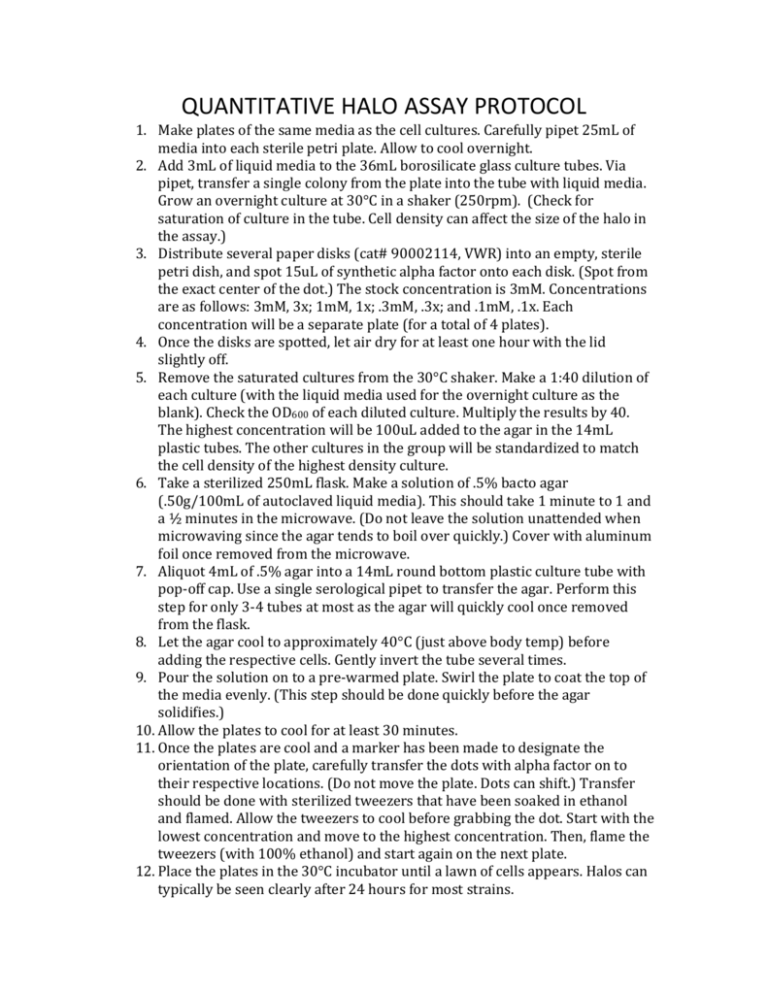
QUANTITATIVE HALO ASSAY PROTOCOL 1. Make plates of the same media as the cell cultures. Carefully pipet 25mL of media into each sterile petri plate. Allow to cool overnight. 2. Add 3mL of liquid media to the 36mL borosilicate glass culture tubes. Via pipet, transfer a single colony from the plate into the tube with liquid media. Grow an overnight culture at 30°C in a shaker (250rpm). (Check for saturation of culture in the tube. Cell density can affect the size of the halo in the assay.) 3. Distribute several paper disks (cat# 90002114, VWR) into an empty, sterile petri dish, and spot 15uL of synthetic alpha factor onto each disk. (Spot from the exact center of the dot.) The stock concentration is 3mM. Concentrations are as follows: 3mM, 3x; 1mM, 1x; .3mM, .3x; and .1mM, .1x. Each concentration will be a separate plate (for a total of 4 plates). 4. Once the disks are spotted, let air dry for at least one hour with the lid slightly off. 5. Remove the saturated cultures from the 30°C shaker. Make a 1:40 dilution of each culture (with the liquid media used for the overnight culture as the blank). Check the OD600 of each diluted culture. Multiply the results by 40. The highest concentration will be 100uL added to the agar in the 14mL plastic tubes. The other cultures in the group will be standardized to match the cell density of the highest density culture. 6. Take a sterilized 250mL flask. Make a solution of .5% bacto agar (.50g/100mL of autoclaved liquid media). This should take 1 minute to 1 and a ½ minutes in the microwave. (Do not leave the solution unattended when microwaving since the agar tends to boil over quickly.) Cover with aluminum foil once removed from the microwave. 7. Aliquot 4mL of .5% agar into a 14mL round bottom plastic culture tube with pop-off cap. Use a single serological pipet to transfer the agar. Perform this step for only 3-4 tubes at most as the agar will quickly cool once removed from the flask. 8. Let the agar cool to approximately 40°C (just above body temp) before adding the respective cells. Gently invert the tube several times. 9. Pour the solution on to a pre-warmed plate. Swirl the plate to coat the top of the media evenly. (This step should be done quickly before the agar solidifies.) 10. Allow the plates to cool for at least 30 minutes. 11. Once the plates are cool and a marker has been made to designate the orientation of the plate, carefully transfer the dots with alpha factor on to their respective locations. (Do not move the plate. Dots can shift.) Transfer should be done with sterilized tweezers that have been soaked in ethanol and flamed. Allow the tweezers to cool before grabbing the dot. Start with the lowest concentration and move to the highest concentration. Then, flame the tweezers (with 100% ethanol) and start again on the next plate. 12. Place the plates in the 30°C incubator until a lawn of cells appears. Halos can typically be seen clearly after 24 hours for most strains. 13. QUANTITATION a. Image the halos face down without lids on the flatbed scanner. Try to align halos down the center of the scanner. b. Scan at 600 dpi and save as .tif files. c. Use image j to quantify halos as follows. i. Invert the image (Edit…Invert). ii. Draw a box that encases the halo but is only as wide as the paper disc (see example below). iii. Hit: Analyze….Plot Profile. Then hit “Live” on the profile window. iv. Resize the box so that it is 600 units wide. v. Use the left and right buttons to move the profile until the disc is centered (use the edges of the disc to space it properly). vi. Once centered, hit: “Copy” on the profile window. vii. Paste this data into Excel. viii. Simply move the box to each halo to measure as before. ix. If you must compare multiple images, you can copy the box and paste it into the new image file. Then hit ‘cntrl + z” to remove the image that copied inside the box and proceed to measure halos. You will have to re-open a profile window once you work on the new image. d. Once in excel, collect the data and analyze using Prism.
