Worksheet for Object 2 ()
advertisement
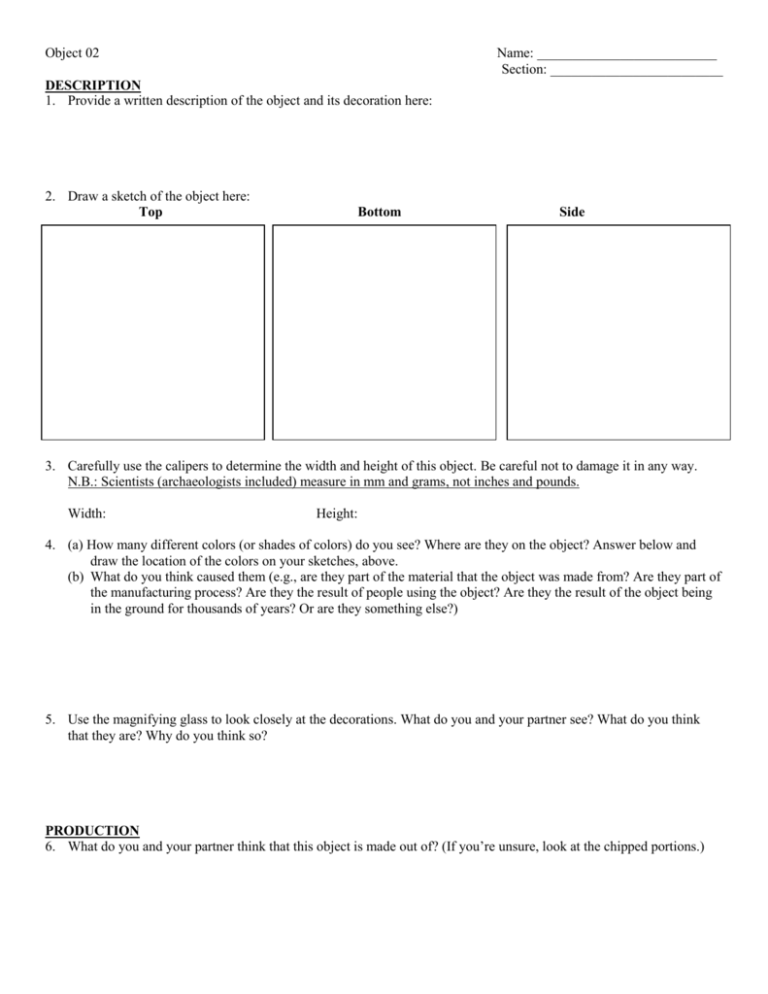
Object 02 Name: __________________________ Section: _________________________ DESCRIPTION 1. Provide a written description of the object and its decoration here: 2. Draw a sketch of the object here: Top Bottom Side 3. Carefully use the calipers to determine the width and height of this object. Be careful not to damage it in any way. N.B.: Scientists (archaeologists included) measure in mm and grams, not inches and pounds. Width: Height: 4. (a) How many different colors (or shades of colors) do you see? Where are they on the object? Answer below and draw the location of the colors on your sketches, above. (b) What do you think caused them (e.g., are they part of the material that the object was made from? Are they part of the manufacturing process? Are they the result of people using the object? Are they the result of the object being in the ground for thousands of years? Or are they something else?) 5. Use the magnifying glass to look closely at the decorations. What do you and your partner see? What do you think that they are? Why do you think so? PRODUCTION 6. What do you and your partner think that this object is made out of? (If you’re unsure, look at the chipped portions.) 7. Think about how you would make this object. On the next page are some descriptions of different ways that objects were produced in antiquity. Which one (or which ones – there could be multiple) do you think was/were used to make this object? What evidence supports your conclusion? 8. How do you think it came to be that the circular lines are drawn so perfectly, but the decorations are so poorly done? How would you have made the lines if you were doing it? FUNCTION 9. Look especially closely at the depression in the center of the object with the magnifying glass. What do you see that you didn’t see before? What might that suggest about how this object was used? 10. What do you and your partner think that this object was? What do you think that it was used for? SIGNIFICANCE 11. Think like a social historian: What might the materials and techniques used to produce this object tell us about the society that created it? What does this object tell us about what was important in peoples’ lives at the time that it was used? 12. Think like an anthropologist: (a) What might the existence of this object and its decoration tell us about life in the time that it was made? (b) Can we infer anything about the economy from the process of its production and the other things that it was used with? (c) Can we infer anything about the routine of daily life? Some Production Methods a. Wheel-made ceramic objects were made on a potter’s wheel (a flat disk on which clay was placed that was then spun at a relatively high rate of speed while the potter’s hands or other instruments were used to shape the clay as it turned). Afterwards they were placed in a kiln and fired until hard. The result was an object that was circular on one axis (like a plate, bowl, etc.) with evidence of having been turned on a potter’s wheel (like ridge lines from the vessel spinning in the potter’s hands). b. Mould-made ceramics were created by first carving a mould in two pieces of stone (one for the top, one for the bottom). Clay was pressed into each half of the mould, the two halves were pressed together, and then the whole thing was placed in a kiln and fired until hard. Afterwards the stone mould would be taken apart, revealing the object inside. The result was an object of almost any shape (as opposed to the wheel-made ceramics, which must be circular on one axis), often with intricate “carved” designs. You can often see a line where the two mould halves came together. c. Casting was a technique much like with mould-made ceramics (above), but molten metal or glass was poured into the mould instead of clay being pressed into it. You can often see a line where the two mould halves came together. d. Lost-wax (or lost-mould) casting was a technique for casting objects in which an artist created a model of the object from hard wax or another material that had a low melting temperature. He would then fit a molding substance (like clay) around the model so that the artist ended up with the soft model on the inside, surrounded by a harder mould. A hole was pierced through the outer mould into the wax and the mould would then be fired until hard (which also melted and drained the wax). Molten metal was poured into the mould. After it cooled, the mould was broken to reveal the metal version of the wax model. e. Cast glass: see above under “casting”. f. Blown glass was created using a technique in which molten glass was placed on the end of a tube that the glassblower would then blow through. The result was any roundish object that was hollow. g. Core-formed glass vessels were created by first creating the shape of the intended object out of clay (the core) and then heating it and rolling it in powdered glass, which built up around the core. Bands of colored glass were then applied and pressed into the powdered glass. Designs were then made with tools and handles were attached (if the vessel had handles). The core was then removed, resulting in a glass vessel with geometric designs on the outside. h. Carving is pretty straightforward. A variety of instruments (blades, chisels, etc.) were used as necessary to carve the shape of the object. i. Metalworking is also pretty straightforward. Metal was heated until it was moldable and then it was hammered and/or worked with other tools until it was made into the desired shape.
