Learning Objectives
advertisement
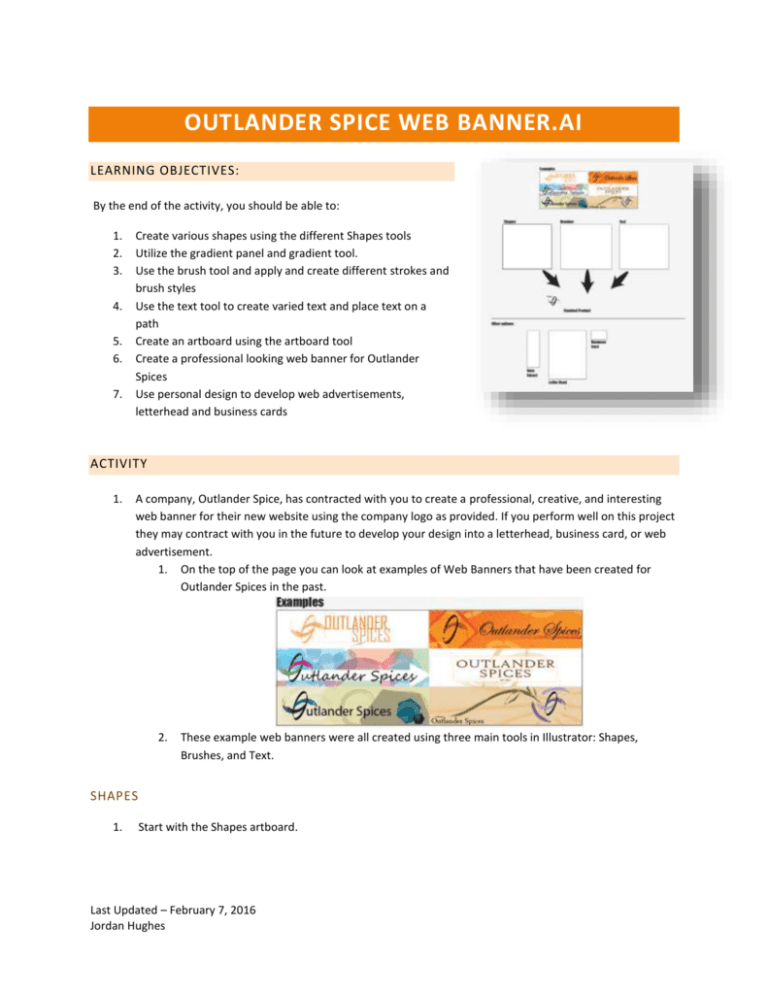
OUTLANDER SPICE WEB BANNER.AI LEARNING OBJECTIVES: By the end of the activity, you should be able to: 1. 2. 3. 4. 5. 6. 7. Create various shapes using the different Shapes tools Utilize the gradient panel and gradient tool. Use the brush tool and apply and create different strokes and brush styles Use the text tool to create varied text and place text on a path Create an artboard using the artboard tool Create a professional looking web banner for Outlander Spices Use personal design to develop web advertisements, letterhead and business cards ACTIVITY 1. A company, Outlander Spice, has contracted with you to create a professional, creative, and interesting web banner for their new website using the company logo as provided. If you perform well on this project they may contract with you in the future to develop your design into a letterhead, business card, or web advertisement. 1. On the top of the page you can look at examples of Web Banners that have been created for Outlander Spices in the past. 2. These example web banners were all created using three main tools in Illustrator: Shapes, Brushes, and Text. SHAPES 1. Start with the Shapes artboard. Last Updated – February 7, 2016 Jordan Hughes 2. a. The shape tools we will be using are all under the Rectangle tool. 3. a. Click and hold on the rectangle tool to show all of the other shape tools. 4. a. Select the Rectangle tool and draw a rectangle. 5. a. Click once with the Rectangle tool and then select OK to draw a rectangle with the exact same dimensions as the previous one. 6. This feature works for all shapes. You use this dialog box to precisely edit the dimensions of your shape. Last Updated – February 7, 2016 Jordan Hughes 7. Show keyboard modifiers: a. Hold Alt to draw from the center point of the shape. b. Shift will draw a perfect square or circle. c. Spacebar allows you to move the shape while drawing. d. Show using Alt and Shift in unison. e. The Up and Down Arrows increase or decrease the radius of a Rounded rectangle’s corners. 8. Select the a. Ellipse tool to show the Ctrl modifier. Without Ctrl: With Ctrl: 9. Find the Star tool 10. Show keyboard modifiers: a. Hold Alt to draw an equilateral star. b. Shift fixes one point of the star vertical so the star won’t rotate. c. Spacebar allows you to move the shape while drawing. d. Show using Alt and Shift in unison. e. The Up and Down Arrows increase or decrease the number of points on the star. f. Ctrl allows you to increase or decrease the star’s point’s lengths. 11. After using the Ctrl-key to alter the point lengths of the star, all subsequent stars created will have those same point lengths. a. Remember that holding Alt will draw an equilateral star, but it will return to the angles that you made with the Ctrl-key. b. To reset your star, hold Alt and Ctrl while drawing, then let go of your mouse. 12. Mention that the Polygon tool is similar to the Star tool. GRADIENTS 1. 2. With shapes we can apply swatches and colors to the fill and stroke of each shape. Illustrator also allows us to create gradients of several colors and apply them to the fill color of a shape. Custom-made gradients can be saved for future use as a swatch. Gradients will help your web banner stand out and give it more of a professional flare than plain colors. To create a gradient first go to the gradient panel. If it’s not open you can find it under the Window menu. Last Updated – February 7, 2016 Jordan Hughes 3. a. Drag the colors that you want from the swatches panel down to the Gradient Panel. a. 4. Color Stop Place the Swatch on top of an existing Color Stop color to replace its color. Place it somewhere else to add another Color Stop. 5. a. Slide the Diamond Handles on the top of the Gradient Slider to change the percentage of each color in between the blend. 6. To flip the gradient, click the Reverse Gradient button 7. a. Drag the preview gradient swatch to the swatches panel to save your gradient as a swatch. This swatch will be saved with the Illustrator file. Last Updated – February 7, 2016 Jordan Hughes . 8. a. Apply your gradient swatch to a shape. 9. a. Change your gradient to a radial gradient, save it as a swatch, and apply that to your shape. a. b. 10. With your shape selected, select the gradient tool . a. 11. Let the class pay with the different handles on the gradient tool to see what happens. Tell the class to also try the gradient tool on a shape with a linear gradient applied because the gradient tool works differently with linear gradients. Last Updated – February 7, 2016 Jordan Hughes a. . 12. Hover over the top of the white bar it will change to show all of the color handles and diamond handles. a. b. 13. You can use these handles to manipulate how the gradient appears exactly on the shape. 14. Holding Shift will allow you to orient the gradient tool perfectly horizontal, vertical, or 45⁰. BRUSHES 1. Go to the Brushes artboard. a. 2. 3. 4. Select the brush tool. Have the class create some strokes on the artboard. Hover over the brush stroke and notice that the brush tool draws paths. 5. a. Notice in the Control Panel that this path has a 2pt. Oval Calligraphic brush stroke applied to it, so it just looks like a line. a. Last Updated – February 7, 2016 Jordan Hughes 6. Go to the brushes panel and apply a different brush to this path. 7. a. It should look something like this: 8. a. Go to the Brush Libraries Menu to look at other brushes available. 9. 10. The Other Library… option is how you would import a brush library downloaded from a website on the internet like vecteezy.com. 11. Select the brush stroke you made and click the Options of Selected Object button on the brushes panel. (Most brushes have options, but some don’t) The dialogue box that pops up depends on the type of brush stroke applied. Last Updated – February 7, 2016 Jordan Hughes a. 12. Brush strokes can also be used to alter the paths on a shape. Try selecting one of your previous shapes and apply a brush stroke. a. b. 13. You can remove the current brush stroke by clicking the remove brush stroke button 14. Strokes and paths can also be altered using the Stroke Panel. a. Last Updated – February 7, 2016 Jordan Hughes . b. c. d. e. f. Weight: allows you to alter the thickness of the stroke. Cap: alters how the end of your path will appear. Corner: allows you to change how sharp corners on a path will appear. Give your stroke a dashed look by checking the dashed line box. You can then set the exact space that the dash and the gap will have and then it will follow that pattern. Give your path arrowheads to allow your path to point to something. You can also edit the profile which contains preset widths for your stroke. 15. Find and select the width tool. 16. Change the width of the brush stroke you created on the brushes artboard. a. b. 17. Let the class play with the width tool. a. When applying the width tool to a stroke, it creates three small points. To see these three points, select the shape and then hover over the path with the width tool. This will display where the center width points are. Hovering over the width point will reveal the other two points. b. The center width point allows you to slide the width that you set along the path to a different position. c. The two outer width points allow you to change the width on both sides of the path. d. Pressing the Alt-key while moving the outer width point will allow you adjust the width on just one side of the path. e. Pressing the Shift-key while using any of the width points changes all width points simultaneously and proportionally. This works for outer width points (size) and the position of width center points. 18. By double clicking on a width point you can bring up a dialogue box that allows you to edit the specifications. a. Last Updated – February 7, 2016 Jordan Hughes TEXT 1. Go to the Text artboard. a. b. c. d. e. f. Select the Type Tool and click anywhere on the “Text” artboard. Type something. Like your name. Using the Type Tool, click and drag to draw a text box. a. Use the type tool to select text that you have already written and change the style and format your text Click and hold the Type tool to find other Type tools: g. h. The Area Type tool allows you to turn shapes into text boxes. i. j. The Type on the Path Tool allows you to type on any path you’ve created. Using the selection tool, select text, and you can warp the text by clicking the Make Envelope button and select “Make with Warp…” You can then alter the look of the text using the dialog box. Last Updated – February 7, 2016 Jordan Hughes k. ARTBOARD TOOL 1. Using all three tools (Shapes, Brushes, and Text) we can now make a professional looking web banner for Outlander Spices. Up till now we have been using artboards already created. We can combine all of the tools into making a finished web banner. a. b. First, select the Artboard Tool. Create an artboard below three arrows by the text “Finished Product” c. d. 2. 3. 4. You can create an artboard by clicking and dragging and creating a rectangle. While the Artboard Tool is selected you can find most options available in the control panel. Make the height of your new artboard 200px and the width 800px. This is a typical web banner size. Now that you have your artboard ready, you must incorporate the Outlander Spices Logo into your design. a. Using the direct selection tool you can select parts of the logo and change the colors to match your design. After you finish creating the web banner try using that same design to develop a Web Advertisement, Letter Head, and Business Card for Outlander Spices. Last Updated – February 7, 2016 Jordan Hughes a. Last Updated – February 7, 2016 Jordan Hughes
