Lab 4 Restriction Enzyme Digestions and Mapping
advertisement

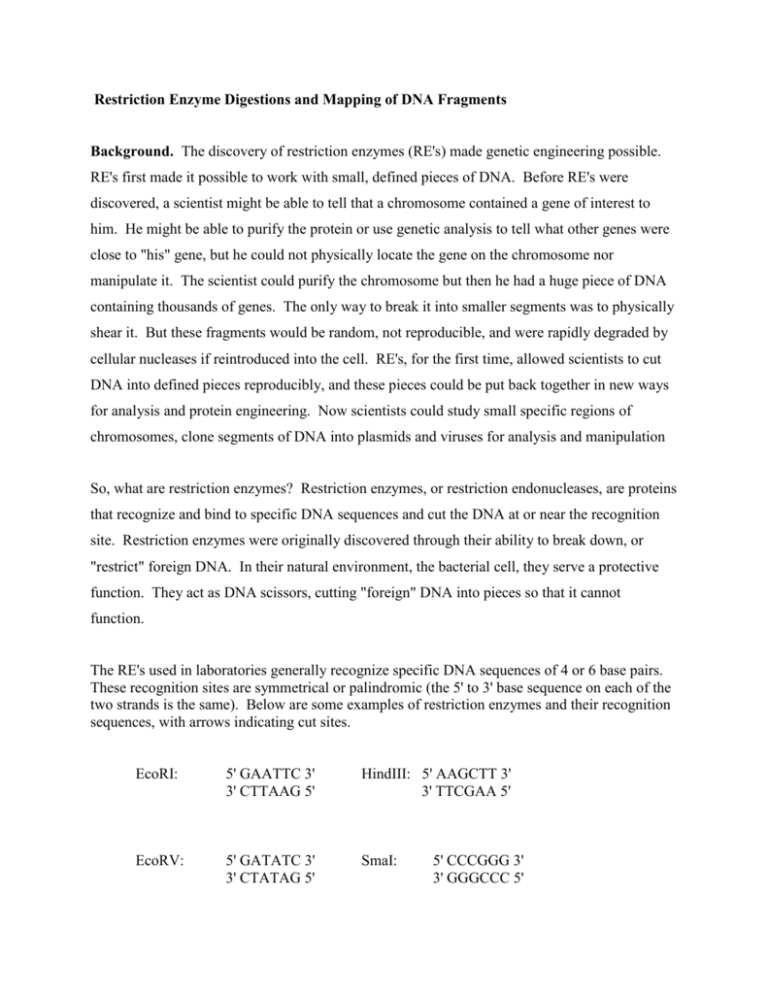
Restriction Enzyme Digestions and Mapping of DNA Fragments Background. The discovery of restriction enzymes (RE's) made genetic engineering possible. RE's first made it possible to work with small, defined pieces of DNA. Before RE's were discovered, a scientist might be able to tell that a chromosome contained a gene of interest to him. He might be able to purify the protein or use genetic analysis to tell what other genes were close to "his" gene, but he could not physically locate the gene on the chromosome nor manipulate it. The scientist could purify the chromosome but then he had a huge piece of DNA containing thousands of genes. The only way to break it into smaller segments was to physically shear it. But these fragments would be random, not reproducible, and were rapidly degraded by cellular nucleases if reintroduced into the cell. RE's, for the first time, allowed scientists to cut DNA into defined pieces reproducibly, and these pieces could be put back together in new ways for analysis and protein engineering. Now scientists could study small specific regions of chromosomes, clone segments of DNA into plasmids and viruses for analysis and manipulation So, what are restriction enzymes? Restriction enzymes, or restriction endonucleases, are proteins that recognize and bind to specific DNA sequences and cut the DNA at or near the recognition site. Restriction enzymes were originally discovered through their ability to break down, or "restrict" foreign DNA. In their natural environment, the bacterial cell, they serve a protective function. They act as DNA scissors, cutting "foreign" DNA into pieces so that it cannot function. The RE's used in laboratories generally recognize specific DNA sequences of 4 or 6 base pairs. These recognition sites are symmetrical or palindromic (the 5' to 3' base sequence on each of the two strands is the same). Below are some examples of restriction enzymes and their recognition sequences, with arrows indicating cut sites. EcoRI: 5' GAATTC 3' 3' CTTAAG 5' HindIII: 5' AAGCTT 3' 3' TTCGAA 5' EcoRV: 5' GATATC 3' 3' CTATAG 5' SmaI: 5' CCCGGG 3' 3' GGGCCC 5' Notice that some of the RE's (EcoRI and HindIII) introduce two staggered cuts in the DNA (producing single-stranded tails or "sticky" ends), while others (EcoRV and SmaI) cut each strand at the same place (producing "blunt" ends). G CTTAA AGCTT A GAT CTA sticky ends GGG CCC blunt ends DNA fragments can be put back together (ligated) using the enzyme DNA ligase. As you might expect any blunt ended-DNA can be ligated but sticky ended-DNA fragments are more selective. The sticky ends (or tails) must be complementary for ligation to occur. Objectives: 1. Perform a restriction digest of a putative clone. 2. Electrophoresis of DNA fragments. 3. Use the RE digest generated to verify the ligation. Materials needed: Selected restriction enzymes Plasmid DNA Appropriate 10X RE buffer 5X TBE agarose Gel loading buffer Ethidium bromide solution microcentrifuge tubes pipetmen 37 C water bath or heat block gel box, combs power supply Exercise 1. Digestion of DNA Restriction enzyme activity is defined as the amount of enzyme that will cleave 1 g DNA to completion in one hour at the optimum temperature for the enzyme, usually 37º. Buffers are usually supplied with restriction enzymes at a concentration of 10X. As a general rule, to set up a restriction enzyme digest, determine the amount of DNA to be cleaved, use a 5 fold excess of enzyme, ensure that the volume of enzyme does not exceed 10-20% of the final volume and add 10X buffer to a final concentration of 1X. For example, to digest 2 g of DNA at a concentration of 0.5 g/ml, the following reagents would be added, in order: 4 l DNA 13 l water 2 l 10X buffer 1 l enzyme (10 u/l) 20 l total volume a. Restriction enzyme analysis of miniprep DNA. Now that you have purified your DNA, you need to determine if your ligation resulted in the product you wanted. This will be done using a series of restriction enzyme digests. Restriction digests of miniprep DNA can be expensive. Useful strategies to minimize cost include choosing inexpensive enzymes (ie. EcoRI is roughly 80 times more expensive than XmaI and less expensive than NcoI) and making master mixes. Master mixes also insure a more consistent digest across all putative clones. Enzymes that produce an extra band or large differences in fragment size will give patterns that are easier to interpret. Keep this in mind as you make selections. Each student should select 1 digest to perform to determine which transformants contain the clone of choice. i. Making a master mix. 1. To make a master mix, first determine the reagent volumes (enzyme, buffer, water) for one enzyme digest (as we did in Laboratory 1). 1/2l of enzyme is adequate for the digest of one miniprep. 2. Multiply the volumes by the number of tubes plus one, to correct for pipetting errors. 3. Combine the water, then buffer, then the enzyme in one tube (master mix). 4. Aliquot 5l (10%) of the miniprep DNA into fresh tubes for the digest. 5l of miniprep DNA usually contains 200-600mg of DNA. Make sure the tubes are labeled with the miniprep numbers 5. Add 15 l of the master mix into each tube. 6. Incubate for 1 hour at 37C. 7. When the reaction is finished, stop the reaction by adding 2 l of 10X gel loading buffer. Exercise 2. Gel Electrophoresis Make 100 ml of a 1.0% agarose in 1X TBE for your gel in a 250 ml flask. Minigels require ~30 ml agarose. Use the microwave to melt the agarose. Be sure the solution is completely melted and homogenous. Warning!! Never leave the agarose solution unattended when using the microwave. The solution must be frequently swirled during the heating process to prevent superheating of local areas. Always use "hot hands" or autoclave gloves when heating the agarose. You will be provided Ethidium Bromide (EtBr) at a concentration of 1 mg/ml in a 1.5 microfuge tube. This tube should be saved and stored at 4ºC. Warning!! Ethidium bromide is a mutagen. Remember to wear gloves when working with EtBr and to dispose of contaminated tips in specially marked containers. Gels should be placed in a plastic bag for disposal. Microwaving EtBr produces harmful volatiles. Add EtBr to a final concentration of 0.1 to 0.5 g/ml to agarose immediately before you pour the gel. To do this, label a 50 ml conical tube EtBr/agarose. Add the EtBr to the tube and then pour about 30 mls of the agarose into the tube. Cap and invert a few times. The agarose solution should be cooled to about 50ºC (a temperature at which one can hold the flask, but it is uncomfortable) before pouring the gel. Pouring the gel when the agarose is too hot may damage the gel apparatus. Pour the 1.0% agarose minigel with 0.1 g/ml EtBr and allow it to solidify. Add 1X TBE buffer to submerge the gel. Load 10 l of the molecular weight markers provided and 20 l of the samples. Run the gel at 100 V until the bromophenol blue is about 3/4 through the gel (approx. 1 h). Using gloves, carefully remove the tray with the agarose gel. Take it to the UV transilluminator and slide the gel off the tray onto the lamp. Wearing UV-protective goggles (NOT YOUR SAFETY GLASSES), examine the gel. The cover of the transilluminator may also be used to protect your eyes. Photograph your gel with a ruler for your notebook. Conclusions. What did your digests tell you? Did you get the desired insertion?


