Ice Fishing
advertisement
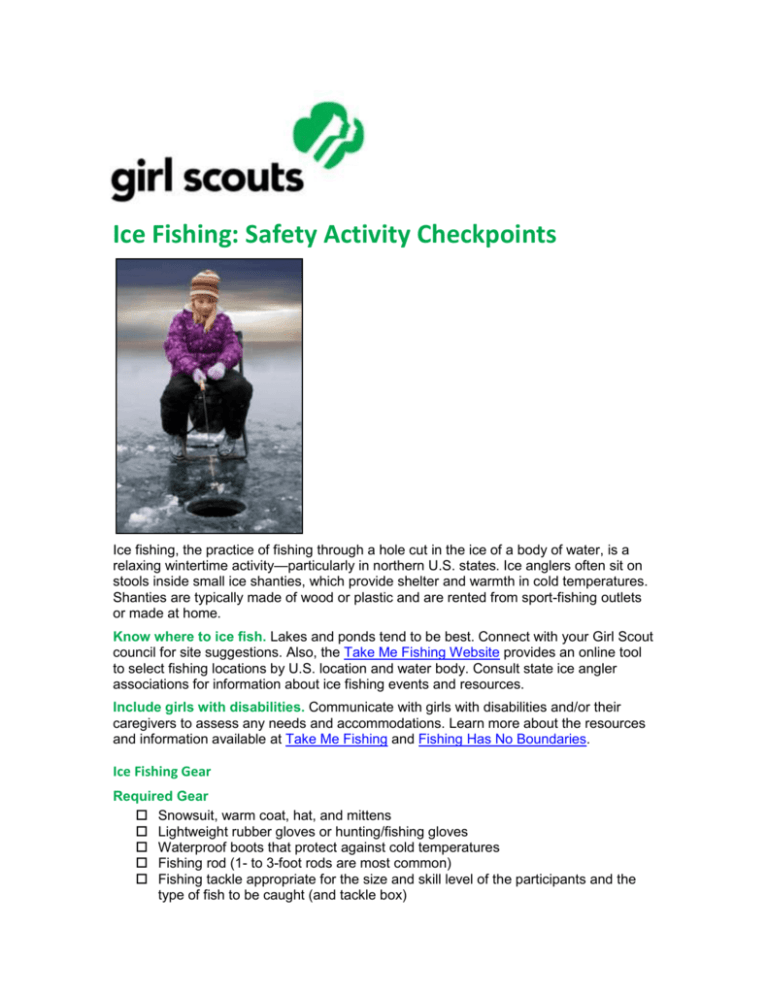
Ice Fishing: Safety Activity Checkpoints Ice fishing, the practice of fishing through a hole cut in the ice of a body of water, is a relaxing wintertime activity—particularly in northern U.S. states. Ice anglers often sit on stools inside small ice shanties, which provide shelter and warmth in cold temperatures. Shanties are typically made of wood or plastic and are rented from sport-fishing outlets or made at home. Know where to ice fish. Lakes and ponds tend to be best. Connect with your Girl Scout council for site suggestions. Also, the Take Me Fishing Website provides an online tool to select fishing locations by U.S. location and water body. Consult state ice angler associations for information about ice fishing events and resources. Include girls with disabilities. Communicate with girls with disabilities and/or their caregivers to assess any needs and accommodations. Learn more about the resources and information available at Take Me Fishing and Fishing Has No Boundaries. Ice Fishing Gear Required Gear Snowsuit, warm coat, hat, and mittens Lightweight rubber gloves or hunting/fishing gloves Waterproof boots that protect against cold temperatures Fishing rod (1- to 3-foot rods are most common) Fishing tackle appropriate for the size and skill level of the participants and the type of fish to be caught (and tackle box) Tools for removing hooks and cutting lines Ice auger (ice saw or chisel). Click here for information on augers and other equipment. Ice sled for pulling equipment (optional) Jigging rod/pole or tip-up to catch fish Ice bucket and scoop At least one graspable and throwable personal flotation device (Type IV buoyant cushion or ring buoy or equivalent) is immediately available for each group on the water Recommended Gear Flashlight and lantern Folding or portable chairs Cooler for storing fish (if intended for consumption) Shanty (optional) Prepare for Ice Fishing Communicate with council and parents. See the Introduction to Safety Activity Checkpoints. Girls plan the activity. See the Introduction to Safety Activity Checkpoints. Arrange for transportation and adult supervision. See the Introduction to Safety Activity Checkpoints for the recommended adult-to-girl ratios. Verify instructor knowledge and experience. Ensure that the adult or icefishing instructor holds American Red Cross Basic Water Rescue certification or possesses equivalent certification or documented experience (competencies); the ratio of instructor to participant is 1 to 10. Additional adult watchers are necessary for groups that are spread out or out of direct sight. Compile key contacts. See the Introduction to Safety Activity Checkpoints. Observe fishing and environmental regulations. When selecting an ice-fishing location, follow local, state and federal fishing regulations, and obtain fishing licenses, where required. Use the correct type of bait and fishing gear permitted in that area, and learn about limits on the number, size, and kind of fish that you can keep. Verify safety of ice-fishing location. Ensure that ice is solid and thick enough to support the ice fishers’ weight. Click here for a copy of the Department of Natural Resources of the State of Minnesota’s “ice card”, which shows the recommended minimum ice thickness. Opinions vary about the appropriate thickness of ice for fishing. Generally the thickness should be between 4 and 6 inches. Check with your local Department of Natural Resources. Once arriving at the lake, check the ice thickness, keeping in mind that temperature, snow cover, currents, springs and rough fish all affect the relative safety of ice. Also, ice is seldom the same thickness over a single body of water, and can be two feet thick in one place and one inch thick a few yards away. Check the ice at least every 150 feet. Click here for more information on ice fishing safety. Prepare for emergencies. Ensure the presence of a waterproof first-aid kit and a first-aider with a current certificate in First Aid, including Adult and Child CPR or CPR/AED, who is prepared to handle cases of near-drowning, immersion hypothermia, and sunburn. If any part of the activity is located 30 minutes or more from emergency medical services, ensure the presence of a first-aider with Wilderness First Aid. Basic ice rescue techniques are understood and practiced. Appropriate rescue equipment is on hand (for example, ring buoy, rope, throw bag, pole, ladder, boat, where necessary). See Volunteer Essentials for information about first-aid standards and training. On the Day of Ice Fishing Get a weather report. Never fish on a stormy or extremely cold day. On the day of the ice fishing activity, visit weather.com or other reliable sources to determine if conditions are appropriate. If weather conditions prevent the ice-fishing trip, be prepared with a backup plan or alternate activity. Use the buddy system. See the Introduction to Safety Activity Checkpoints. Be prepared in the event of a storm with lightning. Exit the ice-fishing location immediately and take shelter away from tall objects (including trees, buildings, and electrical poles). Find the lowest point in an open flat area. Squat low to the ground on the balls of the feet, and place hands on knees with head between them. Respect fish and wildlife. Whenever possible, use barbless hooks, and return live fish to the water. Remove fishing gear, bait and dead fish at the end of the fishing activity. For additional information see the Leave No Trace website. Ice Fishing Links American Sportfishing Association: www.asafishing.org Take Me Fishing: www.takemefishing.org IceLeaders.com: www.iceleaders.com Ice Fishing Know-How for Girls Learn the basics of ice fishing. Know before you go! Visit the Minnesota Department of Natural Resources website for helpful information Learn how to set up an ice-fishing tip-up. A tip-up is a device that holds a fishing line attached to a flag that tips up when a fish bites the attached bait. Watch an instructional video on YouTube.

