Name of presentation
advertisement

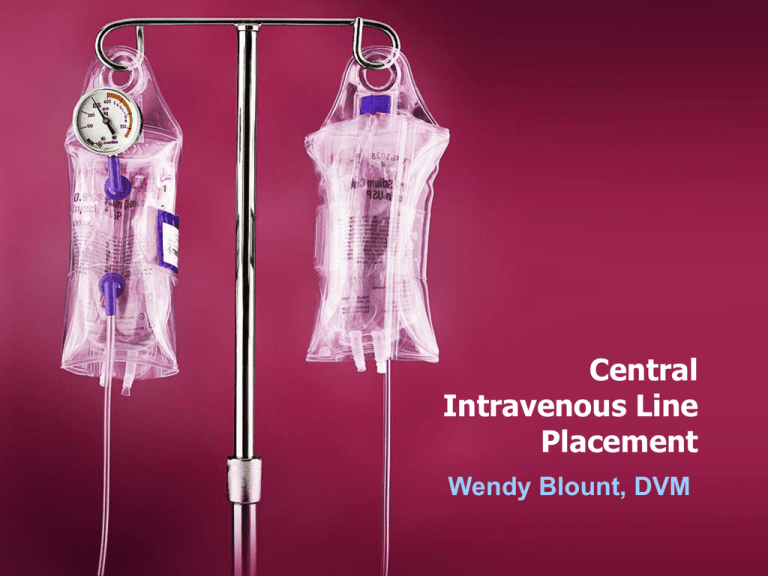
Central Intravenous Line Placement Wendy Blount, DVM Why Place a Central Line? • When serial blood values are needed. – Avoids pain, trauma and bruising – Can get blood from a fractious cat without actually touching it – Makes repeated blood draws from difficult animals possible – Maintains integrity of the veins for easy placement of the next IV catheter Why Place a Central Line? • When do we need serial values? – – – – – Diabetic ketoacidosis Renal failure requiring diuresis Liver failure hypoproteinemia “mean as a snake” diabetics who need a glucose curve – Hemolytic anemia Why Place a Central Line? • When you need central venous access – Drugs that are caustic • Doxycycline IV – Total Parenteral Nutrition (TPN) – Partial Parenteral Nutriiton (PPN) – Monitoring Central Venous Pressure (CVP) • CVP = pressure in the RA • When giving IV fluids to dogs with right congestive heart failure Why Place a Central Line? • Central Venous Pressure – Normal • 5-8 cm H20 in dogs • 2-3 cm H20 in cats – Increased CVP can result in signs of right heart failure • >10 cm in dogs • >8 cm in cats – Trends are probably more important than absolute values Peel Away Introducer • video Guidewire Technique • video Around the Needle Catheter • Standard teflon large bore IV catheter – 14-18 gauge x 3-4 inches – Smaller for kittens, puppies, toy breeds • Place the pet in dorsal recumbency and prep the jugular furrows • If you wish, make a stab incision through skin, just medial or lateral to one of the jugular veins Around the Needle Catheter Around the Needle Catheter – This helps if dehydrated or hypovolemic • Pass the stylet with catheter into the jugular vein – Attach syringe to minimize blood spillage Around the Needle Catheter • Advance catheter into the jugular vein Around the Needle Catheter Around the Needle Catheter • Attach extension set, so you can disconnect from IV fluids without disturbing the bandage. Around the Needle Catheter • Tape or suture catheter to the skin • Recover from sedation • Bandage – – – – Antibiotic dressing Cast padding Roll gauze vetrap Through the Needle Catheter • Angiocath – 16G or 18G • Intracath – 16G or 18G • Venocath – 17G or 19G Through the Needle Catheter • Three layers: – Guide wire stylet (inner most) – Polypropylene catheter – Needle stylet (outer most) • Needle Guard – Clamps around the needle like a clamshell, to keep the needle from cutting the catheter in half Through the Needle Catheter • Occlude jugular vein at thoracic inlet • Insert the needle stylet into the vein – With the catheter and bag attached (below) – Or with the catheter and bag detached Through the Needle Catheter • When you are in the vein: – See “flash” up the catheter if it is attached – Blood out the needle stylet if not attached Through the Needle Catheter • Stop occluding the jugular vein – Decreases flow of blood out the hub if bag not attached • Thread the catheter by “milking it” through the sterile bag, or threading it into the open needle hub – Thread in at least 3-4 inches in a small dog or cat – All the way in if dog is big enough – To the right atrium, or least well into the thoracic inlet Through the Needle Catheter • Place a 4x4 gauze at the venipuncture site an apply gentle pressure • Withdraw the needle, leaving the catheter in place. • Remove the protective bag • Seat the catheter hub firmly into the needle stylet hub – I like to use a drop of tissue glue to secure them together – If there is movement here, the catheter can be sheared off the hub Through the Needle Catheter • Apply the needle guard – Secure closed with white tape • Remove the wire stylet – MAKE SURE the cath & needle hubs are attached (b attached to c) to each other before the stylet (a) is removed – If not, you can remove the catheter (b) with the stylet (a) by mistake Through the Needle Catheter • attach a 10-12cc syringe filled with saline or LRS – Flush to make sure the catheter is patent – Aspirate to make sure catheter is patent – flush and aspirate about every minute, to make sure catheter is still patent and not kinked, while wrapping Securing the Catheter • The external part of the catheter should be placed just behind the ear Securing the Catheter • Place a white tape butterfly on the needle guard – Secures the needle guard closed – Used to suture the guard to the skin – I don’t use the suture holes in the needle guard – Vetafil 2-0 or other Nonabsorbable suture Securing the Catheter Securing the Catheter • Place a small square of gauze with antibiotic ointment over the venipuncture site – Change this every 2-3 days Securing the Catheter • Place ¼-1/2 inch padding between the needle guard and the skin – Cotton, gauze or cast padding - prevents sores – Be careful not to kink the catheter here Securing the Catheter free flow kink Securing the Catheter • REMEMBER, you are flushing and aspirating every minute or so as you go, with syringe full of saline attached to the catheter hub • Secure catheter to the neck with full circle white tape – Clip a “bridal path” in the fur if needed Securing the Catheter • Attach the catheter hub to the outer layer of roll gauze with “split” white tape Securing the Catheter • Outer layer of vetrap – Cut hole over catheter – Can completely cover catheter with another loop of vetrap when not in use. Securing the Catheter • Attach the catheter hub to the outer layer of vetrap with “split” white tape Securing the Catheter • These photos show bandaging while anesthetized. • If sedation is required, I prefer to tape while sedated, then finish the bandage after awake and sitting sternal • This prevents a bandage that is too tight Taking Blood Samples • • • • Disconnect IV fluid line and cap Flush the catheter with heparinized 3-5 cc saline Gently withdraw 5-6 cc of blood Gently withdraw needed sample – All values except platelets will be accurate • Gently replace 5-6cc of blood in “dump syringe” • Flush the catheter with 3-5cc saline CVP Measurement • Equipment Needed – – – – – – Bag of fluids Fluid administration set IV extension set Three-way stopcock Manometer If you don’t have a manometer, you cant tape IV tubing to a ruler with cm marks on it • Flush patient’s IV catheter • Fill the IV extension set with fluid • Connect the IV extension set – To patient jugular catheter at one end – To 3-way stopcock at the other end (side) – Stopcock off to patient CVP Measurement CVP Measurement • Connect manometer to 3-way stop-cock (top) – This connection is the weakest point – Support the manometer when turning the stopcock • Connect the IV set and fill the line with fluids – One end to the fluid bag (one side) – The other end to the stopcock (other side) CVP Measurement • Turn the stopcock off to manometer, and make sure fluid flows freely into the patient • Turn stopcock off to patient, and fill manometer with fluid – to at least 15-20 cm – Make sure no air bubbles, which could cause vapor lock CVP Measurement • Patient should be in sternal or lateral recumbency • Place the -0- on the manometer at the level of the right atrium – Midway between dorsal and ventral If in lateral recumbency CVP Measurement • Turn stopcock off to fluids, and allow fluid to fall until it rests at the patient’s CVP – The meniscus will oscillate up and down as the heart beats and the patient breathes


