SHIBORI
advertisement
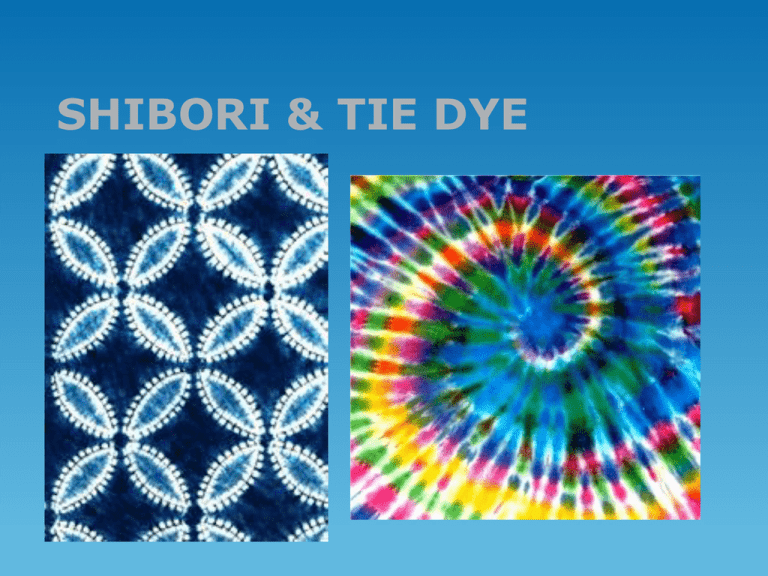
SHIBORI & TIE DYE Dyeing Basics Use good quality dye Use soft 100% cotton or linen fabric Prewash fabric Let dye soak for 24 hours in plastic before unwrapping Use a mordant and fixative Mordants & Fixatives Mordant: a substance, typically an inorganic oxide, that combines with a dye or stain and thereby fixes it in a material. Can be added to dye, but is better as a presoak for the fabric. Dye Fix: used after dyeing to help link the dye to the fabric Classroom Basics Dye outside only. Use gloves and smocks Wrap freshly dyed fabric Label fabrics clearly, so you remember which is yours Store freshly dyed fabric on the plastic provided DO NOT DRIP ON THE FLOOR Put final fabrics on the rack to dry with newspaper to catch the drips Put you gloves and plastic in the garbage Clean your clamps and put them back in the bucket Shibori Shibori is the Japanese term (from the word ‘to squeeze or wring’) It is a bit like tie dye, but more precise and geometric. It is usually done with a single indigo(blue) dyebath It uses a variety of resist techniques which prevent the dye from reaching certain parts of the fabric. The original fabric colour remains in resist areas. Tyeing Pleating Clamping Sewing These fabrics have been sewn and tied. 3 things to remember: Thing 1 The resist must be as tight as you can make it. It needs to be tight enough to prevent water and dye from traveling along the cloth Thing 2 The dye does not penetrate to the middle of the fabric if you are working with many layers of fabric Thing 3 Fabric should be wet or soaked in plain water after it is tied and before it is dyed. SEWING pleating/folding & sewing Any shape you can sew, you can pull in to a resist TYEING materials TYEING WITH A STICK CLAMPING http://honestlywtf.com/diy/shibori-diy/ FOLDING ORIGAMI The key to an interesting design is precise geometric folding and tight resist. You must do one clamped shibori for class. Good luck TIE DYE Tie-dye is a modern term coined in the mid-1960s in the United States for a set of ancient resist-dyeing techniques, and for the products of these processes. In the 1960s, tie-dye was brought to America through the hippie movement, a youth movement that advocated the sexual revolution, psychedelic rock and protested the Vietnam War. Hippies wanted a way to escape from the strict social norm of the 50s, and tie-dye was just one way of expressing their free-spirited nature. Before tie-dye became popular, the Rit Dye company was struggling. A company representative got two retired artists to create tie-dye pieces to show to designers and fashion editors and it was suddenly a hit. After clothing designer Halston started using tie-dye in his designs, stars such as Janis Joplin were wearing it. Soon enough, tie-dye became a bandwagon the entire youth generation jumped on. Stripes scrunch fabric vertically. Wrap rubber bands around the laces you want stripes. You will need two rubber bands for each stripe. Bull's Eye Place fabric on a flat surface. Pinch and lift the center of your bull’s eye. Place rubber bands along the section you lifted. The number of rubber bands you use depends on how many sections you want in your bull's eye. Spiral Tye Dye You need to produce a spiral and one tie dye of choice. I will demonstrate additional folds for you to chose from

