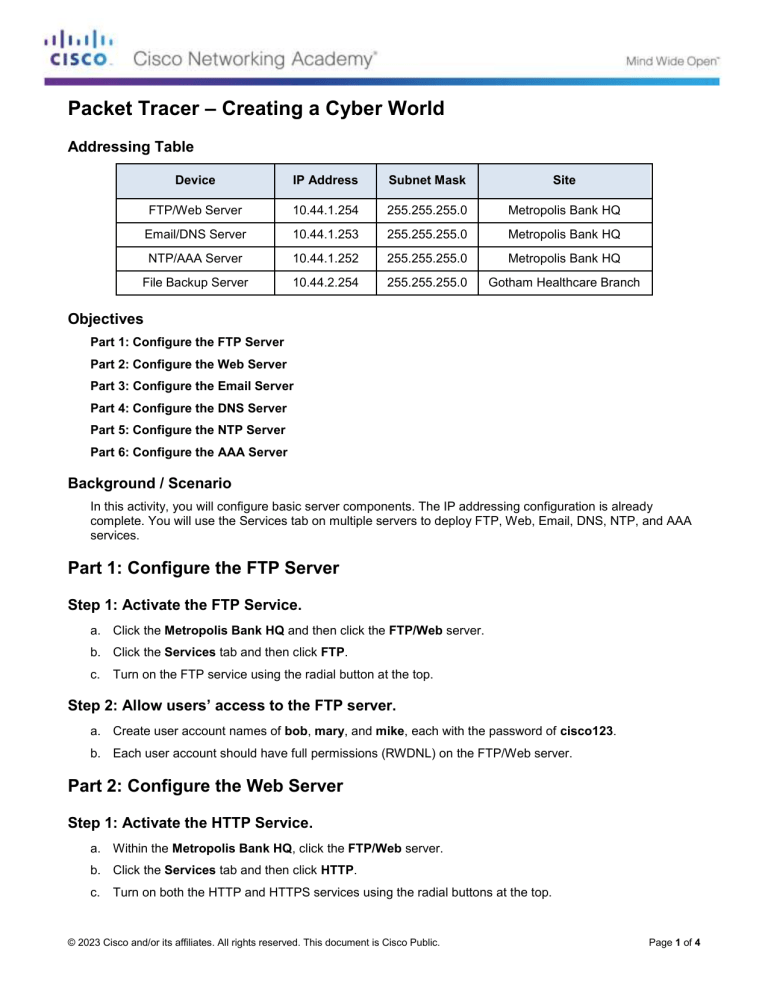
Packet Tracer – Creating a Cyber World Addressing Table Device IP Address Subnet Mask Site FTP/Web Server 10.44.1.254 255.255.255.0 Metropolis Bank HQ Email/DNS Server 10.44.1.253 255.255.255.0 Metropolis Bank HQ NTP/AAA Server 10.44.1.252 255.255.255.0 Metropolis Bank HQ File Backup Server 10.44.2.254 255.255.255.0 Gotham Healthcare Branch Objectives Part 1: Configure the FTP Server Part 2: Configure the Web Server Part 3: Configure the Email Server Part 4: Configure the DNS Server Part 5: Configure the NTP Server Part 6: Configure the AAA Server Background / Scenario In this activity, you will configure basic server components. The IP addressing configuration is already complete. You will use the Services tab on multiple servers to deploy FTP, Web, Email, DNS, NTP, and AAA services. Part 1: Configure the FTP Server Step 1: Activate the FTP Service. a. Click the Metropolis Bank HQ and then click the FTP/Web server. b. Click the Services tab and then click FTP. c. Turn on the FTP service using the radial button at the top. Step 2: Allow users’ access to the FTP server. a. Create user account names of bob, mary, and mike, each with the password of cisco123. b. Each user account should have full permissions (RWDNL) on the FTP/Web server. Part 2: Configure the Web Server Step 1: Activate the HTTP Service. a. Within the Metropolis Bank HQ, click the FTP/Web server. b. Click the Services tab and then click HTTP. c. Turn on both the HTTP and HTTPS services using the radial buttons at the top. © 2023 Cisco and/or its affiliates. All rights reserved. This document is Cisco Public. Page 1 of 4 Packet Tracer – Creating a Cyber World Step 2: Verify the HTTP Service. a. Click the PC named Sally, and click the Desktop tab. b. Click the Web Browser. Browse to the website www.cisco.corp. c. Within the Web Browser, browse to the IP 10.44.1.254. Why would a user be able to browse to an IP address but not a FQDN? ____________________________________________________________________________________ ____________________________________________________________________________________ Part 3: Configure the DNS Server Step 1: Activate the DNS Service. a. Within the Metropolis Bank HQ, click the Email/DNS server. b. Click the Services tab and then click DNS. c. Turn on the DNS service using the radial button at the top. Step 2: Create the DNS A records. a. Create the A record email.cisco.corp with IP address 10.44.1.253. Click Add to save the record. b. Create the A record www.cisco.corp with IP address 10.44.1.254. Click Add to save the record. Step 3: Verify the DNS Service. a. Click the PC named Sally, and click the Desktop tab. b. Click the Web Browser. Browse to the website www.cisco.corp. Why is the user able to browse to an FQDN? ____________________________________________________________________________________ ____________________________________________________________________________________ Part 4: Configure the Email Server Step 1: Activate the Email Services. a. Within the Metropolis Bank HQ, click the Email/DNS server. b. Click the Services tab and then click on EMAIL. c. Turn on both the SMTP and POP3 services using the radial buttons at the top. Step 2: Create Email accounts for users. a. Create the domain name of cisco.corp. b. Create user account names of phil, sally, bob, dave, mary, tim and mike, each with the password of cisco123. Step 3: Configure user Email clients. a. Click the PC named Sally, and click the Desktop tab. © 2023 Cisco and/or its affiliates. All rights reserved. This document is Cisco Public. Page 2 of 4 Packet Tracer – Creating a Cyber World b. Click Email and enter the following information: Name: Sally Email Address: sally@cisco.corp Incoming & Outgoing Email Server(s): email.cisco.corp Username: sally Password: cisco123 c. Repeat Step 3b on the PC named Bob but replace the name sally with bob as needed. Why does the Email service require both SMTP and POP3 to be activated? ____________________________________________________________________________________ ____________________________________________________________________________________ Part 5: Configure the NTP Server Step 1: Activate the NTP Service. a. Within the Metropolis Bank HQ, click the NTP/AAA server. b. Click the Services tab and then click NTP. c. Turn on the NTP service using the radial button at the top. Step 2: Secure the NTP Service. a. Enable the NTP authentication feature using the radial button. b. Configure Key 1 with a password of cisco123. Part 6: Configure the AAA Server Step 1: Activate the AAA Service. a. Within the Metropolis Bank HQ, click the NTP/AAA server. b. Click the Services tab and then click AAA. c. Turn on the AAA service using the radial button at the top. Step 2: Configure the AAA Network Configuration. a. Configure the Client Name HQ_Router with the Client IP 10.44.1.1 with a secret of cisco123. Click Add to save the client information. b. Configure the AAA user account of admin with a password of cisco123. Click Add to save the user information. © 2023 Cisco and/or its affiliates. All rights reserved. This document is Cisco Public. Page 3 of 4 Packet Tracer – Creating a Cyber World Suggested Scoring Rubric Question Location Possible Points Part 2: Configure the Web Server Step 2 2 Part 3: Configure the DNS Server Step 3 2 Part 4: Configure the Email Server Step 3 2 Questions 6 Packet Tracer Score 94 Total Score 100 Activity Section © 2023 Cisco and/or its affiliates. All rights reserved. This document is Cisco Public. Earned Points Page 4 of 4
