INSTRUCTION/INSTALLATION SHEET
SERVICE CENTER ENCLOSURES-PREMIUM LINE
IS-0080 REV.G
1. Introduction
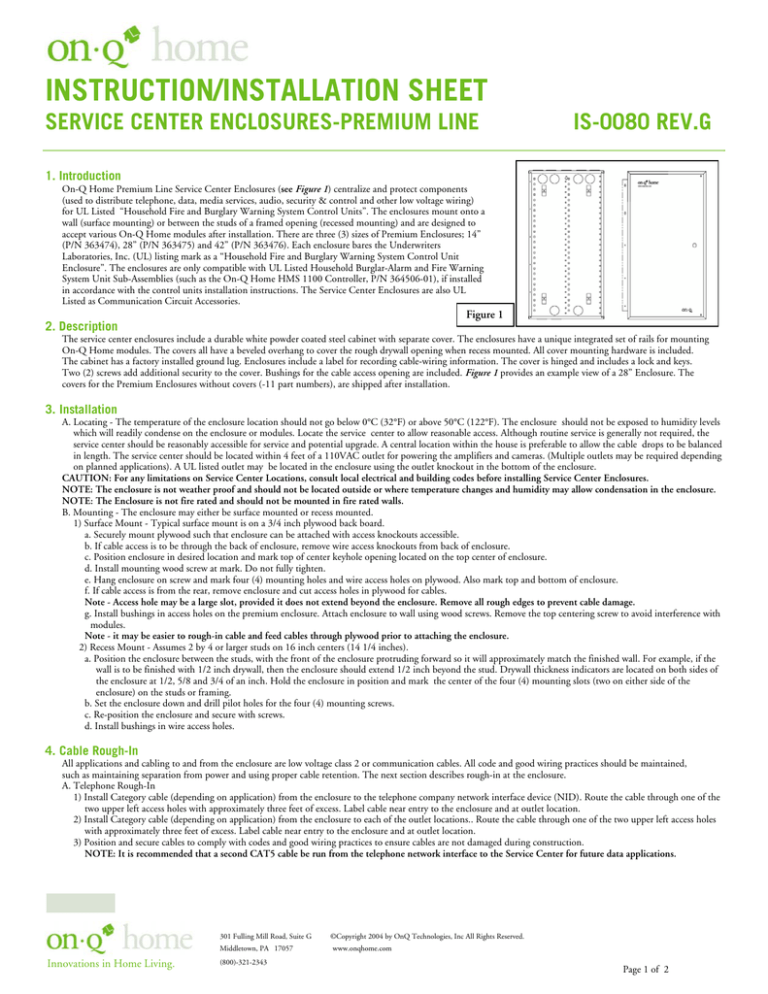
On-Q Home Premium Line Service Center Enclosures (see Figure 1) centralize and protect components
(used to distribute telephone, data, media services, audio, security & control and other low voltage wiring)
for UL Listed “Household Fire and Burglary Warning System Control Units”. The enclosures mount onto a
wall (surface mounting) or between the studs of a framed opening (recessed mounting) and are designed to
accept various On-Q Home modules after installation. There are three (3) sizes of Premium Enclosures; 14”
(P/N 363474), 28” (P/N 363475) and 42” (P/N 363476). Each enclosure bares the Underwriters
Laboratories, Inc. (UL) listing mark as a “Household Fire and Burglary Warning System Control Unit
Enclosure”. The enclosures are only compatible with UL Listed Household Burglar-Alarm and Fire Warning
System Unit Sub-Assemblies (such as the On-Q Home HMS 1100 Controller, P/N 364506-01), if installed
in accordance with the control units installation instructions. The Service Center Enclosures are also UL
Listed as Communication Circuit Accessories.
Figure 1
2. Description
The service center enclosures include a durable white powder coated steel cabinet with separate cover. The enclosures have a unique integrated set of rails for mounting
On-Q Home modules. The covers all have a beveled overhang to cover the rough drywall opening when recess mounted. All cover mounting hardware is included.
The cabinet has a factory installed ground lug. Enclosures include a label for recording cable-wiring information. The cover is hinged and includes a lock and keys.
Two (2) screws add additional security to the cover. Bushings for the cable access opening are included. Figure 1 provides an example view of a 28” Enclosure. The
covers for the Premium Enclosures without covers (-11 part numbers), are shipped after installation.
3. Installation
A. Locating - The temperature of the enclosure location should not go below 0°C (32°F) or above 50°C (122°F). The enclosure should not be exposed to humidity levels
which will readily condense on the enclosure or modules. Locate the service center to allow reasonable access. Although routine service is generally not required, the
service center should be reasonably accessible for service and potential upgrade. A central location within the house is preferable to allow the cable drops to be balanced
in length. The service center should be located within 4 feet of a 110VAC outlet for powering the amplifiers and cameras. (Multiple outlets may be required depending
on planned applications). A UL listed outlet may be located in the enclosure using the outlet knockout in the bottom of the enclosure.
CAUTION: For any limitations on Service Center Locations, consult local electrical and building codes before installing Service Center Enclosures.
NOTE: The enclosure is not weather proof and should not be located outside or where temperature changes and humidity may allow condensation in the enclosure.
NOTE: The Enclosure is not fire rated and should not be mounted in fire rated walls.
B. Mounting - The enclosure may either be surface mounted or recess mounted.
1) Surface Mount - Typical surface mount is on a 3/4 inch plywood back board.
a. Securely mount plywood such that enclosure can be attached with access knockouts accessible.
b. If cable access is to be through the back of enclosure, remove wire access knockouts from back of enclosure.
c. Position enclosure in desired location and mark top of center keyhole opening located on the top center of enclosure.
d. Install mounting wood screw at mark. Do not fully tighten.
e. Hang enclosure on screw and mark four (4) mounting holes and wire access holes on plywood. Also mark top and bottom of enclosure.
f. If cable access is from the rear, remove enclosure and cut access holes in plywood for cables.
Note - Access hole may be a large slot, provided it does not extend beyond the enclosure. Remove all rough edges to prevent cable damage.
g. Install bushings in access holes on the premium enclosure. Attach enclosure to wall using wood screws. Remove the top centering screw to avoid interference with
modules.
Note - it may be easier to rough-in cable and feed cables through plywood prior to attaching the enclosure.
2) Recess Mount - Assumes 2 by 4 or larger studs on 16 inch centers (14 1/4 inches).
a. Position the enclosure between the studs, with the front of the enclosure protruding forward so it will approximately match the finished wall. For example, if the
wall is to be finished with 1/2 inch drywall, then the enclosure should extend 1/2 inch beyond the stud. Drywall thickness indicators are located on both sides of
the enclosure at 1/2, 5/8 and 3/4 of an inch. Hold the enclosure in position and mark the center of the four (4) mounting slots (two on either side of the
enclosure) on the studs or framing.
b. Set the enclosure down and drill pilot holes for the four (4) mounting screws.
c. Re-position the enclosure and secure with screws.
d. Install bushings in wire access holes.
4. Cable Rough-In
All applications and cabling to and from the enclosure are low voltage class 2 or communication cables. All code and good wiring practices should be maintained,
such as maintaining separation from power and using proper cable retention. The next section describes rough-in at the enclosure.
A. Telephone Rough-In
1) Install Category cable (depending on application) from the enclosure to the telephone company network interface device (NID). Route the cable through one of the
two upper left access holes with approximately three feet of excess. Label cable near entry to the enclosure and at outlet location.
2) Install Category cable (depending on application) from the enclosure to each of the outlet locations.. Route the cable through one of the two upper left access holes
with approximately three feet of excess. Label cable near entry to the enclosure and at outlet location.
3) Position and secure cables to comply with codes and good wiring practices to ensure cables are not damaged during construction.
NOTE: It is recommended that a second CAT5 cable be run from the telephone network interface to the Service Center for future data applications.
301 Fulling Mill Road, Suite G
Middletown, PA 17057
Innovations in Home Living.
(800)-321-2343
©Copyright 2004 by OnQ Technologies, Inc All Rights Reserved.
www.onqhome.com
Page 1 of 2
INSTRUCTION/INSTALLATION SHEET
SERVICE CENTER ENCLOSURES-PREMIUM LINE
IS-0080 REV.G
B. Coax Rough-In
1) Install Quad Shield RG6 cable (P/N 364511-01) from the enclosure to the outlet locations. Route the cable through either of the two upper right access holes with
approximately three feet of excess. Label cable near entry to the enclosure and at outlet location.
2) Install two Quad Shield RG6 cables (P/N 364252-01) from the enclosure to the planned dish antenna location. Route the cables through one of the two upper right
access holes with approximately three feet of excess. Label cable s near entry to the enclosure and antenna location.
3) Install Quad Shield RG6 cable (P/N 364511-01) from the enclosure to the media center input, camera and video outlets. Route the cable through one of the two
upper right access holes with approximately three feet of excess. Label cable near entry to the enclosure and outlet location.
4) Position and secure cables to comply with codes and good wiring practices to ensure cables are not damaged during construction.
C. Other Cable Rough-In
1) For local area network (LAN) and other data connections, install Category 5E (P/N 364510-01) cable from the service center to the desired outlets.
2) For Audio and other low voltage applications, install appropriate cable per the application instructions.
D. Security and Control Wiring (Control Wiring is low voltage wiring which controls lighting and other household systems):
1) Install security and control cabling from the enclosure to the sensors and devices being controlled. Route the cable through the bottom access holes with
approximately three feet of excess. Label cables near the entry into enclosure and at outlet location. (The 42 Inch Enclosure has two additional knockouts along the
sides which may be used as well as the bottom).
Note: Refer to Security System installation guide for cable requirements and marking.
E. Enclosure Ground Cable - Figure 2
The ground cable is to be routed from the service center to the house electrical ground. The ground screw is located inside the bottom of the enclosure.
F. Duplex Receptacle - Figure 3
(Rough-In)
Figure 3
Figure 2
1) Remove knockout metal on bottom right of enclosure.
2) Install UL listed metal receptacle box using sheet metal screws.
3) Route NM cable to receptacle box and secure.
(Finish)
1) Connect UL listed duplex receptacle, rated 125 VAC, and secure to
metal receptacle box.
2) Install duplex receptacle cover plate.
5. Cover Installation (After finish): Premium - Figure 4
A. For recess mounted enclosure, adjust location to be flush with finished dry wall. Loosen screws and reposition. Lock in position using mounting holes above and below
the slots.
B. Attach cable layout label to inside cover and record wiring layout information.
C. Partially install two (2) door mounting screws in the top two holes on the enclosure. Install 1 turn after engagement.
D. Hang the cover on the two partially installed screws using the keyhole opening on the hinge. The cover should fit up against the enclosure (wall-mount) or the wall
(recessed-mount). If the cover does not fit properly, check that the cables are not being pinched, or that the lock is not in the locked position.
E. Install the remaining hinge screws with lock washers in right hand corners.
F. Remove the top two screws and re-install with lock washers. Tighten the screws.
Figure 4
G. Lock door if desired.
NOTE: Hinge screws must be installed with lock washers to ensure proper cover grounding. The screws and
lock washers must be installed to ensure the cover is electrically grounded to the enclosure. See Figure 5.
6. Security Control Unit Installation
A. Control Unit Mounting
Part Number 364715, Universal Mounting Plate, is intended for universal mounting of security controllers of
various sizes. Each universal mounting plate incorporates an array of mounting holes suitably aligned with the
mounting locations of the security controller printed circuit board .The supplied hardware kit facilitates
efficient assembly without the need for disassembly of any operating parts and while maintaining 1/2”
clearance between the bottom of the security controller’s printed circuit board and the mounting plate surface.
B. Control Unit Grounding
Connect the security controller’s designated earth ground terminal or ground lead to a cold water pipe or
ground rod. Alternatively, the security controller’s earth ground terminal or lead may be bonded to the
enclosures earth ground connection. Use 14 gauge or greater wiring for all grounding connections. The
grounding method employed must be in accordance with the National Electric Code, ANSI/NFPA 70.
C. Power
Provide power to the security control unit with an appropriately rated plug-in style wall transformer. The power transformer may be
plugged directly into the enclosures duplex receptacle outlet. Alternatively, the transformer may be plugged into an external duplex
receptacle outlet.
D. Battery Mounting
A battery is a non-power limited device. Battery leads must be separated from all other wiring in the enclosure by a minimum of 1/4”.
Note: Maintain separation of 1/4” between exposed battery terminals and metal surfaces, exposed circuitry and power limited wiring.
All non-power limited device leads and wiring must be separated from power limited device leads and wiring in the enclosure by a
minimum spacing of 1/4”.Part Number 364264, Battery Holder, provides secure enclosure mounting of a “single” system battery. Part
Number 364265, Battery Holder, provides secure enclosure mounting of two (2) system batteries.
301 Fulling Mill Road, Suite G
Middletown, PA 17057
Innovations in Home Living.
(800)-321-2343
Figure 5
©Copyright 2004 by OnQ Technologies, Inc All Rights Reserved.
www.onqhome.com
Page 2 of 2

