Manual - CruzPro
advertisement
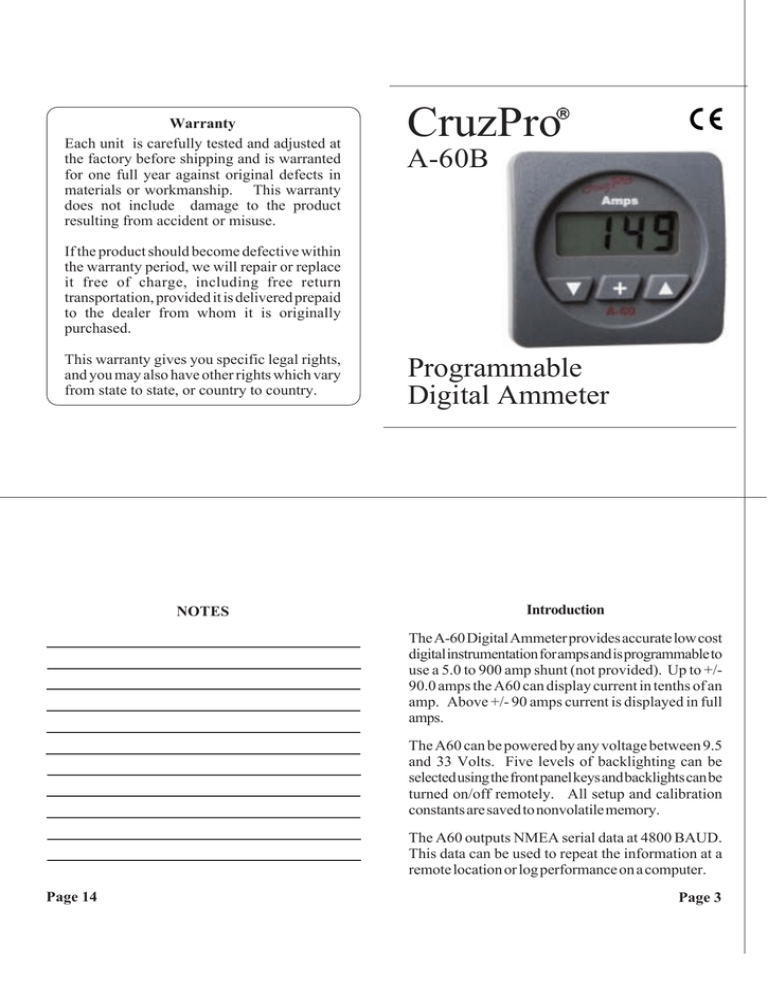
Warranty Each unit is carefully tested and adjusted at the factory before shipping and is warranted for one full year against original defects in materials or workmanship. This warranty does not include damage to the product resulting from accident or misuse. CruzPro A-60B If the product should become defective within the warranty period, we will repair or replace it free of charge, including free return transportation, provided it is delivered prepaid to the dealer from whom it is originally purchased. This warranty gives you specific legal rights, and you may also have other rights which vary from state to state, or country to country. NOTES Programmable Digital Ammeter Introduction The A-60 Digital Ammeter provides accurate low cost digital instrumentation for amps and is programmable to use a 5.0 to 900 amp shunt (not provided). Up to +/90.0 amps the A60 can display current in tenths of an amp. Above +/- 90 amps current is displayed in full amps. The A60 can be powered by any voltage between 9.5 and 33 Volts. Five levels of backlighting can be selected using the front panel keys and backlights can be turned on/off remotely. All setup and calibration constants are saved to nonvolatile memory. The A60 outputs NMEA serial data at 4800 BAUD. This data can be used to repeat the information at a remote location or log performance on a computer. Page 14 Page 3 Table of Contents Introduction . . . . . . . . . . . . . . . . . . . . . . . . . . . . 3 Specifications . . . . . . . . . . . . . . . . . . . . . . . . . . . 4 Installation . . . . . . . . . . . . . . . . . . . . . . . . . . . . . .5 Operation . . . . . . . . . . . . . . . . . . . . . . . . . . . . . . .8 Key Functions . . . . . . . . . . . . . . . . . . . . . . . . . . . 8 Backlight Intensity . . . . . . . . . . . . . . . . . . . . . . 8 Displaying Amps . . . . . . . . . . . . . . . . . . . . . . . .9 Auto Zero Display . . . . . . . . . . . . . . . . . . . . . . 9 Calibrating the Instrument . . . . . . . . . . . . . . . . 10 Displaying tenths of Amps . . . . . . . . . . . . . . . . .11 NMEA 0183 Output . . . . . . . . . . . . . . . . . . . . 12 Other CruzPro Products . . . . . . . . . . . . . . . . . . . 15 1999/2004/2006 CruzPro Ltd. A60MAN-D http://www.cruzpro.com Made in New Zealand Specifications Power supply: 9.5 to 33.0 VDC, .018 amps nominal Operating temperature: 32 to 122 F ( 0 to 50 C) Size: 2.5" dia X 4.1" deep (61mm x 104 mm). Accuracy: Better than +/-3% +/-1 digit, front panel adjustable. Resolution: 0.1 Amp to +/- 90.0 amps, 1 amp above +/- 90 amps. Shunt: 5.0 to 900 Amps, 50mV shunt Programmable Other CruzPro Products l l l l l l l l l l l l l l l l l l l Depthsounders & Speed/Temperature/Log AC & DC Volts/Amps/Amp-Hour/Freq/kW Monitor LPG/Petrol Gas Detectors/Alarms Bilge Water Alarms & Bilge Pump Controllers Windlass Controller/Chain Counter Digital Fuel Gauge & Fuel Consumption Calculator Smart and Manual Alternator Regulators Marine Security System RPM/Engine Hours/Elapsed Time Gauge Digital Oil Pressure Gauge/Alarm Digital Water Temperature Gauge/Alarm One and Three Bank Digital Volts Gauges Digital Amps Gauge Digital Clock/Watch/Race Timers/Alarms 8 and 16 Amp Light Dimmers / Motor Speed Controller Solar Panel Charge Controllers 4 & 8 Channel NMEA Combiners/RS-232 Convertors Engine/Exhaust Temp. Monitor & Digital Pyrometer NMEA 0183 Remote Data Repeater/w 4 Input Channels See full details at http://www.cruzpro.com Email to: info@cruzpro.com $IIXDR,I,xxxx,A,A30z,*CS xxxx = Amps value -900 to 0900 A30z = Instrument ID and software version No. *CS = Check Sum Some examples of the NMEA data output are: $IIXDR,I,0116.0,A,A30C*5F $IIXDR,I,014.20,A,A30C*5E $IIXDR,I,-11.40,A,A30C*40 $IIXDR,I,-107.0,A,A30C*42 Display: 4 digit LCD, 5 levels of backlighting. NMEA 0183: 4800 BAUD, $IIXDR,I Page 4 Page 13 To toggle the decimal point ON or OFF, hold both the s and t keys down for 10 seconds (until you get a long beep). The decimal point ON/OFF information is automatically saved to the memory for the next time you turn on the instrument. To avoid confusion, set up the decimal point before you calibrate and use the decimal point only for shunt sizes below 90 amps. Installation Before starting the installation, please read this entire section first. Be sure to install the bulkhead gasket before you install the instrument. Finger tighten the screws that mount the instrument bracket - do not use tools. NMEA 0183 Output The A60 outputs a standard NMEA 4800 BAUD serial data stream on screw terminal B. The NMEA data can be used to repeat the displayed information on a repeater or log the information on a computer. The standard NMEA "Transducer" sentence is used by the A60. The format is: Page 12 Figure 1 Page 5 Calibrating the Instrument The A60 is calibrated at time of manufacture for a 150 amp/50 mV shunt, but can be calibrated using the front panel keys to use any shunt between 5.0 and 900 amps. Before calibrating the ammeter, be sure to zero the display by following the instructions on page 9. To calibrate the Ammeter, press and hold the : key while applying power to the instrument. Hold the : key down for a full three seconds after the instrument power has been applied. Pass a known (measured) amount of current through the shunt and use the s and t keys to make the displayed value read correctly. Holding the s or t keys will cause the calibration to scroll faster. Press the : key for 1/2 second to save the calibration data to memory. Page 10 Figure 3 l Carefully check all your wiring against those shown in Figures 2 and 3. If everything is wired correctly you can mount the A60 in the instrument hole. Be sure the bulkhead gasket is in place and use only finger tension to tighten the bracket hold-down nuts Do not overtighten the bracket or you may damage the case - do not use tools to tighten the nuts. Page 7 l Drill a 2-1/8" (55mm) mounting hole where you desire to mount the instrument (Figure 1). l Bring the shunt wires, ground, and power lines out of the mounting hole and use a small flat screwdriver to make the connections to the screw terminal on the instrument case back as shown in Figure 2 and Figure 3. An easy way to pass an accurate known amount of current through the shunt is to use a portable clampon digital ammeter. If none is available, use a handheld digital ammeter to measure how much current individual circuits draw (spreader lights, cabin lights, refrigeration, etc.) Add up the accurately measured individual circuits and then turn all these circuits on at the same time to calibrate the A60. The more current (within the shunt's rating) that is used for calibration, the more accurate the results will be. Displaying Tenths of Amps For shunt sizes up to 90 amps, you can place an optional decimal point on the display so the display reads 0.0 to +/- 90.0 amps. Figure 2 Page 6 Key Functions Operation The keys are used to select backlight intensity and calibrate the instrument for a 5 to 600 amp shunt. These keys can also be used to insert a decimal point into the display so values from 0.0 to 90.0 amps (full scale) can be displayed. New information is automatically saved to memory. Backlight Intensity Press : the key for 1/2 second to adjust the backlight level for nighttime viewing. Each time you press the : key for 1/2 second, the level will get brighter 1, 2, 3, 4, OFF, 1, 2, ... etc. Page 8 Page 11 Displaying Amps Amps are always shown on the display. Negative current is shown with a minus ( - ) sign. Auto Zero Display To make the ammeter read zero when no current is being used, press and hold the : key for 10 seconds while viewing Amps. You will hear a long beep, the A60 will automatically zero the reading and save the autozero information into memory. Page 9
