63249-420-311A1
10/2008
Instruction Bulletin
Neo™ and Saturn™ DLT™ Cover Plate
SLC5055DLFxx and SLC5085DLFxx
INTRODUCTION
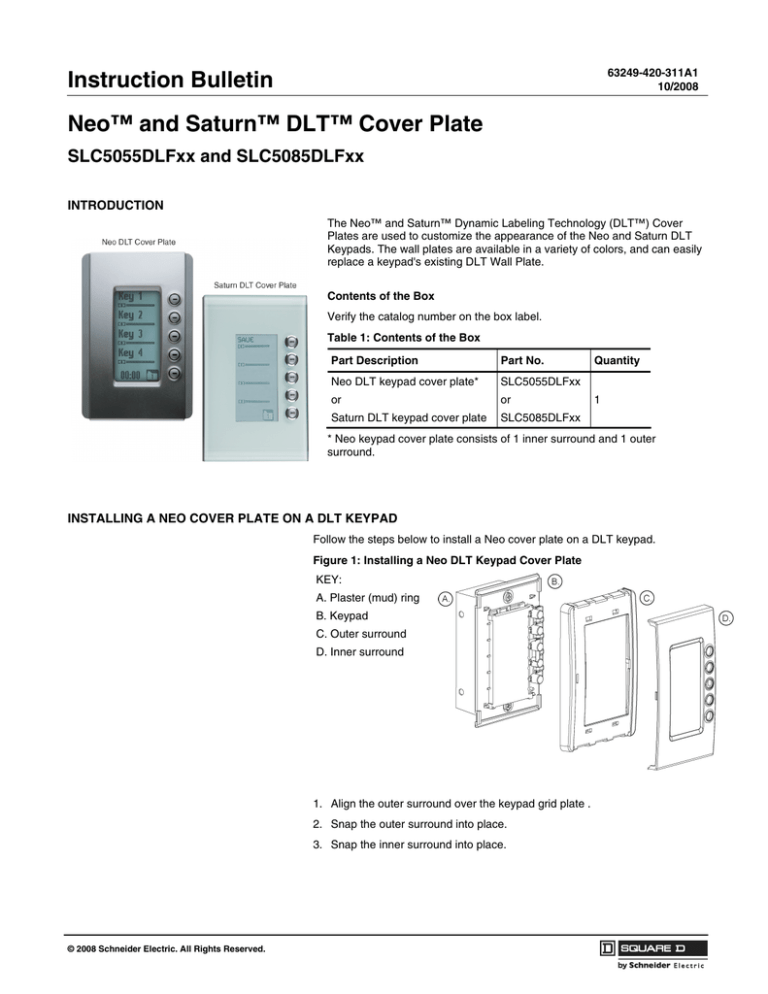
The Neo™ and Saturn™ Dynamic Labeling Technology (DLT™) Cover
Plates are used to customize the appearance of the Neo and Saturn DLT
Keypads. The wall plates are available in a variety of colors, and can easily
replace a keypad's existing DLT Wall Plate.
Contents of the Box
Verify the catalog number on the box label.
Table 1: Contents of the Box
Part Description
Part No.
Neo DLT keypad cover plate*
SLC5055DLFxx
or
or
Saturn DLT keypad cover plate
SLC5085DLFxx
Quantity
1
* Neo keypad cover plate consists of 1 inner surround and 1 outer
surround.
INSTALLING A NEO COVER PLATE ON A DLT KEYPAD
Follow the steps below to install a Neo cover plate on a DLT keypad.
Figure 1: Installing a Neo DLT Keypad Cover Plate
KEY:
A. Plaster (mud) ring
B. Keypad
C. Outer surround
D. Inner surround
1. Align the outer surround over the keypad grid plate .
2. Snap the outer surround into place.
3. Snap the inner surround into place.
© 2008 Schneider Electric. All Rights Reserved.
Clipsal® Neo™ and Saturn™ DLT™ Cover Plate
Instruction Bulletin
REMOVING A NEO COVER PLATE FROM A DLT KEYPAD
Follow the steps below to remove the Neo keypad cover plate.
1. Using a flat-blade screwdriver or your fingertips, gently pull the bottom
edge of the inner surround off of the outer surround. Then repeat the same
procedure at the top.
2. Gently pull the bottom edge of outer surround off of the keypad.
3. Gently pull the outer surround off both sides and finally pull the outer
surround off the top of the keypad.
INSTALLING A SATURN COVER PLATE ON A DLT KEYPAD
Figure 2: Installing a Saturn Cover Plate on a DLT Keypad
Follow the steps below to install a Saturn cover plate on a DLT keypad.
1. Fit the upper clips into the slots at the top of the grid plate
2. Align the button apertures on the cover plate to match the buttons on the
keypad and lower the bottom of the cover plate toward the bottom of the
keypad.
3. Engage the bottom clips.
REMOVING A SATURN COVER PLATE FROM A DLT KEYPAD
Figure 3: Removing a Saturn Cover Plate from a DLT Keypad
Follow the steps below to remove a Saturn cover plate from a DLT keypad.
1. Use a small flat head screwdriver to push each of the (2) release locks up
to disengage the lower clips.
2. Swing the lower end of the cover plate away from the grid plate slightly.
3. Push the cover up gently and pull to release the upper clips.
SUPPORT AND SERVICE
Contact the Square D Customer Information Center for technical support by phone at 1-888-Square D (1-888-778-2733)
or e-mail at lightingcontrol.support@us.schneider-electric.com.
®
Contact your local Square D service representative or Clipsal certified installer for repairs or service to your network.
You may also find helpful information on our web site at www.squaredlightingcontrol.com.
Schneider Electric, USA
320 Tech Park Drive
La Vergne, TN, 37086
1-888-SquareD (1-888-778-2733)
www.squaredlightingcontrol.com
Square D, , Clipsal, C-Bus, Saturn and Neo are trademarks or registered trademarks
of Schneider Electric and/or its affiliates in the United States and/or other countries.
Electrical equipment should be installed, operated, serviced, and maintained only by
qualified personnel. No responsibility is assumed by Schneider Electric for any
consequences arising out of the use of this material.
© 2008 Schneider Electric. All Rights Reserved.
63249-420-311A1
10/2008


