Multi-unit abutment open
tray technique using the
direct pick-up coping
impression techniques
Multi-unit abutment open tray technique using the direct pick-up coping
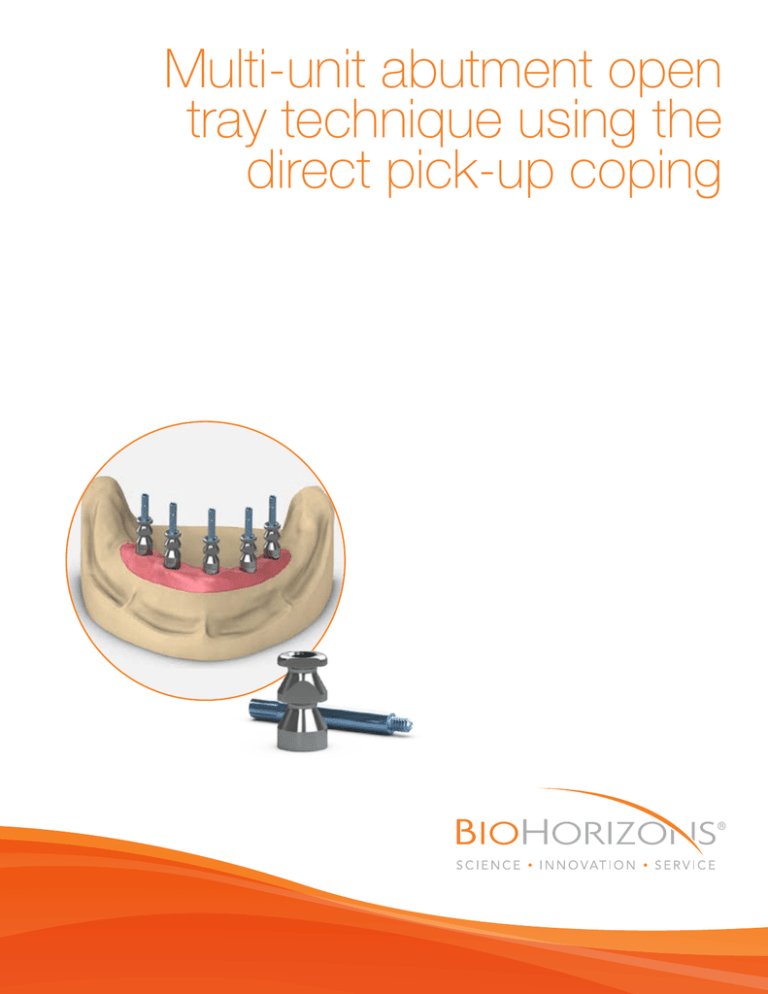
Use this technique to make an impression of Multi-unit abutments utilizing an open tray, direct pick-up method* for fabrication of a working
model at the dental laboratory. This procedure creates a model that represents the exact position of the Multi-unit abutments and the soft tissue
profile.
*The direct pick-up impression may be made with a modified stock impression tray or a custom impression tray. Modify a stock impression tray
by making holes in the occlusal surface of the tray in the same positions as the implants.
Please see custom impression tray fabrication module for further instruction.
component options
•
•
•
•
•
•
1
Multi-unit direct pick-up copings
.050” (1.25mm) hex driver
Multi-unit hex adapter
torque wrench
Multi-unit abutment replicas
Multi-unit protection analogs
Remove the cover caps or healing abutments
Option A - The patient presents with a provisional
restoration in place.
Remove the provisional restoration with an .050”
(1.25mm) hex driver. Confirm that the abutment
prosthetic platform is free of any debris or soft
tissue.
Option B - The patient presents with Multi-unit abutments
and cover caps.
Remove the Multi-unit abutment cover caps with
an .050” (1.25mm) hex driver. Confirm that the
abutment prosthetic platform is free of any debris
or soft tissue.
Option C - The patient presents with healing abutments.
Refer to Multi-unit abutment hybrid or fixeddetachable screw-retained restoration or Multiunit abutment bar overdenture modules. After
the abutments are seated, proceed with the steps
in this technique.
Helpful Hint:
When making impressions of multiple units, remove the
cover caps and place the impression copings working
from the posterior to the anterior.
2
Tighten the Multi-unit abutments
Tighten the Multi-unit abutments or abutment screws
(for angled Multi-unit abutments) to 30 Ncm using
a calibrated torque wrench and the 4mm square
Multi-unit hex adapter (straight Multi-unit abutments)
or an .050” (1.25mm) hex driver (angled Multi-unit
abutments).
L02015-010 REV D AUG 2016
Page 1 of 3
customer care:
888.246.8338
impression techniques
Multi-unit abutment open tray technique using the direct pick-up coping
3
Seat the direct pick-up copings
Place the Multi-unit direct pick-up copings onto the
Multi-unit abutments using the long pick-up coping
screw. Hand tighten.
4
Make a full-arch impression
Try in the custom impression tray or modified stock tray
to verify the coping screws protrude through without
interference.
Syringe a medium or heavy body elastomeric
impression material around the coping bodies, leaving
the screws exposed. Load the tray with impression
material and make the impression.
Before the material sets, use your finger to wipe the
impression material from the top of the screws so they
are exposed for access.
5
Remove the coping screw & impression
After the impression material has set, remove the
coping screws by hand or with an .050” (1.25mm) hex
driver, and remove the tray from the mouth. Verify the
impression material is completely adapted around the
pick-up copings. Replace the cover caps on the Multiunit abutments.
send to lab
•
•
•
•
•
•
impression with copings inside
coping screws
Multi-unit abutment replicas
opposing model or impression
bite registration
prescription with lab instructions
L02015-010 REV D AUG 2016
Page 2 of 3
customer care:
888.246.8338
impression techniques
Multi-unit abutment open tray technique using the direct pick-up coping
6
Lab step - Attach the replicas to the copings
Attach the Multi-unit abutment replicas to the direct
impression copings in the impression and insert the
long, Multi-unit prosthetic screws through the access
holes in the impression tray. Hand tighten the screws.
Use a soft tissue model material around the abutment
replicas.
Verify proper replica seating and apply lubricant around
the replicas where soft tissue needs to be added.
7
Lab step - Fabricate the stone model
Fabricate a working model in minimal expansion, high
hardness die stone. Articulate using normal laboratory
procedures.
L02015-010 REV D AUG 2016
Page 3 of 3
customer care:
888.246.8338
notes
customer care:
888.246.8338
notes
customer care:
888.246.8338
notes
customer care:
888.246.8338
Direct Offices
BioHorizons USA
888-246-8338 or
205-967-7880
BioHorizons Canada
866-468-8338
BioHorizons Spain
+34 91 713 10 84
BioHorizons UK
+44 (0)1344 752560
BioHorizons Germany
+49 761-556328-0
BioHorizons Chile
+56 (2) 23619519
BioHorizons Italy
800-063-040
Distributors
For contact information in our 90 countries, visit www.biohorizons.com
BioHorizons®, Laser-Lok®, MinerOss®, AutoTac®, Mem-Lok® and TeethXpress® are registered trademarks of BioHorizons. Unigrip™ is a trademark of Nobel Biocare AB. Zimmer® Dental
ScrewVent® and Tapered ScrewVent® are registered trademarks of Zimmer, Inc. AlloDerm® and AlloDerm GBR® are registered trademarks of LifeCell Corporation. Grafton® DBM is a registered
trademark of Medtronic, Inc. Spiralock® is a registered trademark of Spiralock Corporation. Pomalux® is a registered trademark of Westlake Plastics Co. Locator® is a registered trademark of
Zest Anchors, Inc. Delrin® is a registered trademark of E.I. du Pont de Nemours and Company. Bio-Gide® is a registered trademark of Edward Geistlich Sohne AG Fur Chemische Industrie.
Not all products shown or described in this literature are available in all countries. As applicable, BioHorizons products are cleared for sale in the European Union under the EU Medical Device
Directive 93/42/EEC and the tissues and cells Directive 2004/23/EC. We are proud to be registered to ISO 13485:2003, the international quality management system standard for medical
devices, which supports and maintains our product licences with Health Canada and in other markets around the globe. Original language is English. ©BioHorizons. All Rights Reserved.
This prosthetic technique module may contain references to the complete Prosthetic Manual (L02015).
To download the full Prosthetic Manual, please visit www.biohorizons.com
Made in
the USA
shop
online
at
store.biohorizons.com
L02015-010 REV D AUG 2016

