Vision M3 Contact us for more information or technical support Toll
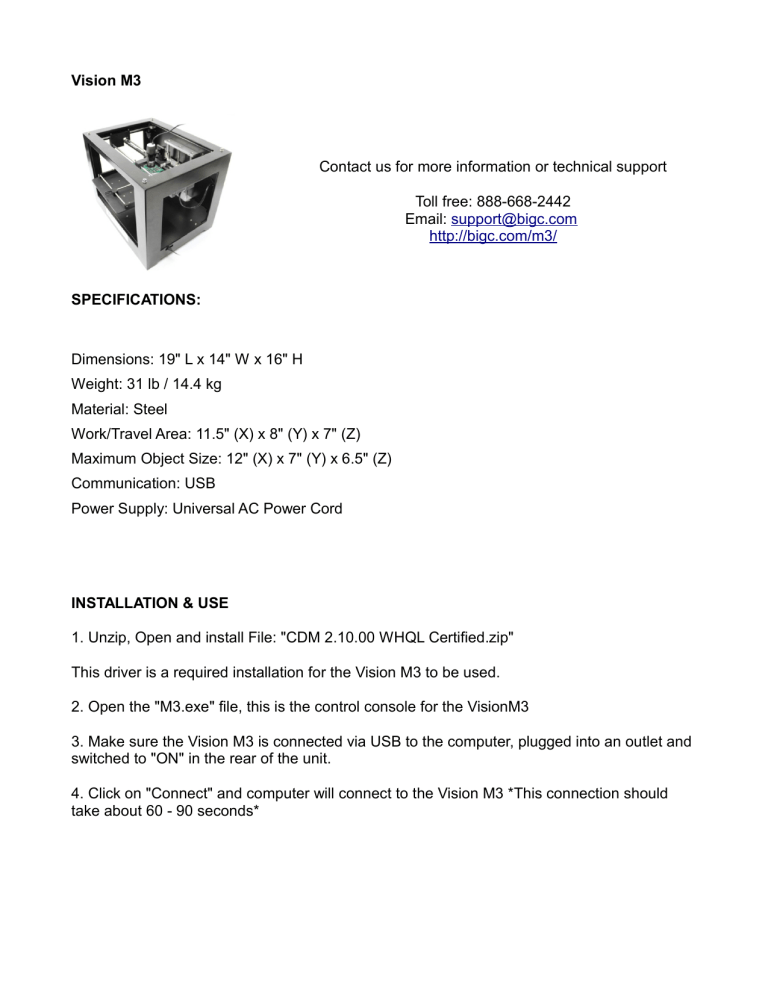
Vision M3
Contact us for more information or technical support
Toll free: 888-668-2442
Email: support@bigc.com
http://bigc.com/m3/
SPECIFICATIONS:
Dimensions: 19" L x 14" W x 16" H
Weight: 31 lb / 14.4 kg
Material: Steel
Work/Travel Area: 11.5" (X) x 8" (Y) x 7" (Z)
Maximum Object Size: 12" (X) x 7" (Y) x 6.5" (Z)
Communication: USB
Power Supply: Universal AC Power Cord
INSTALLATION & USE
1. Unzip, Open and install File: "CDM 2.10.00 WHQL Certified.zip"
This driver is a required installation for the Vision M3 to be used.
2. Open the "M3.exe" file, this is the control console for the VisionM3
3. Make sure the Vision M3 is connected via USB to the computer, plugged into an outlet and switched to "ON" in the rear of the unit.
4. Click on "Connect" and computer will connect to the Vision M3 *This connection should take about 60 - 90 seconds*
M3 USER INTERFACE
TROUBLESHOOTING
After installing drivers, if Vision M3 is not connecting or working properly:
A) Check if drivers were properly installed and configured:
Open Device Manager in Control Panel or from Start Menu search for "Device Manager"
Check the section for "Ports (COM & LPT)"
If there is a yellow exclaimation point it is not configured properly.
Right-click on the USB Serial Port with the issue and select Update Driver Software.
Choose "Browse my computer for driver software"
Navigate to the folder with the Driver Files: "CDM 2.10.00 WHQL Certified" or similar and select folder to update.
In the event that a different Yellow Exclaimation Mark appears after these steps, REPEAT these steps on the new device.
B) Check COM Port#:
Open Device Manager in Control Panel or from Start Menu search for "Device Manager"
Right click the "USB Serial Port" and select properties.
COM must be between 2-9.
From Properties > Ports > USB Serial Port > Properties > Port Settings > Advanced >
Change COM Port number to any available between 2-9.
If COM# is okay but Vision M3 is still not working, try to uninstall/reinstall the drivers in Device
Manager.
Right click on the Vision M3 and select uninstall. *Do not delete the drivers during this process*
REFERENCE
Port: The USB connection of the M3 to your computer using a virtual COM port
· Connect - Starts the connection of the M3 to the computer
· Close - Ends the connection of the M3 to the computer
· Scan - Checks for any connections via COM ports
Reference ID: This is a text field for the current Path when added to the Path List the label will be applied as a name.
Position: This is the location of the Dino-Lite on the M3 platform.
Speed: Control for the rate of movement for the Dino-Lite on the M3
Duration: The amount of seconds to pause at every step on the Path List
Path List: Work flow list of the added paths.
· Add - Adds the current Position, Reference ID and Each Ste (Action), to the Path List
· Replace -Replaces the selected existing step with the the current Position, Reference ID and Each Ste (Action), to the Path List
· Insert - Insert the current Position, Reference ID and Each Ste (Action), to the Path List above the current step
· Clear - Deletes the selected step on the Path List
· Clear All - Deletes all steps on the Path List
Run: Starts the Path List
Pause: Pauses the Path List, Clicking Run following this will resume the current Path List step
Stop: Stops the Path List. Clicking Run following this will begin the Path List from the beginning
Save As: Save the Path List to be used again. Path can be loaded from Project > Open
Repeat: Use this area to choose how many cycles to repeat the Path List. Cycles are the full path list to be run.
