Let`s Invent! - Chicago Children`s Museum
advertisement
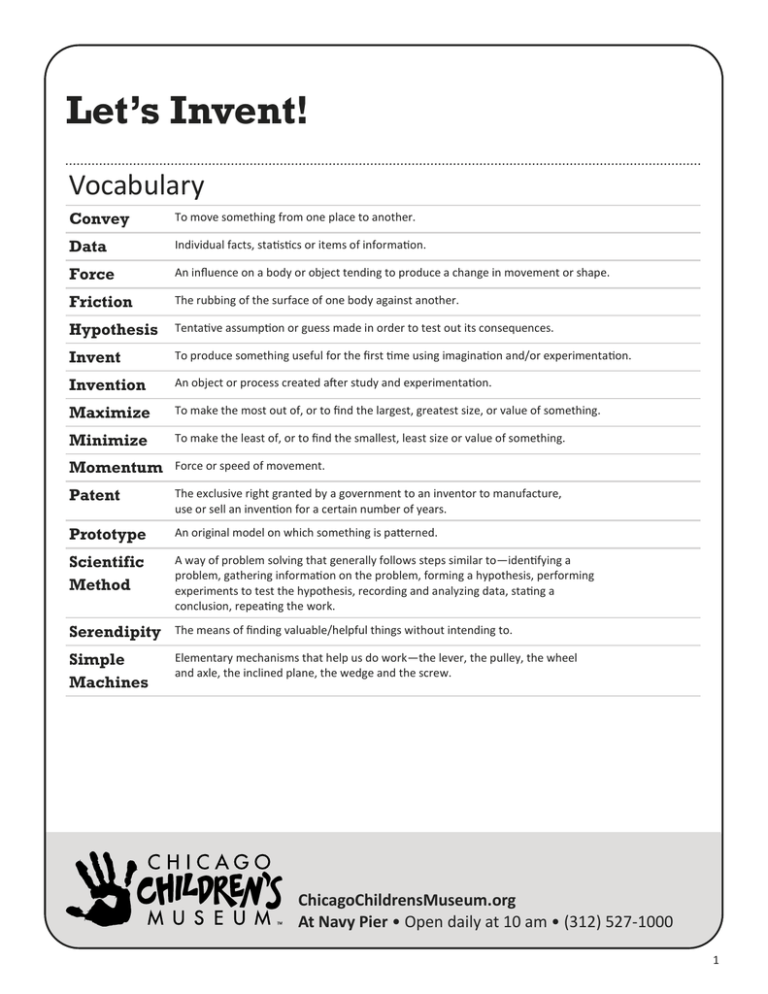
Let’s Invent! Vocabulary Convey To move something from one place to another. Data Individual facts, statistics or items of information. Force An influence on a body or object tending to produce a change in movement or shape. Friction The rubbing of the surface of one body against another. Hypothesis Tentative assumption or guess made in order to test out its consequences. Invent To produce something useful for the first time using imagination and/or experimentation. Invention An object or process created after study and experimentation. Maximize To make the most out of, or to find the largest, greatest size, or value of something. Minimize To make the least of, or to find the smallest, least size or value of something. Momentum Force or speed of movement. Patent The exclusive right granted by a government to an inventor to manufacture, use or sell an invention for a certain number of years. Prototype An original model on which something is patterned. Scientific Method A way of problem solving that generally follows steps similar to—identifying a problem, gathering information on the problem, forming a hypothesis, performing experiments to test the hypothesis, recording and analyzing data, stating a conclusion, repeating the work. Serendipity The means of finding valuable/helpful things without intending to. Simple Machines Elementary mechanisms that help us do work—the lever, the pulley, the wheel and axle, the inclined plane, the wedge and the screw. ChicagoChildrensMuseum.org At Navy Pier • Open daily at 10 am • (312) 527-1000 1 Let’s Invent! Alignment with NGSS ETS1.A: Defining and Delimiting an Engineering Problem ETS1.B: Developing Possible Solutions Activity: What Can You Make of It? In this activity, students explore alternative uses of a simple paper cup. Materials One paper cup and scissors per child (or per pair) Data sheet (included, following lesson) Procedure 1. Hide the cups in a paper bag and tell students you have something to give them. Pretend that you don’t recognize the objects. Explain that they are going to be detectives, so they need their pencils to keep track of clues and make sketches. 2. Take out the cups and hand one to each student while playing up that fact that you haven’t the foggiest idea what they are. You can even add that each of the objects is different. 3. Give each student a copy of the data sheet (included). Ask them to investigate what the object is and to list all the possible uses for it. They will most likely conclude that the objects are cups, but ask them to investigate further. “Which way is the right side up? Why? Could the item be used on its side? How could the shape be changed? Would it float? Does it fly? Does it roll? What tests could be performed to answer these questions?” 4. Distribute scissors and ask students to experiment with the object, cutting it any way they like. 5. End the activity by having students share their discoveries. How many uses for the object were they able to come up with? Extension activity Try giving students one more object to use with the cup: a piece of tape, a clothespin, a paper clip, etc. Fun Fact The invention of the rubber band happened through this type of exploration. During the 1800’s bottles were often made of rubber. A man-made cuts across a rubber bottle and came up with a wide rubber band, which he realized worked well to hold bundles. ChicagoChildrensMuseum.org At Navy Pier • Open daily at 10 am • (312) 527-1000 2 Let’s Invent—Object Investigation What is this mysterious object that you have been given? It is up to you to solve the mystery by discovering the full potential of this item. Use the following guidelines to help you in your detective work. Draw a picture of the item you have been given and describe it below. _________________________________________________ _________________________________________________ _________________________________________________ _________________________________________________ What are the possible uses for your object? _________________________________________________ _________________________________________________ _________________________________________________ _________________________________________________ Determine what you think is the best use for your mystery object and describe it in the space below and with a diagram (drawing). _________________________________________________ _________________________________________________ _________________________________________________ _________________________________________________ ________________________________________________ My object is a _______________________________________________________________________ ChicagoChildrensMuseum.org At Navy Pier • Open daily at 10 am • (312) 527-1000 3 Let’s Invent! Alignment with NGSS ETS1.A: Defining and Delimiting an Engineering Problem ETS1.B: Developing Possible Solutions Activity: Invent on the Spot Students are challenged to creatively reuse common materials while inventing a clever contraption to save a stuck superball. Materials Clear plastic or glass containers that have large enough holes to fit a super ball, but small enough that a student’s hand will not fit. This is the “drain pipe” ; clear piping can be purchased cheaply at home improvement stores. Bottles of water (should not be able to fill more that half of the “drain pipe”). This is the “juice”. Superballs (1 per group) “Junk”: an assortment of pipe cleaners, paper clips, clothespins, popsicle sticks, string, twist ties, etc. (Use one complete set of junk for each group) Procedure 1. Give a drain container (“drain pipe”) and a bottle of water (“juice”) to each group of students. 2. Explain the following scenario to the class: Your mom sent you to the store to get some juice. Because you were kind enough to do this favor, she gave you some money to buy a toy. You’re walking home from the store with the juice and bouncing your brand new superball, when it suddenly disappears down a drain pipe! (Drop a ball into each group’s pipe) You can see the ball, but can’t fit your hand through to reach it. What can you do? Look around and see if you can find anything useful to you. 3. Hand out the junk or let teams come up and choose which items they would like to experiment with. 4. Explain the rules: You may use or combine these materials in any way to help you solve your problem. You may not move the drain pipe in any way. You may use anything you happen to have in your pocket as well. If something falls into the drain pipe, it is stuck there. If someone asks, yes, they may use the “juice” to help retrieve their superball. 5. Have students begin experimenting with the junk. 6. Have students record what worked and what didn’t and present the findings to the class. ChicagoChildrensMuseum.org At Navy Pier • Open daily at 10 am • (312) 527-1000 4 Alignment with NGSS Let’s Invent! ETS1.A: Defining and Delimiting an Engineering Problem ETS1.B: Developing Possible Solutions W.1.2: Write informative/explanatory texts W.1.7: Participate in shared research and writing projects Activity: Invention Investigation Students can learn more about the inventing process by researching things invented in the Chicagoland area. Materials Access to research materials or time in the school library Procedure 1. Assign students to teams to investigate a Chicago invention and present their finding to the class. Invention ideas include: Cracker Jack: Invented and first sold by F.W. Rueckheim, a Chicago popcorn vendor, in 1893. The premium, or prize, that Cracker Jack is well known for, was not added until 1912. The Zipper: in 1891, Whitcomb L. Judson, a Chicago mechanical engineer, invented a “clasp locker and unlocker for shoes,” which was later called “C-curity” when used for pants and skirts. Only after further improvements by another inventor (Gideon Sundback) in 1912 did it fully function like today’s zipper. Royal Flushometer: Developed in 1906 by William Sloan, a Chicago contractor, the royal flushometer was a plumbing fixture that allowed toilets to be flushed without a toilet tank, saving water and reducing the time between flushes. The design has changed little since it was invented, and is the kind of toilet flusher you probably have at your school. Weber Grill: George Stephen decided to build a better outdoor cooking grill because the one he had did not cook food evenly. He worked for a sheet metal company and so he had access to the materials and tools needed to create the round dome grills that are now iconic of the Weber Grill. He began selling them in 1952. Tinker Toys: Tinker Toys entered the market in 1912 in Evanston, Illinois. These building toys are said to be inspired by children playing with pencils and spools. Charles Pajeau spotted the kids at work and then worked to create building toys that functioned similarly to pencils and spools. Extension activity Have the teams design improvements to the invention. Have them sketch the new plans and reasoning behind the changes/improvments. ChicagoChildrensMuseum.org At Navy Pier • Open daily at 10 am • (312) 527-1000 5 Let’s Invent! Alignment with NGSS ESS3.K-2: Influence of Engineering, Technology and Science on Society and the Natural World SL.1.1: Participate in collaborative conversations about topics. Activity: Inventions A-Z Students can start thinking about how important inventions are to their daily lives by creating a Invention ABC book. Materials Paper Crayons, markers or other art materials Books about inventions Procedure 1. Ask students how they would define the word “invention.” One way of putting it is that an invention is something new or different that solves a problem. Inventions are everywhere! 2. Write the letters of the alphabet on the board. As a class, brainstorm a list of inventions, and try to come up with one invention for every letter. Students can think about things they used to get ready, things around the classroom or inventions they read about in a book. If at the end of the brainstorm you have letters with no invention, have students look through invention books in groups for ideas until you have an idea for each letter. You may need to jump in for the letter X! 3. Once the invention alphabet is completed, assign students to different letters and have them create a picture of the invention and write a sentence about how the invention is used. Older students might also include information on how it was invented. 4. If you have more than 26 students, double up on letters or create a page dedicated to the definition of an invention or to the class’ favorite invention if you take a vote. 5. Once completed, bind the book together and add it the class library. ChicagoChildrensMuseum.org At Navy Pier • Open daily at 10 am • (312) 527-1000 6 Let’s Invent! Alignment with NGSS ETS1.A: Defining and Delimiting an Engineering Problem ETS1.B: Developing Possible Solutions ETS1.C: Optimizing the Design Solution Activity: Silly Putty Investigation Although not inventing in the strictest sense, this activity is a wonderful way to reinforce the scientific process and strategies for problem solving as students experiment with silly putty recipes. Materials White school glue Liquid laundry starch (one 32 oz bottle or smaller) Measuring spoons of different sizes to share Cups and stirrers Food coloring (optional) Data chart (included) Procedure 1. Tell the Silly Putty story (on the next page) to your students. 2. Discuss! Ask your students if Silly Putty was a planned invention or if it happened accidentally—in a sense it was both. 3. Then ask the class if they think they could make a Silly Putty through their own testing. Sure they can! Just like Peter Hodgson, we have the basic ingredients needed and have played with this substance before, most likely. Now all we need to do is conduct some tests with the ingredients. 4. Experiment using the glue and starch. Students can work with partners or in small groups to create their own Silly Putty. Use the chart (included) to have students log their process and record the amounts of glue and starch used. 5. Remind them that collecting data is an essential part of the scientific process. How else could you repeat your success? ChicagoChildrensMuseum.org At Navy Pier • Open daily at 10 am • (312) 527-1000 7 Let’s Invent – Silly Putty Story The Problem In the 1940’s (during WWII), the United States’ government needed more rubber for airplane tires, soldiers’ boots and other uses. Unfortunately there was not enough natural rubber (the kind that comes from the rubber tree) available, so someone needed to invent a synthetic (or human-made) rubber. Investigation Resources Silicon was a substance found in sand that was believed to be appropriate for making this synthetic rubber. Since there is a lot of sand (and therefore silicon) available, the government asked several large companies to have their engineers (scientists) try to make a rubber substitute. Experimenting One day James Wright, an engineer at General Electric, was doing tests with silicon oil. He tried adding a chemical called boric acid and came up with a useless gooey substance that bounced, so he had to start over! Five years later, in 1949, a man named Peter Hodgson thought of an idea for this useless goo. Through his own experimenting, he thought this goo would make a great toy. So he borrowed $147, encased the goo in plastic “eggs” and called it “Silly Putty.” It was first sold to adults and then several years later to children. Through many adults and children playing with (and testing!) Silly Putty over the years, it has come to have a variety of uses. Can you name any? Maybe you could create a new use for Silly Putty. After making their own versions of Silly Putty, have the class compare it to similar substances in stores. How are they alike? How are they different? ChicagoChildrensMuseum.org At Navy Pier • Open daily at 10 am • (312) 527-1000 8 Silly Putty Investigations: Creating Your Own Recipe On the chart below record your Silly Putty Recipe. Describe the results of each. Then, decide which batch turned out better. Ingredient Amount in Batch #1 Amount in Batch #2 White glue Liquid laundry soap Starch Food coloring Describe your results: Batch 1: ________________________________________________________________________________________ ________________________________________________________________________________________ ________________________________________________________________________________________ ________________________________________________________________________________________ Batch2: ________________________________________________________________________________________ ________________________________________________________________________________________ ________________________________________________________________________________________ ________________________________________________________________________________________ My best batch was: ________________________________________________________________________ ChicagoChildrensMuseum.org At Navy Pier • Open daily at 10 am • (312) 527-1000 9 Let’s Invent! Alignment with NGSS ETS1.A: Defining and Delimiting an Engineering Problem ETS1.B: Developing Possible Solutions ETS1.C: Optimizing the Design Solution Activity: Art of Take Apart To understand how people invent things, it helps to take apart inventions and see what is inside. Students will explore the inner workings of familiar objects by safely taking things apart. Materials Items for take apart like old toys and electronics Screwdrivers of different sizes Magnifying glasses Take Apart worksheet (included) Procedure 1. Before doing this activity with your class, you’ll need to gather tools. Toys with moving parts and old electronics like phones and keyboards are great to take apart. Second hand stores are good places to find inexpensive things to explore. 2. Do a safety check, looking for rust or sharp edges. Cut off any cords. 3. Have students work in pairs or small groups. Give each group the object they’ll be taking apart and a take apart worksheet. 4. Have students draw a prediction of what’s inside and write a sentence explaining their picture. 5. Pass out screwdrivers and magnifying glasses to each group. Explain that they’re working as a team to open the object so everyone will need to take turns with the screwdriver. Give students plenty of working time to open the objects up completely. 6. Have students draw a picture of what was actually inside and write a sentence explaining their picture. 7. Have each group present their findings to the rest of the class. ChicagoChildrensMuseum.org At Navy Pier • Open daily at 10 am • (312) 527-1000 10 Let’s Invent—Take Apart I’m going to take apart a: ___________________________________________________________________________ I think it will look like this inside: _______________________________________________ _______________________________________________ _______________________________________________ _______________________________________________ _______________________________________________ _______________________________________________ _______________________________________________ _______________________________________________ It actually looked like this inside: _______________________________________________ _______________________________________________ _______________________________________________ _______________________________________________ _______________________________________________ _______________________________________________ _______________________________________________ _______________________________________________ ChicagoChildrensMuseum.org At Navy Pier • Open daily at 10 am • (312) 527-1000 11
