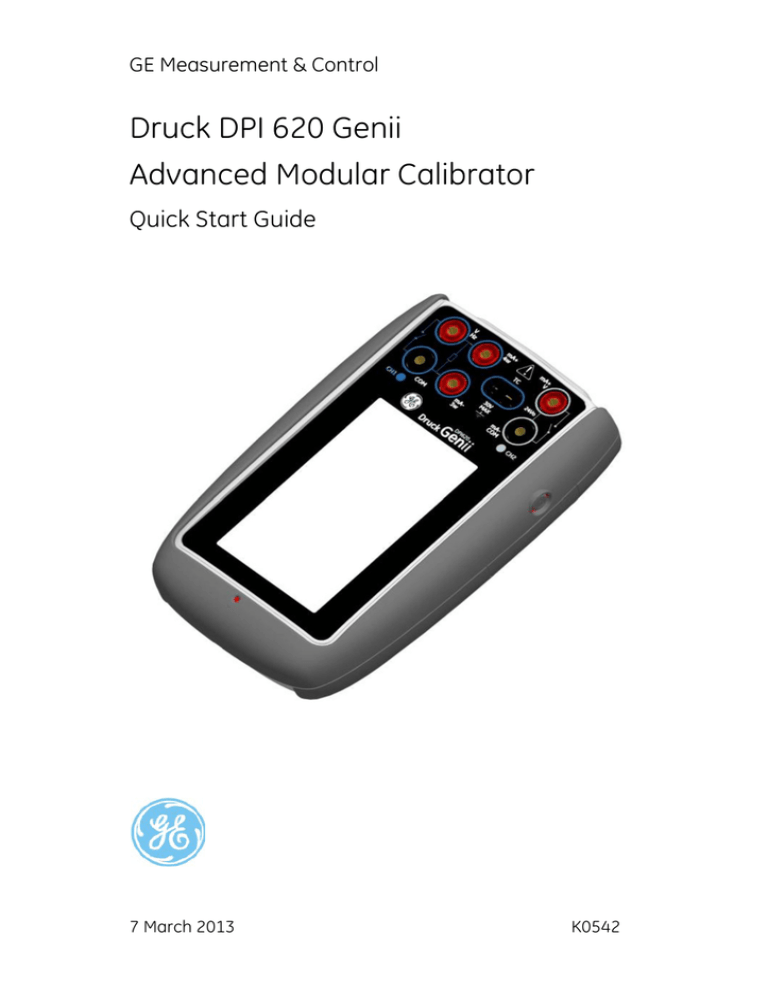
GE Measurement & Control
Druck DPI 620 Genii
Advanced Modular Calibrator
Quick Start Guide
7 March 2013
K0542
GE Measurement & Control
© 2013 General Electric Company. All Rights Reserved. Specifications are
subject to change without notice. GE is a registered trademark of General
Electric Company. Other company or product names mentioned in this
document may be trademarks or registered trademarks of their respective
companies, which are not affiliated with GE.
7 March 2013
K0542
Quick Start Guide
Druck DPI 620 Genii
1 Overview
The Druck DPI620 Genii is a battery-powered instrument for electrical
measure and source operations and HART® communications. The
Druck DPI 620 Genii also supplies the power and user interface
functions for all optional items. The touch-screen displays up to six
different parameters.
2 Equipment in the Box
The following items are supplied with the Druck DPI 620 Genii:
•
DC power supply/battery charger unit.
•
Li-polymer battery.
•
Set of six test leads.
•
AC Probe.
•
Quick Start Guide.
•
Stylus.
3 Optional Items
The items that follow are optional items which can be used with the
Druck DPI 620 Genii:
•
Pressure Module Carrier, MC 620, this attaches directly to the
Druck DPI 620 Genii to make a fully integrated pressure
instrument.
•
Pressure Module, PM 620, this attaches to the pressure module
carrier (MC 620) or a pressure station (PV 62X) to enhance the
pressure measurement functionality.
•
Pressure Stations, PV 62X, if the Druck DPI 620 Genii is installed in
a pressure station, it becomes a fully integrated pressure
calibrator.
7 March 2013
K0542 Initial Issue
1-1
Quick Start Guide
Druck DPI 620 Genii
WARNING
3.1 Electrical warnings
•
To prevent electrical shocks or damage to the instrument, do
not connect more than 30V CAT I between the terminals, or
between the terminals and the ground (earth).
•
External circuits should have appropriate insulation to the
mains.
•
To prevent electrical shocks, use only the GE specified AC
probe (Part: IO620-AC) to measure AC voltages that are more
than 20 Vrms. Do not connect more than 300V CAT II between
the IO620-AC leads, or between the leads and the ground
(earth). Attach it to the specified connections only.
•
This instrument uses a Lithium-Polymer (Li-Polymer) battery
pack. To prevent an explosion or fire, do not short circuit, do
not disassemble, and keep it safe from damage.
•
To prevent an explosion or fire, use only the GE specified
battery (Part: 191-356), power supply (Part: 191-339) and
battery charger (Part: IO620-CHARGER).
•
To prevent battery leakage or heat generation, only use the
battery charger and power supply in the temperature range 0
to 40°C (32 to 104°F).
•
The power supply input range is 100 – 240Vac, 50 to 60Hz,
250mA, installation category CAT II.
•
Position the power supply so not to obstruct the supply
disconnecting device.
•
To make sure the display shows the correct data, disconnect
the test leads before power is set to on or change to another
measure or source function.
•
To prevent a dangerous release of pressure, make sure that all
the related pipes, hoses and equipment have the correct
pressure rating, are safe to use and are correctly attached.
7 March 2013
K0542 Initial Issue
1-2
Quick Start Guide
Druck DPI 620 Genii
4 Install the Battery
1. Remove the five Pozidriv screws (A) (Ref: Fig 1, Rear View).
2. Remove the battery cover.
3. Check the connections on the battery line up with the connections
in the battery compartment.
4. Place the battery in the battery compartment.
5. Replace the battery cover.
6. Secure the cover with the five Pozidriv screws.
Fig 1 Rear View
5 Charge the Battery
1. Connect the DC power supply/battery charger unit in to the +5VDC
connection on the side of the unit (Ref: Fig 2 Side View).
2. The battery can also be charged using the USB connections (Ref:
Fig 2 Side View).
3. The unit can be On or Off when charging. Charging times maybe
longer if charging when the unit is On.
5.1 Battery Charging
Charging Connection
Charge Time
DC Power Supply
6.5 Hours
External Battery Charger
6.5 Hours
Mini USB Connection
13 Hours.
7 March 2013
K0542 Initial Issue
1-3
Quick Start Guide
Druck DPI 620 Genii
6 Basic Modes
6.1 Power On.
From OFF – press the power button (Ref: Fig 2, Side View) until the
dashboard is displayed.
6.2 Power Off.
Press and hold power button until the screen is blank.
6.3 Sleep Mode.
Press and release power for sleep mode.
6.4 Power up from Sleep Mode.
Ref: 6.1 Power On.
When powered-up from sleep mode the instrument always opens
the last screen shown before going into sleep mode.
6.5 Themes
Two themes are available GE Dark and GE Light, select the correct
theme for the light level. Select the Settings icon to access Themes.
.
Fig 2 Side View
7 March 2013
K0542 Initial Issue
1-4
Quick Start Guide
Druck DPI 620 Genii
7 Druck DPI 620 Genii, Modes (Ref: Fig 3, Dashboard)
The Druck DPI 620 Genii can be used as follows:
•
Calibrator (with independent functions on each of six channels).
• HART® Communicator
• Foundation Field-bus Communicator
• Scope
• Meter
• Calibrator.
7.1 The Dashboard navigation.
The dashboard is navigated by swiping a finger from top to bottom
while touching the screen.
Functions screens are navigated by swiping a finger from right to
left while touching the screen.
7.2 Set Date, Time and Language
Select the Settings icon to access Date, Time and Language menus.
7.3 Druck DPI 620 Genii Manual
Select the Manual icon on the Dashboard to access the manual. All
the information required to operate the Druck DPI 620 Genii is in
the manual section of the Dashboard.
Fig 3 Dashboard - Touch Screen
Note: Field-bus is not installed on all units.
7 March 2013
K0542 Initial Issue
1-5
Quick Start Guide
Druck DPI 620 Genii
8 Example Dashboard Functions
8.1 Calibrator
Fig 4 Calibration Screens
Use this application to compare the output of a test device/system
with the input.
Advanced calibrator features
•
Data logging capabilities. Store test results.
•
Documenting capabilities. Perform automatic procedures and
store the results.
8.2 HART®
Fig 5 HART® Screen
7 March 2013
K0542 Initial Issue
1-6
Quick Start Guide
Druck DPI 620 Genii
Use the HART® application to do the following:
•
Communicate with HART® protocol devices
•
Read and change HART® device settings
•
Trim and calibrate HART® device variables.
9 Over-voltage Categories
The following summary of installation and measurement over-voltage
categories come from IEC61010-1. The four over-voltage categories,
are CAT I to CAT IV, which indicate the severity of an over-voltage
transient.
Over-voltage
Category
Description
CAT I
This is the least severe over-voltage transient. CAT I
equipment cannot be directly connected to the mains
power. An example of CAT I equipment is a process
loop powered device.
CAT II
This is for single phase electrical installation. Examples
are appliances and portable tools.
10 General Specification
Refer to Data Sheet.
11 Environmental Conditions
Refer to Data Sheet.
12 Customer Service
www.ge-mcs.com
7 March 2013
K0542 Initial Issue
1-7
Quick Start Guide
Druck DPI 620 Genii
Intentionally Blank
7 March 2013
K0542 Initial Issue
1-8


