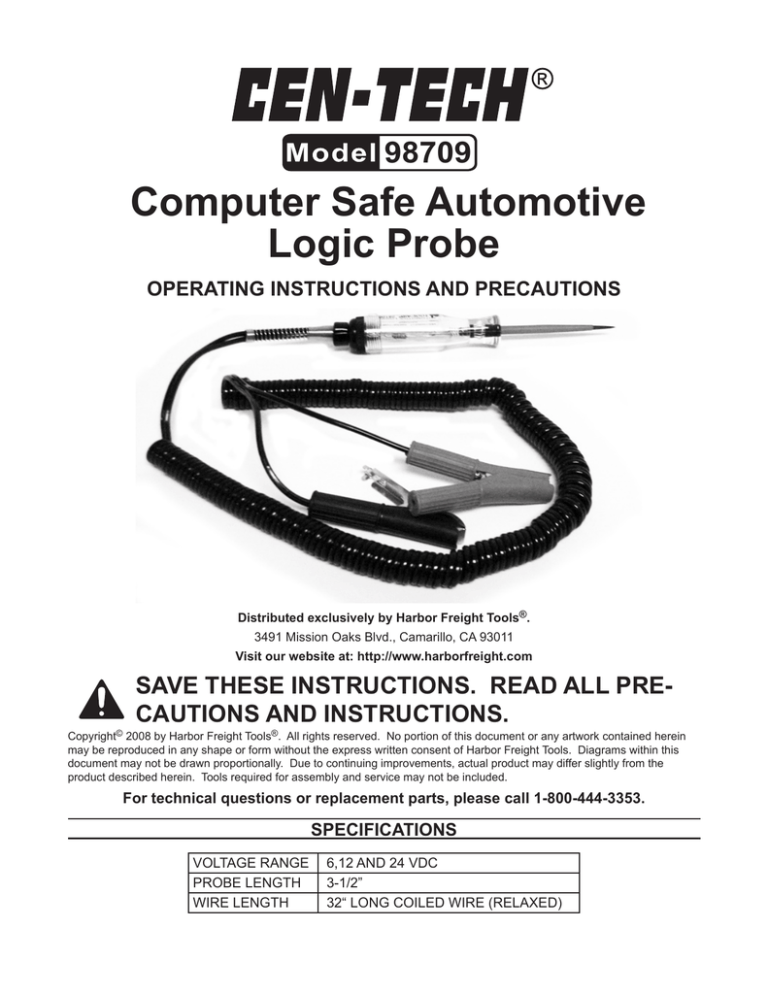
98709
Computer Safe Automotive
Logic Probe
OPERATING Instructions and precautions
Distributed exclusively by Harbor Freight Tools®.
3491 Mission Oaks Blvd., Camarillo, CA 93011
Visit our website at: http://www.harborfreight.com
Save these instructions. Read all precautions and instructions.
Copyright© 2008 by Harbor Freight Tools®. All rights reserved. No portion of this document or any artwork contained herein
may be reproduced in any shape or form without the express written consent of Harbor Freight Tools. Diagrams within this
document may not be drawn proportionally. Due to continuing improvements, actual product may differ slightly from the
product described herein. Tools required for assembly and service may not be included.
For technical questions or replacement parts, please call 1-800-444-3353.
Specifications
VOLTAGE RANGE
PROBE LENGTH
WIRE LENGTH
6,12 AND 24 VDC
3-1/2”
32“ LONG COILED WIRE (RELAXED)
Unpacking
When unpacking, check to make sure that
the item is intact and undamaged. If any parts are
missing or broken, please call Harbor Freight tools
at: 1-800-444-3353.
LIMITED 90 DAY WARRANTY
Harbor Freight Tools Co. makes every effort
to assure that its products meet high quality and
durability standards, and warrants to the original
purchaser that this product is free from defects
in materials and workmanship for the period of
90 days from the date of purchase. This warranty
does not apply to damage due directly or indirectly, to misuse, abuse, negligence or accidents,
repairs or alterations outside our facilities, criminal
activity, improper installation, normal wear and
tear, or to lack of maintenance. We shall in no
event be liable for death, injuries to persons or
property, or for incidental, contingent, special or
consequential damages arising from the use of
our product. Some states do not allow the exclusion or limitation of incidental or consequential
damages, so the above limitation of exclusion
may not apply to you. This warranty is
expressly in lieu of all other warranties, express or implied, including the
warranties of merchantability and
fitness.
To take advantage of this warranty, the
product or part must be returned to us with transportation charges prepaid. Proof of purchase
date and an explanation of the complaint must
accompany the merchandise. If our inspection
verifies the defect, we will either repair or replace
the product at our election or we may elect to
refund the purchase price if we cannot readily and
quickly provide you with a replacement. We will
return repaired products at our expense, but if we
determine there is no defect, or that the defect
resulted from causes not within the scope of our
warranty, then you must bear the cost of returning
the product.
This warranty gives you specific legal rights
and you may also have other rights which vary
from state to state.
3491 Mission Oaks Blvd. • PO Box 6009 •
Camarillo, CA 93011 • (800) 444-3353
Important SAFETY Information
1. Use only for 6/12/24 Volt automotive circuits.
2. Refer to service manual for circuit diagrams
and specific test procedures before use.
3. Keep children away. Children must never
be allowed in the work area. Do not let them
handle this product.
4. Store idle equipment. When not in use, tools
must be stored in a dry location to inhibit rust.
5. Wear ANSI approved impact safety goggles
when using this product.
6. When working on a vehicle with engine
running, be careful of hot or moving engine
components. Keep well clear of moving engine
parts.
instructions
1. Before use, check to see if the probe is
working properly. Connect the Logic Probe
clips to the vehicle’s battery. Connect the red
clip to the positive (+) terminal and the black
clip to the negative (-) terminal. Touch the
probe to the positive (+) battery terminal, the
LED should glow red. Touch the probe to the
negative (-) terminal, the LED should glow
green.
2. Turn the power ”ON” to the component or
circuit to be tested. (The ignition may need to
be in the “ON” or “ACCESSORY” position, and
the engine may need to be running.)
3. Touch the component or circuit wire with the
probe’s tip. The LED will glow red if a positive
(+) source is probed or green if a negative (-)
source is probed.
4. If the LED does not glow at all, the probe may
not be making contact with the wire, the wiring
or component may be faulty, power may not
be reaching the circuit, or the circuit may not
be properly grounded.
5. When done, remove the red clip first then the
black clip from battery terminals.
maintenance
To clean, remove both clamps from the battery.
Wipe exterior with a clean damp cloth, and use
mild soap or detergent if necessary. Dry thoroughly. Do not use solvents or immerse in any liquid.


