Ciscomotors Ciscomotors
advertisement

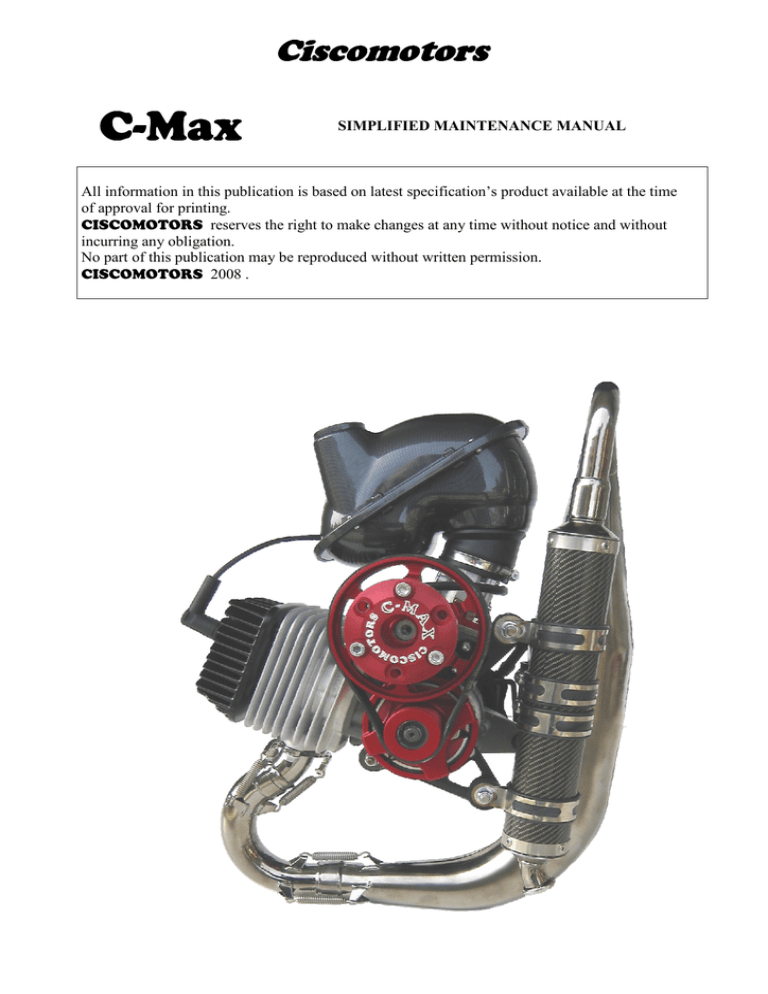
Ciscomotors C-Max SIMPLIFIED MAINTENANCE MANUAL All information in this publication is based on latest specification’s product available at the time of approval for printing. CISCOMOTORS reserves the right to make changes at any time without notice and without incurring any obligation. No part of this publication may be reproduced without written permission. CISCOMOTORS 2008 . Page 2 INDEX 1. OPERATING INSTRUCTIONS • • • 1.1 Basic operation 1.2 Start engine 1.3 Running in procedure 2. SPECIFICATIONS • • 2.1 Engine installation on chassis 2.2 Technical characteristics 3. MAINTENANCE • • • 3.1 General service information 3.2 Routine cleaning 3.3 Maintenance schedule 4. STORAGE Page 3 Page 3 Page 4 Page 6 Page 7 Page 7 Page 8 Page 9 Page 9 Page 9 Page 10 Page 11 5. 6. ASSEMBLY/DISASSEMBLY STARTER Page 12 7. REGULATION BELT TRANSMISSION Page 13 8. REGULATION CARBURATION Page 14 9. ELECTRICAL SCHEDULE C-MAX ELECTRIC Page 15 10. TROUBLESHOOTING Page 16 • • • 10.1 The engine don’t start 10.2 Engine laks power 10.3 Exessive vibrations of the engine 11. TORQUE VALUES ENGINE Page 16 Page 16 Page 17 Page 18 Page 3 1. OPERATING INSTRUCTIONS 1.1 BASIC OPERATION FUEL • C-Max has a two-stroke engine that requires a gasoline-oil mixture. • Use gasoline with a pump octane number of 92 or higher .If “knocking” or “pinging” occurs, try a different brand of gasoline or a higher octane grade. • To mix gasoline and oil in a ratio of 33:1. Prepare the fuel mixture in a clean container fig. 1 , and shake until thoroughly mixed before filling the fuel tank. • USE A GOOD QUALITY OF SYNTHETIC 2-STROKE OIL CAUTION: To much oil will cause excessive smoking and spark plug fouling. Too little oil will cause engine damage or premature wear. Mix fuel in a ratio of 40 parts gasoline to 1 part oil (33:1) • Vegetable oils separate from gasoline more easily than mineral oils, especially in cold weather. It is advisable to use synthetic oil. CAUTION: • Do not mix vegetable and mineral based oils. WARNING • Gasoline is extremely flammable and is explosive under certain conditions. Perform this operation in a wellventilated area with the engine stopped. Do not smoke or allow flames or sparks in the area where gasoline is drained or stores and where the fuel tank is refuelled. FUEL 92/98 octane Synthetic oil litres cl 1 2 3 4 5 10 0,3 0,6 0.9 12 15 30 Figure 1 Page 4 1.2 START ENGINE WARNING • Never run the engine in an closed area. The exhaust contains poisonous carbon monoxide gas that can cause loss of consciousness and may lead to death. • Attention to start the engine without the reducer provokes the outbreak of the clutch and can cause injury or damages. • Never run the engine without propeller. • The starter attempt can carry to the spin of the propeller and therefore to possible lesions. • The motor running emits disturbs electromagnetic Version manual starter with clutch: 1. Starter engine to warm: 2. Don’t engulf the engine but make sure the gasoline goes in intake pipe. 3. Insert the Block Clutch System (Fig.1) 4. Grasp the start and pull gently just after point more hard (try repeatedly to be sure) 5. Pull whit energy the handgrip without speed for 3 o 4 and without groped to start. 6. Pull with energy the handgrip and speed slightly after first turn of engine. 7. In case of start failed to repeat again the operation. 8. After starter engine heat it 2/3 minutes speeding from 3000 to 4000 turns max. Figure 1 Starter the engine to warm: 1. To carry in a pressure (by manual pump) circuit of the gasoline, if necessary help by press the diagram. Fig. 2 1 2 Insert the Block Clutch System (Fig.1) Pull with energy the handgrip and speeding slightly. Stopping The Engine • . Figure 2 Press the stop button of the engine until the engine stop completely. Page 5 Version manual starter without clutch: Version electric starter: 1. To carry in pressure the circuit of the gasoline, to help itself pressing the pushbutton (Fig.2) 2. Don’t engulf the engine but make sure the gasoline goes in intake pipe. 3. Act on the start button without speed for 5 or 6 turns engine. 4. In case of start failed to repeat again the operation. 1. To carry in a pressure the circuit of the gasoline, to help itself pressing the diagramm (Fig.2) 2. Don’t engulf the engine but make sure the gasoline goes in intake pipe. 3. To pull the starter and delicately pull just after the hard point (try repeatedly for be sure). 4. Pull with energy the handgrip and speed slightly. 5. In case of start failed to repeat again the Start the engine to warm : operation . 6. After starter engine heat it 2/3 minutes 1. Pull the handgrip with energy without speeding from 3000 to 4000 turns max. speed. Start the engine to warm: 1. Pull the handgrip with energy without speed. Stop the engine • Stop the engine • To press the stop button of engine until the engine stop completely . To press the stop button of engine until the engine stop completely . Page 6 1.3 RUNNING-IN PROCEDURE Following proper break-in procedure helps censure that some of the most important and expensive components on your new C-Max will provide maximum performance and service life. (Also follow proper run-in procedure for a newly rebuilt engine) 1. Do not hold the throttle in one position for more than a few seconds. It’s better to roll the throttle on and off, without getting too high altitudes and forcing the engine. 2. Use the motor for features of 10 minutes at a time and to leave to cool it. 3. After 5 hours of use or approximately 20 litres of gasoline the motor should be broken in. 4. This same procedure should be followed each time • • • Piston is replaced Cylinder is replaced Crankshaft or crank bearings are replaced Page 7 2. SPECIFICATIONS 2.1 ENGINE INSTALLATION ON CHASSIS Picture 3 1. Support engine 2. Manual starter 3. Electric starter Page 8 2.2 TECNICALS CHARACTERISTICS Motor C-MAX Type Disposition cylinder Bore max Stroke max Displacement Compression ratio Maxim Power Max Torque Max turn of engine Electrical system Ignition Rotor Spark plug standard Spark plug summer +30° c Starter Carburettor Type 2 strokes cooled to air Mono cylinder 65mm 53mm 175cc 11 : 1 20 kw (27cv) 7800 turns 25 Nm 7400 turns 8100 turns Inductive coil Neodynium Magnet Ngk B8BS Ngk B9BS Manual / Electric Walbro Transmission Clutch Type Reduction Reduction ratio Exhaust Type Silencer Support engine Type Centrifugal 3 shoe Pulley/Pinion 1/2,6 – 1/2,8 – 1/3 Expansion chamber Glass wool N.4 Silent-block The standard carburation Temperature 10°c P 1024 Mb UR 50% Altitude (S.L.M.) 50 m \ Page 9 3. MAINTENANCE 3.1 GENERAL SERVICE INFORMATION: • • • • • • • Wear gloves and glances when you make the maintenance; Do not perform maintenance while engine is running. Injury to your fingers, hands or head may result ; Perform maintenance on firm, level ground, using hard work plain , and not directly on chassis; Always install new gaskets, o-rings, piston pin clips, rings etc .when reassemble some parts. When tightening bolts, nuts or screw, start with the larger diameter or inner fasteners, and tighten them to the specified torque using a criss-cross pattern; Use genuine Ciscomotors parts when maintenance your C-Max Clean parts in not-flammable cleaning solvent when disassembling. Lubricate any sliding surface, o-rings and seals before reassembling. WARNING Gasoline or low flash point solvents are highly flammable or explosive and must never be used for cleaning parts . Fire or explosion could result. • After reassembling, check all parts for proper installation and operation NOTE: • Specification are listed chapter 2. 3.2 ROUTINE CLEANING • • If the C-Max is only little dirty to clean up it with clean dusts cloth without solvents If the C-Max is much dirty to clean up it with biodegradable detergents and not with solvents, lubricate where is necessary. Engine Number Figure B Page 10 3.3 MAINTENANCE SCHEDULE FREQUENCY INSPECT Before and after each use All screw nuts, bolts correctly tighten, silent-block in, and check carburation. Belt transmission Clean air filter Cylinder head decarbonizing Diameter of clutch and clutch bell Every 50 hours Every 100 hours Every 200 hours Every 500 hours Thermical group . Connecting rod Each year All rubber and plastic components. REPLACE Transmission belt Bearing crankshaft Glass wool Silencer Spark plug Oil seal crankshaft Piston complete Cooling belt Crankshaft bearing Fuel diaphragm carburettor , spark plug. Page 11 4. STORAGE Extended storage such as for winter, requires that you take certain steps to reduce the effects of deterioration from not use of your C-Max. Max In addition necessary repairs should be made before storing your C-Max: otherwise these repairs and clean may be forgotten by the time your C-Max is removed from storage. Page 12 6. ASSEMBLY/DISASSEMBLY STARTER 1. Remove 4 screws (Fig.18) 2. Remove the screw (Fig.20) for to arrive to the pulley 3. Remove the pulley (Fig.21) 4. Control the screws (Fig.19) are in a good conditions and locked. Figure 18 1. Install the pulley and tighten the screw (pict. 20) to the specified torque TORQUE : 15Nm( 1,5 kgf/m) 2. Insert the starter in 4 screws (Fig.19) 3. Tighten the screws (Fig.18) to the specific torque using light locking agent TORQUE: 12Nm (1.2 kgf/m) Figure 19 Figure 20 Figure 21 Page 13 7. REGULATION BELT TRANSMISSION The tension of belt must be done very carefully 1. Slightly little the 4 fix screws of bracelet (Fig.32) 2. Insert an Allen key 8 m / m in the seat (Fig32-1 point 2) and rotate counterclockwise torque of 400 Nm (40kgf / m) 3. Tighten the 4 Allen using the cross method the specified torque • Figure.32 TORQUE: 12Nm (1,2 kgf/m) Figure 32-1 CAUTION: Control the tension as Fig.32-2 1. Tension too taut it’s cause of early usury of bearing 2. Tension too loose it’s cause of exessive consumpion of belt. Figure.32-2 Page 14 8. CARBURATION REGULATION 1. Regulation min.throttle engine 2. Regulation gasoline/air min. (L) 3. Regulation gasoline/air max (/H) Figure 35 Standard regulation In case problems of wrong carburation , replace the originals levels. Screw regulation of min. 1 turn from all closing. . (Fig.35 point 2) Attention: regulation of carburation must be made at warm motor. 1. 2. 3. 4. Start the engine. To warm the motor for 4 or 5 minute to the regimen of spin of 3500/4000rpm; Regulate the screw of max jet H, ((Fig.35 point 3) from 1 turn to 1-1/4 from all closing. Regulate the screw of the minimal jet L, (Fig. 35 point 2)from 3/4 to 1 turn, to put the motor to 5000 rpm, to screw or to unscrew the screw until when the motor turns cleaned up and does not mutter; 5. To leave the motor for some second ones at minimum, to accelerating normally , now the motor must quickly accelerate without mumbling or to come less. 6. To regulate the lessened motor spin of the 2000/2200 rpm. (Fig. 35 point 1) C-Max clutch 7. To regulate the lessened motor spin of the 2500/2600 rpm. (Fig. 35 point 1) C-Max electric or manual starter. Page 15 8. ELECTRICAL SCHEDULE Electric starter with recharge battery Page 16 10. TROUBLESHOOTING 10.1 THE ENGINE DON’T START CHECK Check if fuel is jetting to the carburettor POSSIBLE CAUSES SOLUTION No fuel in tank Fill tank for fueling Clogged fuel line or fuel filter Replace and clean Diaphragm fuel pump broken Replace the diaphragm (Fig. 5) Move it on OFF The engine stop switch is to ON Check electric Faulty spark plug Replace Broken or shorted ignition coil Replace 10.2 ENGINE LAKS POWER CHECK POSSIBLE CAUSES SOLUTION Fuel air mixture to lean Unscrew the min screw (Fig. 35- 2) Fuel air mixture to reach To screw the max screw (Fig. 35- 2) Clogged fuel line or fuel filter Replace or clean Diaphragm fuel pump broken Replace the diaphragm (Fig. 27) Check the carburation Page 17 10.3 EXESSIVE VIBRATIONS OF THE ENGINE CHECK POSSIBLE CAUSES SOLUTION Excessive wear, holder rubber Replace (Max 70 Sh) Prop out of balance Balance or replace Silent-block engine Page 18 11. TORQUE VALUES ENGINE ITEM Cap screw propeller hub M6 Cap screw propeller hub M8 Spark plug Cap screw cooling air duct Cap screw crankcase starter Bolt cylinder head Screw transmission eccentric Bolt silent-block exhaust *Bolt clutch All bolts *Bolts starter Bolts pinion transmission * Apply locking agent Thread diam. x pitch M 6 x 1,0 M 8 x 1,25 M14 x 1,25 M 5 x 0.8 M 6x1 M 8 x 1,25 M 6 x 1,0 M 8 x 1,25 M 18 x 1.25 M6x1 M 10 x 1,25 M 12 x 1.25 Torque Kgf-m 1.2 1.5 1,8 0,6 1.2 1,5 1,2 1.5 4.0 1 3,0 4,0


