Are your cuvettes up to scratch? Some simple background checks to
Are your cuvettes up to scratch?
Some simple background checks to help you decide…
By Ray Wood, Technical Sales Manager Hellma UK Ltd
Quite rightly many labs spend time and effort to ensure the performance of their spectrophotometers is validated and checked against traceable standards. But then for every measurement they make they will introduce a key component that has never been part of that procedure. Here are some simple tests you can do that will demonstrate the impact your cuvettes can have on your otherwise validated system, and how with good care the risks of doing so can be minimised.
One of the single most important features of a cuvette is that it has to be as ‘invisible’ as possible to the wavelengths of light you are using to make your measurements. Some of the factors that instil this ‘cloak of invisibility’ are the type and quality of the materials used; the flatness and finish of the optical surfaces; and the parallelism of its construction.
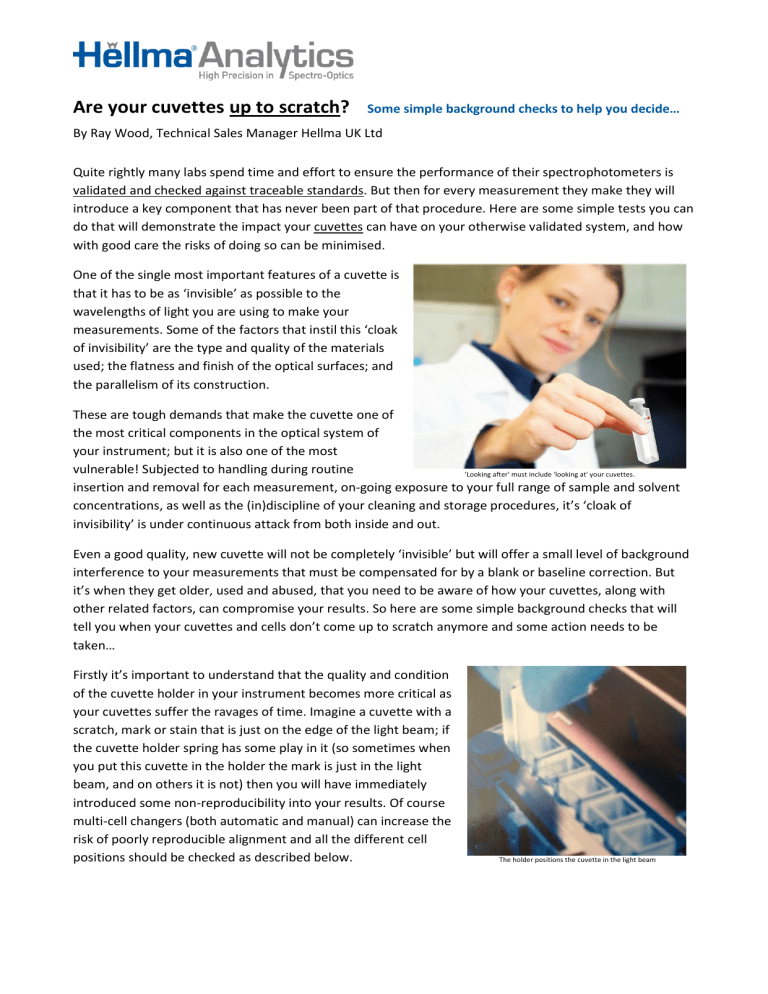
These are tough demands that make the cuvette one of the most critical components in the optical system of your instrument; but it is also one of the most vulnerable! Subjected to handling during routine
'Looking after' must include 'looking at' your cuvettes. insertion and removal for each measurement, on-going exposure to your full range of sample and solvent concentrations, as well as the (in)discipline of your cleaning and storage procedures, it’s ‘cloak of invisibility’ is under continuous attack from both inside and out.
Even a good quality, new cuvette will not be completely ‘invisible’ but will offer a small level of background interference to your measurements that must be compensated for by a blank or baseline correction. But it’s when they get older, used and abused, that you need to be aware of how your cuvettes, along with other related factors, can compromise your results. So here are some simple background checks that will tell you when your cuvettes and cells don’t come up to scratch anymore and some action needs to be taken…
Firstly it’s important to understand that the quality and condition of the cuvette holder in your instrument becomes more critical as your cuvettes suffer the ravages of time. Imagine a cuvette with a scratch, mark or stain that is just on the edge of the light beam; if the cuvette holder spring has some play in it (so sometimes when you put this cuvette in the holder the mark is just in the light beam, and on others it is not) then you will have immediately introduced some non-reproducibility into your results. Of course multi-cell changers (both automatic and manual) can increase the risk of poorly reproducible alignment and all the different cell positions should be checked as described below.
The holder positions the cuvette in the light beam
Check it out…
Simply run a blank or baseline on air – with nothing in the cuvette holder (both sample and reference for double-beam instruments). Insert the cuvette you want to check and record the reading. Remove it and re-insert, recording the new reading, do this three or four more times and note the maximum variation in the readings recorded. If this will add an unacceptable level of error to your results then you need to check the condition of your cuvette holder AND clean your cuvette as detailed later.
There are many benefits to be gained by using a double-beam spectrophotometer with matched cuvettes.
These are selected to have identical optical properties, so one can be filled with the blank and left in the reference beam while all samples are measured against it, saving time and improving accuracy. However as the blank is left in the cuvette holder, while the other one is inserted and removed many times and is also subject to the deleterious effects of interfacing with your samples, one will age much quicker than the other. A good tip is to try to remember which was which and then to swap them over on alternate batches of samples to even-out the impact of wear. Of course if one of a matched pair suffers from a mark, scratch or stain that is in the light beam, then they effectively become unmatched – so knowing when your matched cuvettes need cleaning or when one is damaged is vital.
Check it out…
Simply run a blank or baseline on air – with nothing in the sample and reference cuvette holders. Insert one of the matched cuvettes into the sample beam the other one into the reference beam. Note the reading, then swap the cuvettes from one beam to the other and note the new reading. The difference in these readings is the possible off-set you may be introducing into your results; if this will add an unacceptable level of error then you need to check the condition of your cuvettes and clean them as described later; or replace them if the problem cannot be resolved by cleaning.
As the variety of cuvettes has increased to serve the many special applications that have developed in recent years, ensuring you have the best cuvette for your application AND for your instrument has become much more difficult. The demands to make measurements on ever smaller sample volumes has led to greatly reduced cuvette apertures, so selecting the right cuvette for the instrument’s beam geometry and cuvette holder can be a complex and often critical task. In some instances misalignment or movement of fractions of a millimetre can lose or re-gain a huge proportion of the signal available. The quality and condition of the cuvette holder becomes hypercritical in these situations and where the light beam is wider Non-masking and self-masking cuvettes than the aperture a masking plate must be fitted or self-masking (black) cuvettes, like that shown to the right, should be chosen. So if you are using unmasked, reduced aperture cuvettes in a cuvette holder without a masking plate you need to make sure no light is passing through the cuvette without going through the sample.
Check it out…
If you have available a standard cuvette, without a reduced aperture, you may be able to see if there is a problem by measuring the same sample, or other solution, in both cuvettes and comparing results. If the reduced aperture cuvette is consistently returning lower results then you should contact the manufacturer of the instrument to get a masking plate or special micro-cuvette holder suitable for your cuvette; or alternatively replace the cuvettes for self-masking types.
For a more specific check the stray light of the instrument will need to be tested with a set of filters based on Certified Reference Materials like the Hellma 667-UV100 (200nm) KCl, 667-UV101
(259nm)NaI or 667-UV102 (385nm)NaNO
2
. Then the suspect cuvette will need to be filled with the same material and the stray light re-checked, any difference in results will indicate that light is passing through the cuvette body without going through the sample.
Looked after with care your cuvettes will have a long and useful life, thorough cleaning after use and careful storage are critical - but ‘looking after’ must include ‘looking at’ them, it’s all too easy to use, clean and store them without ever seeing what condition the optical surfaces are actually in! Before use, as well as when washed and dry after use, hold them up to the light and visually check the condition of the windows in the optical path. Look for scratches, scuffs, marks, stains, fingerprints, hairs, dust, fluff etc.
Rotate and twist the cuvette to better view the surfaces, but don’t forget you will only see problems in the visible spectrum, so if there is any doubt at all the following cleaning procedure should be used and the final check carried out to verify and record their condition across the wavelength range.
Check it out…
Hellmanex III is a proprietary cleaning concentrate designed for use with optical components made from glass, quartz and sapphire. By totally immersing cuvettes in a 0.5 to 2% solution of the concentrate, from a few minutes to 3 hours (depending on material, condition and temperature), a thorough and complete clean can be easily carried out. Special surface active components in Hellmanex III facilitate the residue-free rinsing of the cuvettes once they have been cleaned, while a final alcohol rinse will speed air-drying and leave the cuvettes ready to re-pack and store safely for their next use.
Proprietary cleaning concentrate for glass and quartz cuvettes and optical components
BUT before you pack them away why not just do a final check and carry out a transmission scan of your newly cleaned cuvettes so you have a record of how well the cleaning went and their current condition. Do this each time and you’ll soon amass a detailed history of how your cuvettes have been used and looked after, and you’ll get a clear indication of when a problem arises.
Check it out…
Carry out a baseline correction on air, and then scan the cuvette in the transmission mode, across the widest wavelength range you normally use it over. The transmission curves below show the ideal transmissions of empty cuvettes, a used cuvette will probably be between 75 and 85% over most of its useable wavelength range. For values below this in your operating wavelength range further cleaning or replacement should be considered if all other causes have been eliminated. It’s not possible to specify a minimum transmission below which a cuvette should be replaced as this will depend on your specific application, your measurement range and the tolerances you have to work within.
