®
SMARTFILTER MANUAL
October 2010
®
SMARTFILTER MANUAL • page 1 of 6
Contents
DESCRIPTION .............................................................................. 2
CONTROL AND OPERATION ...................................................... 2
Set Current Date and Time .................................................... 2
Set Automatic Filtration Time and Day Of Week ................. 2
Alarm Conditions ................................................................... 3
Automatic Operation ............................................................ 4
Manual Operation ................................................................... 4
Fuel Transfer ........................................................................ 4
Fuel Quality History .............................................................. 5
Tank Status ............................................................................. 5
Filter Quality Summary ......................................................... 5
Automatic Water Drain .......................................................... 6
Water Sensor Operation ....................................................... 6
Priming the System with Water ........................................... 6
Filter Replacement Schedule ............................................... 6
The information herein is the property of Simplex, Inc. and/or its subsidiaries.
Without written permission, any copying, transmitting to others, and other use
except that for which it is loaned, is prohibited.
Simplex, Inc., 5300 Rising Moon Road, Springfield, IL 62711-6228 • 217-483-1600 • Fax 217-483-1616
SmartFilter-101013.indd © 2010 Simplex, Inc. All Rights Reserved. • Printed in the USA. • www.simplexdirect.com
®
SMARTFILTER MANUAL • page 2 of 6
DESCRIPTION
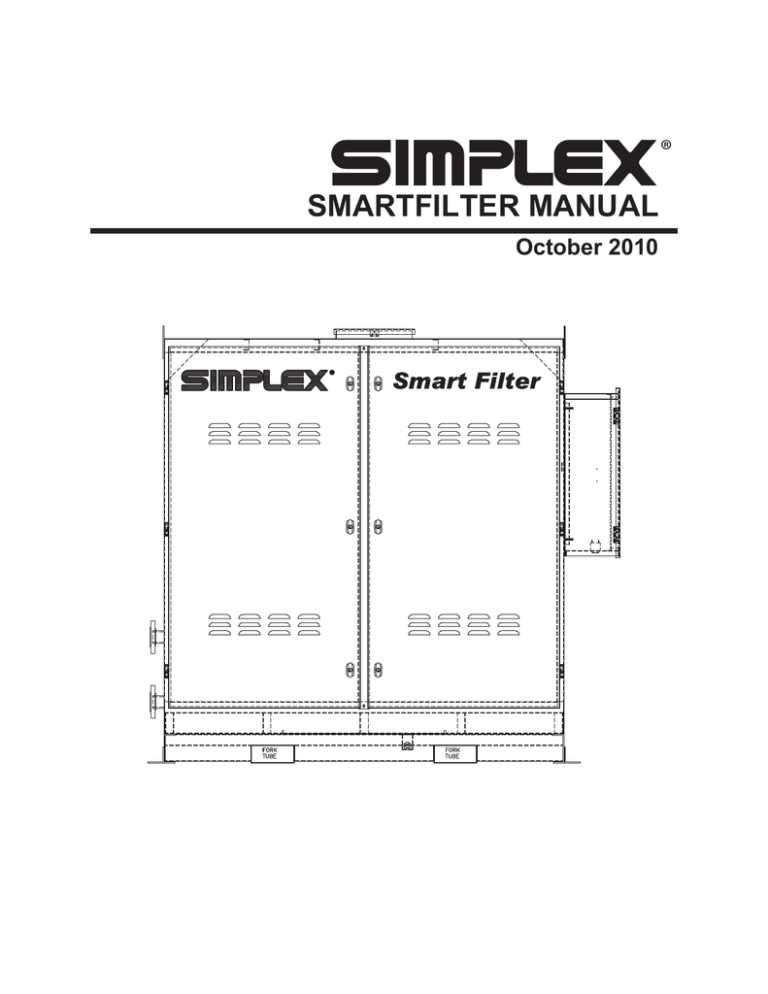
The Smart Filter pumps fuel from a storage tank, filters and removes water from
the fuel, and returns it to the storage
tank. The system removes particulate
material and water from the fuel, storing the water in an onboard water tank.
CONTROL AND OPERATION
SET CURRENT DATE AND
TIME
1. At the main menu, press the “PROGRAM FILTER CYCLE” pushbutton
on the touchscreen.
2. The touchscreen will change screens.
3. Press the “SET TIME AND DATE”
pushbutton on the touchscreen.
4. The touchscreen will change screens.
5. Select the current time, date, and
day of the week and press the “ACCEPT” pushbutton. If the “ACCEPT”
pushbutton is not pressed, the data
will not be updated.
6. Press the “SYSTEM STATUS” button
to return to the main menu.
SET AUTOMATIC
FILTRATION TIME AND DAY
OF WEEK
1. At the main menu, press the “PROGRAM FILTER CYCLE” pushbutton
on the touchscreen.
2. The touchscreen will change screens.
Up to ten automatic filtration programs may be set by the user. Each
program is set with a row of elements
on this page.
3. Select the day of the week for your
automatic program by pressing one
of the elements in the “DAY” column.
Press repeatedly to select the desired
day of the week.
4. Select the start time by pressing the
hour and minute portions of the element in the “START TIME” column
and entering the times on the popup
keypad.
5. Select the duration of the automatic
filter cycle by pressing the hour and
minute portions of the element in
the “CYCLE LENGTH” column and
entering the times on the popup
keypad.
6. Select the tank number from which
the fuel will be drawn by pressing the
element in the “TANK” column and
entering the number on the popup
keypad. The maximum number allowed in this element is factory set
to the number of tanks designed into
your control system.
7. Press the “ACCEPT” pushbutton.
If the “ACCEPT” pushbutton is not
pressed, the data will not be updated.
8. Press the “SYSTEM STATUS” button
to return to the main menu.
Simplex, Inc., 5300 Rising Moon Road, Springfield, IL 62711-6228 • 217-483-1600 • Fax 217-483-1616
SmartFilter-101013.indd © 2010 Simplex, Inc. All Rights Reserved. • Printed in the USA. • www.simplexdirect.com
®
SMARTFILTER MANUAL • page 3 of 6
ALARM CONDITIONS
At the main menu, press the “ALARMS”
pushbutton on the touchscreen to
enter the alarm screen. If an alarm is
not present, this pushbutton does not
appear. Alarm conditions are indicated
by a horn, and also on the “ALARMS”
screen. The horn may be silenced with
the “SILENCE HORN” pushbutton.
Some alarm conditions are indicated
on the “SYSTEM STATUS” screen as
well as the “ALARMS” screen.
Alarms include:
1. Service strainer – High pressure
detected at the strainer. Clean the
strainer.
2. Service prefilter – High pressure
detected at the prefilter. Clean the
prefilter and replace the filter element.
3. Service coalescer High pressure
detected at the coalescer. Clean
the coalescer and replace the filter
element.
4. Drain coalescer – For systems without automatic water drain. Manually
drain the water from the coalescer.
5. Loss of flow – Pump is on but flow
was not detected.
6. Leak detected – Float switch at the
base of the skid detected fluid.
7. Emergency stop – Emergency stop
circuit activated.
10. Tank 2 low – For systems filtering
multiple fuel tanks. Fuel tank 2 is
low.
11. Tank 3 low – For systems filtering
multiple fuel tanks. Fuel tank 3 is
low.
12. Tank 1 high – For systems filtering
multiple fuel tanks, with the capability to transfer fuel from one tank to
another. Fuel tank 1 is at high level.
13. Tank 2 high – For systems filtering
multiple fuel tanks, with the capability to transfer fuel from one tank to
another. Fuel tank 2 is at high level.
14. Tank 3 high – For systems filtering
multiple fuel tanks, with the capability to transfer fuel from one tank to
another. Fuel tank 3 is at high level.
15. High water level – High level in
water holding tank.
16. Fuel in water line – Fuel detected
in the coalescer water drain line.
17. Valve sync error – For systems with
control valves. A valve is reported
out of position.
18. System overpressure – A high
pressure condition was detected
in the filter. Remove the restriction
and restart the filter.
Alarms are displayed with a time and
date stamp. Press the “SYSTEM STATUS” button to return to the main menu.
8. Pump failed – Pump contactor failed
to close. Check for overload.
9. Tank 1 low – Fuel tank 1 is low.
Simplex, Inc., 5300 Rising Moon Road, Springfield, IL 62711-6228 • 217-483-1600 • Fax 217-483-1616
SmartFilter-101013.indd © 2010 Simplex, Inc. All Rights Reserved. • Printed in the USA. • www.simplexdirect.com
®
SMARTFILTER MANUAL • page 4 of 6
AUTOMATIC OPERATION
FUEL TRANSFER
1. At the main menu, press the “MANUAL FILTERING” pushbutton on
the touchscreen to enter the manual
filtering screen.
1. Fuel transfer from one tank to another
is only available on multi-tank filtration systems.
2. The touchscreen will change screens.
3. Place the “MANUAL-OFF-AUTO”
switch in the auto position.
4. The conditioning system will now filter
the fuel as programmed by the user
on the “PROGRAM FILTER CYCLE”
screen.
5. If run times overlap, and the overlapping programs are set for the same
tank, the system will run the filter
until the latest end time. Overlapping
user programmed filter cycles is not
recommended.
MANUAL OPERATION
1. At the main menu, press the “FILTER
MODE SELECT” pushbutton on the
touchscreen to enter the FILTER
MODE SELECT screen.
2. At the main menu, press the “FILTER
MODE SELECT” pushbutton on the
touchscreen to enter the FILTER
MODE SELECT screen.
3. The touchscreen will change screens.
4. Press the “TRANSFER” pushbutton.
5. The touchscreen will change screens.
6. Select the amount of fuel to transfer
and the source and destination tanks.
7. Press the “START MANUAL FUEL
TRANSFER” pushbutton.
8. The touchscreen will change to the
FILTER MODE SELECT screen.
9. The pump will start and continue to
run until the desired amount of fuel
has been transferred, the “STOP”
pushbutton is pressed, or a failure
occurs. Most system alarm conditions are ignored when in manual.
2. The touchscreen will change screens.
3. Press the “MANUAL” pushbutton.
4. The touchscreen will change screens.
5. Select the amount of fuel and the
tank to filter.
6. Press the “START MANUAL FILTRATION” pushbutton.
7. The touchscreen will change to the
FILTER MODE SELECT screen.
8. The pump will start and continue to run
until the desired amount of fuel has
been filtered, the “STOP” pushbutton
is pressed, or a failure occurs. Most
system alarm conditions are ignored
when in manual.
Simplex, Inc., 5300 Rising Moon Road, Springfield, IL 62711-6228 • 217-483-1600 • Fax 217-483-1616
SmartFilter-101013.indd © 2010 Simplex, Inc. All Rights Reserved. • Printed in the USA. • www.simplexdirect.com
®
SMARTFILTER MANUAL • page 5 of 6
FUEL QUALITY HISTORY
FILTER QUALITY SUMMARY
At the main menu, press the “FUEL
QUALITY HISTORY” pushbutton on
the touchscreen to enter the fuel quality
history screen. The fuel quality history
records selected events in a log format,
with a time and date stamp. The most
recent event is displayed at the top of
the log. Buttons are provided to scroll
up and down the history. Press the
“SYSTEM STATUS” button to return
to the main menu.
At the main menu, press the “FILTER
QUALITY SUMMARY” pushbutton on
the touchscreen to enter the filter quality
summary screen.
Logged events include:
1. Service Prefilter
2. Service Coalescer
3. Drain Coalescer (for systems without
automatic water drain)
4. Fuel added to Tank 1
5. Fuel added to Tank 2
6. Fuel added to Tank 3
TANK STATUS
At the main menu, press the “TANK
STATUS” pushbutton on the touchscreen to enter the “TANK STATUS”
screen. At this screen the user can monitor totalizers, valve positions, and log
new fuel deliveries, including delivery
quantity and date. Delivery information
is recorded in the fuel quality history.
1. “RUN TIME SINCE LAST FUEL DELIVERY” indicates the amount of time
the pump has run since the last time
the “NEW FUEL DELIVERY” screen
was used to record a fuel delivery.
2. “RUN TIME SINCE PREFILTER
SERVICE” indicates the amount of
time the pump has run since the last
time the “SERVICE PREFILTER”
alarm was activated.
3. “RUN TIME SINCE COALESCER
SERVICE” indicates the amount of
time the pump has run since the last
time the “SERVICE COALESCER”
alarm was activated.
4. For systems with a fine filter, “RUN
TIME SINCE FINE FILTER SERVICE” indicates the amount of time
the pump has run since the “SERVICE FINE FILTER” alarm was
activated.
5. For systems with analog pressure
measurement, approximate filter
quality is displayed as a dial gauge
on this screen.
1. Press the “NEW FUEL DELIVERY”
pushbutton to enter the quantity of
fuel delivered using the popup keypad.
2. Press the “MONTH”, “DAY”, and
“YEAR” buttons to set the date of the
delivery using the popup keypad.
3. Press the “ACCEPT” pushbutton.
If the “ACCEPT” pushbutton is not
pressed, the data will not be updated.
4. Press the “SYSTEM STATUS” button
to return to the main menu.
Simplex, Inc., 5300 Rising Moon Road, Springfield, IL 62711-6228 • 217-483-1600 • Fax 217-483-1616
SmartFilter-101013.indd © 2010 Simplex, Inc. All Rights Reserved. • Printed in the USA. • www.simplexdirect.com
®
SMARTFILTER MANUAL • page 6 of 6
AUTOMATIC WATER DRAIN
WATER SENSOR OPERATION
The automatic water drain and water
tank (if purchased) operate based on
three water sensors which distinguish
between water and diesel fuel.
The water sensors provide a signal to
the PLC when they detect water. For
this reason, air and diesel both look the
same to the water sensors. The safety
water sensor must be flooded with water
for the filter to operate; air or diesel in
the water drain line will trigger a Fuel
in Water Line alarm.
1. The safety water sensor (the lower
sensor) must sense water for the
water drain system to operate. If
fuel is detected in the water line, an
alarm is activated to alert the operator. To restore normal operation, the
operator must manually drain the
water line and prime it with water so
that the safety water sensor detects
water. Prime the water line by pouring water in the top of the dirty fuel
side of the filter canister. This alarm
usually indicates a fault with the
solenoid valve (stuck open) or one
of the three water sensors.
2. When the filter system is in normal
operation and both the upper and
middle water sensors detect water
in the coalescer, the water drain
solenoid valve opens.
3. The water drain solenoid closes
when the lower water sensor in the
coalescer stops detecting water, or
when one of the following conditions
occurs:
a. The safety water sensor detects
diesel (or air).
b. An Emergency Stop is activated.
c. Either of the water holding tank
high level floats is triggered.
d. The pump stops.
The power to the water sensors is pulsed
to prolong the life of the sensors:
• When the pump is running, the water
sensors are powered for ten seconds
out of every minute.
• The sensors are continuously powered during and for two minutes after
a water drain cycle.
PRIMING THE SYSTEM WITH
WATER
For systems with automatic water drain:
Any time the water line is drained
(changing the filter, etc.), it is necessary to prime the system with water.
To prime the system, pour water into
the top of the coalescer until it shows
in the sight glass.
FILTER REPLACEMENT
SCHEDULE
Replace filters annually or when indicated by Smart Filter “SERVICE PREFILTER” or “SERVICE COALESCER”
alarms, whichever occurs first.
Simplex filter element reorder part
numbers are displayed on the placard
inside the door of the filter unit.
Simplex, Inc., 5300 Rising Moon Road, Springfield, IL 62711-6228 • 217-483-1600 • Fax 217-483-1616
SmartFilter-101013.indd © 2010 Simplex, Inc. All Rights Reserved. • Printed in the USA. • www.simplexdirect.com


