Overview - The Mind Project
advertisement
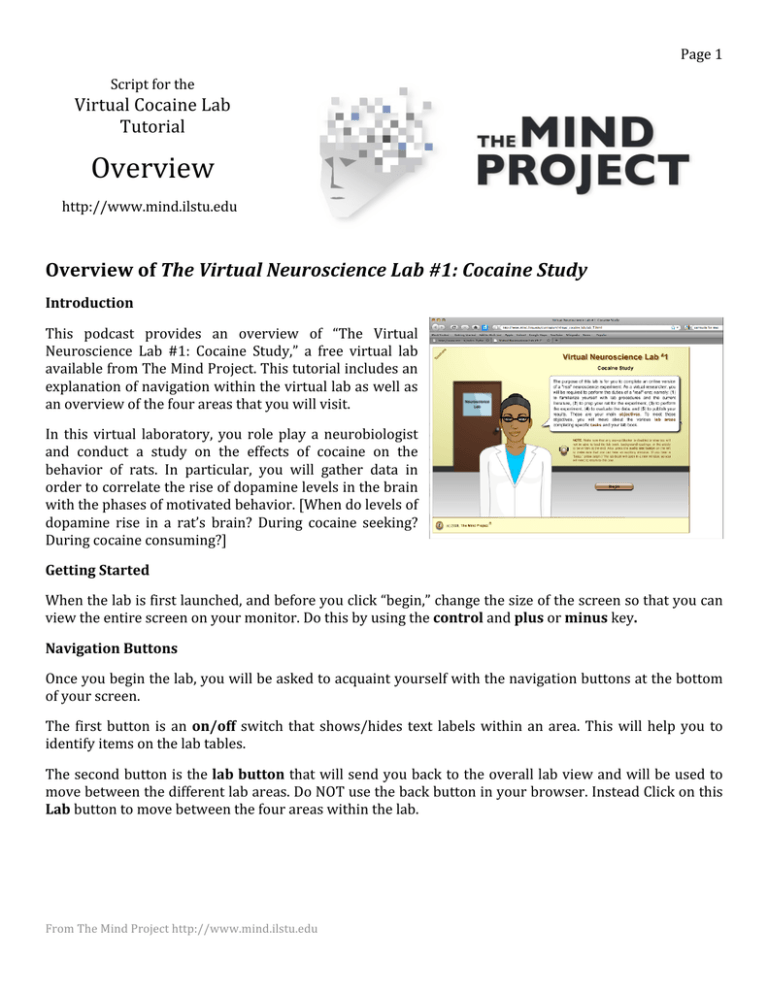
Page 1 Script for the Virtual Cocaine Lab Tutorial Overview http://www.mind.ilstu.edu Overview of The Virtual Neuroscience Lab #1: Cocaine Study Introduction This podcast provides an overview of “The Virtual Neuroscience Lab #1: Cocaine Study,” a free virtual lab available from The Mind Project. This tutorial includes an explanation of navigation within the virtual lab as well as an overview of the four areas that you will visit. In this virtual laboratory, you role play a neurobiologist and conduct a study on the effects of cocaine on the behavior of rats. In particular, you will gather data in order to correlate the rise of dopamine levels in the brain with the phases of motivated behavior. [When do levels of dopamine rise in a rat’s brain? During cocaine seeking? During cocaine consuming?] Getting Started When the lab is first launched, and before you click “begin,” change the size of the screen so that you can view the entire screen on your monitor. Do this by using the control and plus or minus key. Navigation Buttons Once you begin the lab, you will be asked to acquaint yourself with the navigation buttons at the bottom of your screen. The first button is an on/off switch that shows/hides text labels within an area. This will help you to identify items on the lab tables. The second button is the lab button that will send you back to the overall lab view and will be used to move between the different lab areas. Do NOT use the back button in your browser. Instead Click on this Lab button to move between the four areas within the lab. From The Mind Project http://www.mind.ilstu.edu Page 2 The third and fourth buttons are the Objective and Task buttons and provide lists of what needs to be accomplished at each of the individual lab stations. The last button is the help button provides several help options. Locating the Lab Notebook As you become acquainted with the navigation bar, also take note of where your lab notebook has been loaded. Depending on the browser, this will either be in a new window, or in a new tab. Note that when using the flexible version of the lab, anything typed into the virtual lab notebooks on previous work days, is not saved. Therefore, a pdf version of the lab notebook is available if you would prefer to handwrite the answers instead. This notebook will help you answer questions at the end of the lab, so be sure to fill this out completely. Navigation Task Bar It is important that you utilize the task button in the bottom navigation bar. This is how you will know what tasks are to be completed, and then what should be done once the tasks are complete. For example, once you have finished the tasks in the Lab Area, the directions tell you to proceed to the Desk area. If you have completed a task but it is not checked, hit the refresh button inside the tasks window. Desk Area When you first get to the desk area, read the yellow sticky notes left by the advisor. Read the questions you need to answer for the lab notebook, as this will help focus your reading. In order for all the tasks to be checked, each book must be opened. The red book or Book one, is about nervous system anatomy and function. This book contains several animations that may help you understand difficult neurobiology concepts. From The Mind Project http://www.mind.ilstu.edu Page 3 The Blue book, or book 2, is about the relationship between dopamine and cocaine. And the Green book, or book 3 is about the lab procedures. This book contains the hypothesis you will be testing, what you should observe if the hypothesis is true, as well as what will be needed to collect data in the experiment area. This lab contains a lot of up front reading. Use the seven lab notebook questions associated with the desk area to focus your reading. There is a separate tutorial available that may help you better understand the content found within these books. Preparation Area While in the prep area, you will pick up the rat by clicking and dragging it onto the scale and then to the left side of the prep tray. Then, fill the syringe by clicking on the correct graduated number, so that the anesthesia can be loaded. The explanation of how to calculate the proper amount can be found in Book 3, chapter 2. Next, click and drag the syringe to indicate where on the rat the injection should be given. It is important that you click on the “X” which is at the tip of the needle to move the syringe over to the rat. The proper location for injection is in the peritoneal cavity, which on our rat is located just to the left of the researcher’s ring finger. To get back to the prep area, click on the lab button, then on the center work area to dispose of the syringe, and put the anesthesia into the drawer. Clicking on the lab button will allow you to proceed to the surgery area. Surgery Area Although you do not virtually perform the surgery, you will observe the surgery so that you see how a rat is prepared for the experiment. The goal of the surgery is to provide a way to instantly administer cocaine to the rat, and then to observe dopamine levels in the brain. There are essentially 2 important aspects of the surgery that you must understand. The first is why a tube is inserted into the jugular vein. These rats will be trained to self‐administer cocaine, so that when they push a lever, cocaine will automatically be injected into their circulatory system. Implanting this canula into the rat’s jugular produces the drug effects quickly. The second important concept is the purpose of the implanted electrodes. During the surgery there are three electrodes that are implanted into three different areas of the rat’s brain. The purpose of the sensing electrode is most important for you to understand. The sensing electrode is placed in the nucleus accumbens where dopamine neurons terminate. This is where the best measure of dopamine release can be found. Therefore, it is this electrode that will allow us to From The Mind Project http://www.mind.ilstu.edu Page 4 watch the levels of dopamine, in real time, in relationship to when the rat presses the bar, receiving cocaine. Experiment Area It takes several weeks for a rat to recover from surgery, and then be trained to self‐administer cocaine. Here in the experiment area a rat is housed in a box that contains both a light bulb, and a lever, or bar. Both the light and the audio cue are triggered once the rat presses the bar. Notice that the rat has a cap on its head that protects the surgically implanted electrodes and cannula. The rat’s backpack holds the telemetry system that sends the dopamine data to wirelessly to the computer, so that we can watch the levels in real time. Before beginning the experiment, familiarize yourself with what information will be shown on the graph. At the top, the audio and visual cues are indicated. Below that line is one that shows a record of when cocaine is being injected into the rat’s circulatory system. As you observe rat behavior, notice that the cues are the rat’s indicator that the cocaine is being delivered. In rat experiments like this one, rats are trained to press a bar for a cocaine injection, and 30 seconds after the rat hits the bar, the dopamine level is reflected in a large spike that goes off on the graph. This spike indicates that the dopamine levels have increased in the brain. Researchers have known about this large dopamine spike for years. However, in the last few years some exciting new discoveries have been observed at other times. In this virtual lab, you are going to test the hypothesis that dopamine is released, not only 30 seconds after the cocaine has been consumed, but also as the rat is seeking cocaine. Therefore, you should monitor the dopamine levels shown on the graph while watching where the rat is in relationship to the bar when the dopamine levels increase. The hypothesis is that the levels will increase as the rat is seeking, or anticipating the cocaine. Therefore, you should be looking for a dopamine spike as the rat presses the lever or just prior to it pressing the lever. Article Writing Area After performing the experiment, you will go to the Article Writing Area. As an assessment, you are asked to answer a set of multiple choice questions based on your observations, which will be used to write a journal article at the end of the lab. If you completed the session in one sitting, the answers typed in your lab notebook could be used to help you answer the questions. Or if you wrote out your lab questions on paper, use these to answer the quiz questions. Note that some questions have multiple answers. This Virtual Science Lab has been supported by NSF grant #0127561 and NIH/NCRR/SEPA grant #R25RR020425. Thank you for watching this tutorial of the Overview of the Virtual Cocaine Lab. We hope that you enjoy your virtual laboratory experience, made available from The Mind Project. From The Mind Project http://www.mind.ilstu.edu


