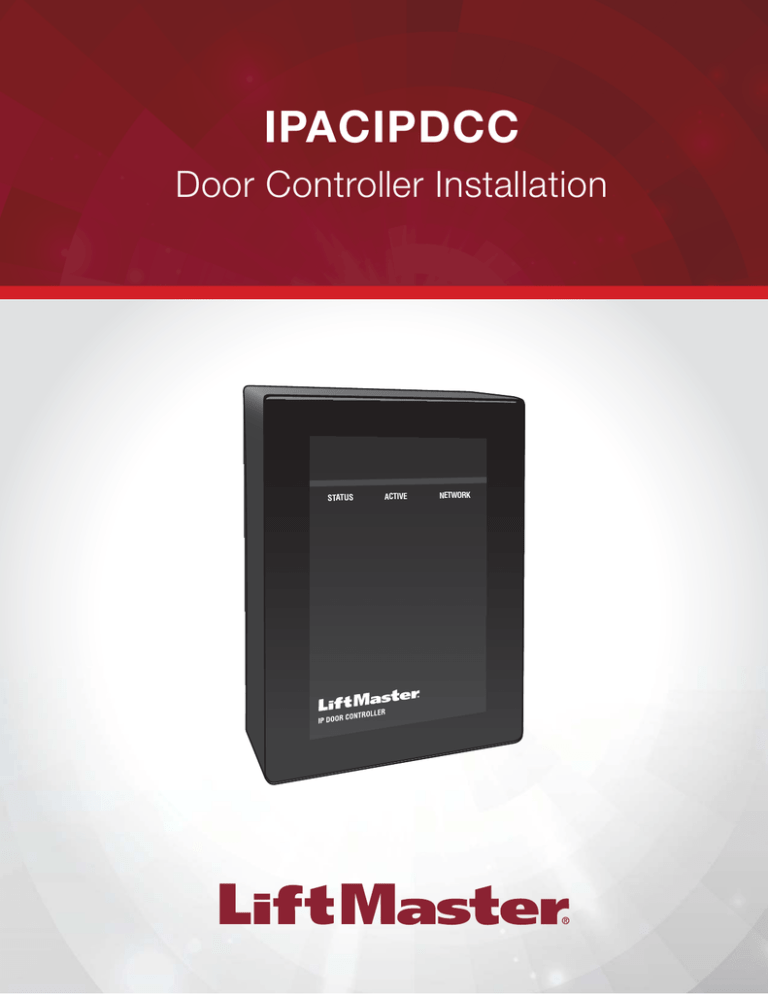
IPACIPDCC
Door Controller Installation
IPAC
Dealer Guide
Wiring and Programming
STATUS
ACTIVE
NETWORK
Introduction
Thank you for purchasing a LiftMaster IPAC system. LiftMaster strongly recommends setting
up and configuring any IPACs and IPDCC door controllers prior to the day of installation.
TABLE OF CONTENTS
Login . . . . . . . . . . . . . . . . . . . . . . . . . . . . . . . . . . . . . . . . . . . 3
Wiring . . . . . . . . . . . . . . . . . . . . . . . . . . . . . . . . . . . . . . . . 4-7
Connection Overview . . . . . . . . . . . . . . . . . . . . . . . . . . . . . . . . . . . . . . 4
Connect Power. . . . . . . . . . . . . . . . . . . . . . . . . . . . . . . . . . . . . . . . . . . 5
Connect Weigand Input Devices. . . . . . . . . . . . . . . . . . . . . . . . . . . . . . 6
Add IPACIPDCC Panel . . . . . . . . . . . . . . . . . . . . . . . . . . . . . . . . . . . . . 7
STATUS
ACTIVE
NETWORK
(OVERVIEW IMAGE HERE)
Programming . . . . . . . . . . . . . . . . . . . . . . . . . . . . . . . . . . . . . 8
Add Door Controller . . . . . . . . . . . . . . . . . . . . . . . . . . . . . . . . . . . . . . . 8
BEFORE YOU BEGIN:
1
Order door controller (SKU: IPACIPDCC)
2
Setup LiftMaster Hosted Services Account
Call LiftMaster Customer support at (800) 323-2276 and have credit card and primary account holder information ready.
NOTE: Record the Administrator ID and you will receive an email to set up a permanent password.
3
IPACIPDCC requires an active Internet connection at the installation location (including Cat-5 or Cat-6 at the IPAC
installation location).
Multiple connection options:
• High speed Internet
• DSL
4
Map of facility indicating entrance(s) and exit(s).
Use a map to plan out all entrances and exits to be controlled. Plan wire runs and installation points prior to
getting started.
NOTE: Before installing the Door Controller, power on and setup the hardware. This requires access to an
Internet connection.
2
Login
HOW DO I LOGIN?
1
Open a web browser and type LiftMaster.com/IPAC into the address bar.
LiftMaster.com/IPAC
2
3
Enter login information you were provided
in “Before you get started”. NOTE: ID and
Password are case sensitive.
4
Click “Log In”.
Scroll down and click “Cloud Login”.
3
Wiring
CONNECTION OVERVIEW
COM
Common Earth
DOOR
Door Contact
RED
Red LED Control
GREEN
Green LED Control
12V
+12VDC Power
BUZ
Buzzer Control
GND
Ground
12V BUZ
D1
Wiegand Data 1
D0
Wiegand Data 0
NC
Normally Closed Relay Contact
COM
Common Earth
NO
Normally Opened Relay Contact
COM
D0
DRY
NC
RED
2
DOOR
Door 2 I/O
NC
Relay Indicator
WET
NO
D0
IO
GND D1
Front
Panel
Door 2
Wiegand
GRN
COM
Local
Heartbeat
LED
Door 2 Relay
Power Config
Jumpers
RED
Door 2 Relays
RLY2
NO
READER 2
DRY
COM
HRTBT
NC
–
COM
REX
WET
NO
PSE1
+
COM
-12IN+
External 12V
Power
NC
PoE
Power Config
Jumper
RLY1
NO
12V BUZ
Door 1 Relays
Door 1
Wiegand
GND D1
READER 1
LAN
Door 1 Relay
Power Config
Jumpers
ADMIN
IO
1
REX
Administrative
USB Interface
DOOR
Door 1 I/O
COM
LAN / PoE Connector
Description
Request-to-exit Contact
GRN
Signal
REX
Meaning
Status
Solid: Unit has power
Active
OFF/Solid: Unit starting
Blinking: Unit operational
Network Orange LED: 100MBit Link
Blue LED: Ntwork activity
Right Bue LED: Good link
Backup Lithium
Coin Battery
(CR1220)
Back Panel Connection
Description
Administrative USB
Connect via Mini-USB to access administrative
LAN / PoE Connector
Connect to network. May also carry 802.3af/at power
Backup Lithium Battery
Battery provides power to keep time in case of primary power outage
CAUTION: Disconnect before servicing.
Local Heartbeat
LED indicates proper function
Relay Indicator
LED lights when relay is engaged (one per relay)
Relay Power Configuration
Two jumpers select between WET and DRY modes of operation. When jumpered for
WET, power is supplied through the relay in both normally closed and normally open
configurations.
Power Configuration
Jumper selects between PoE and Auxiliary Power
4
Wiring
CONNECT POWER
• DO NOT use ANY power supply other than those
supplied with your access control panel.
Do not connect DC power if POE is selected and
connected. Board may be damaged and is not covered
under warranty.
• DO NOT power electronic strikes and latches with the
same power supply used to power the access control
panel; doing so will cause DAMAGE to the access
control panel. Use ONLY a UL listed access control
system to power electronic strikes and latches.
Move jumper to Power
Over Ethernet (POE)
setting, if appropriate.
• DO NOT connect the power supply to a switched outlet
or otherwise controlled AC outlet.
Unpack the Door Controller.
DOOR
D0
12V BUZ
NC
COM
DRY
RLY2
NC
PoE
Power Configuration
Jumper
5
DOOR
D0
RED
WET
NO
GRN
COM
GND D1
NO
Connect 12V power supply.
READER 2
DRY
HRTBT
NC
COM
IO
PSE1
-12IN+
PoE
2
NO
COM
RED
RLY1
REX
COM
WET
NC
Determine mounting location. Remove screw from
bottom of housing and remove metal mounting plate
which is designed to install on the face of a standard
single gang electrical junction box with two screws.
-12IN+
2
GRN
NO
12V BUZ
1
GND D1
LAN
READER 1
ADMIN
IO
1
REX
• Install the transient noise suppression device (MOV)
supplied with the access control panel for AC powered
devices and Diode for DC powered devices.
COM
• DO NOT connect the power supply to the 120 Vac outlet
until ALL wiring is completed.
Wiring
CONNECT WIEGAND INPUT DEVICES
NOTE: All wires should be pulled through
mounting plate opening then connected to
the IPACIPDCC terminals.
DOOR
REX
1
D0
IO
GND D1
LAN
READER 1
NC
COM
12V BUZ
Door 1 Relay
DRY
Wire Door 1 Relay to operator
or mag lock.
Optional: Connect Door 1 REX.
Optional: Connect monitored
input (DOOR).
ADMIN
2
COM
1
DOOR
REX
NC
3
Wire Door 2 Relay to operator
or mag lock.
Optional: Connect Door 1 REX.
Optional: Connect monitored
input (DOOR).
6
D0
GND D1
RED
WET
NO
GRN
COM
12V BUZ
RLY2
NO
READER 2
DRY
COM
HRTBT
NC
Door 2 Relay
IO
PSE1
-12IN+
PoE
2
NO
COM
RED
RLY1
WET
NC
COM
GRN
NO
Connect Wiegand
input devices.
Wiring
DOOR
D0
DRY
12V BUZ
NC
COM
DOOR
REX
NC
D0
12V BUZ
RLY2
NO
GND D1
READER 2
DRY
HRTBT
NC
COM
IO
PSE1
-12IN+
PoE
2
NO
COM
RED
RLY1
WET
NC
Connect IPDC to the Internet
(Ethernet, DSL, or cellular
modem).
GRN
NO
COM
1
GND D1
LAN
READER 1
ADMIN
IO
1
REX
COM
ADD CONTROL PANEL
RED
WET
NO
GRN
COM
IPACIPDCC
Access Control Panel
INPUT RATINGS:
12IN: 12VDC 1500mA
PoE: 42 57VDC 13W
Date: 2014/36
MAC: 00:1D:00:00:92:CF
CP#
3
SECURITY
US
C
LISTED
IPC−3B−YYWW
2
Write down Control Panel number (on base
of IPDC cover).
IPC – _ _ – _ _ _ _ _
Mount the unit to the mounting plate being careful to push any excess wire through the mounting
plate and into the junction box. Replace retaining screw through bottom of cover and into the
mounting plate.
7
Programming
ADD DOOR CONTROLLER
1
Log into IPAC cloud account: LiftMaster.com/IPAC (See page 3).
2
Add new control panel (Setup –> Sites and Doors –> New Control Panel).
3
4
Click “Save Control Panel”.
Refer to the IPAC Programming Guide
to complete setup and manage users.
LiftMaster
845 Larch Ave.
Elmhurst, IL 60126-1196
LiftMaster.com
01-38244
© 2015, LiftMaster
All Rights Reserved
Name the IPDC Door controller
and enter Control Panel Number.


