Universal Mounting box Installation guide
advertisement

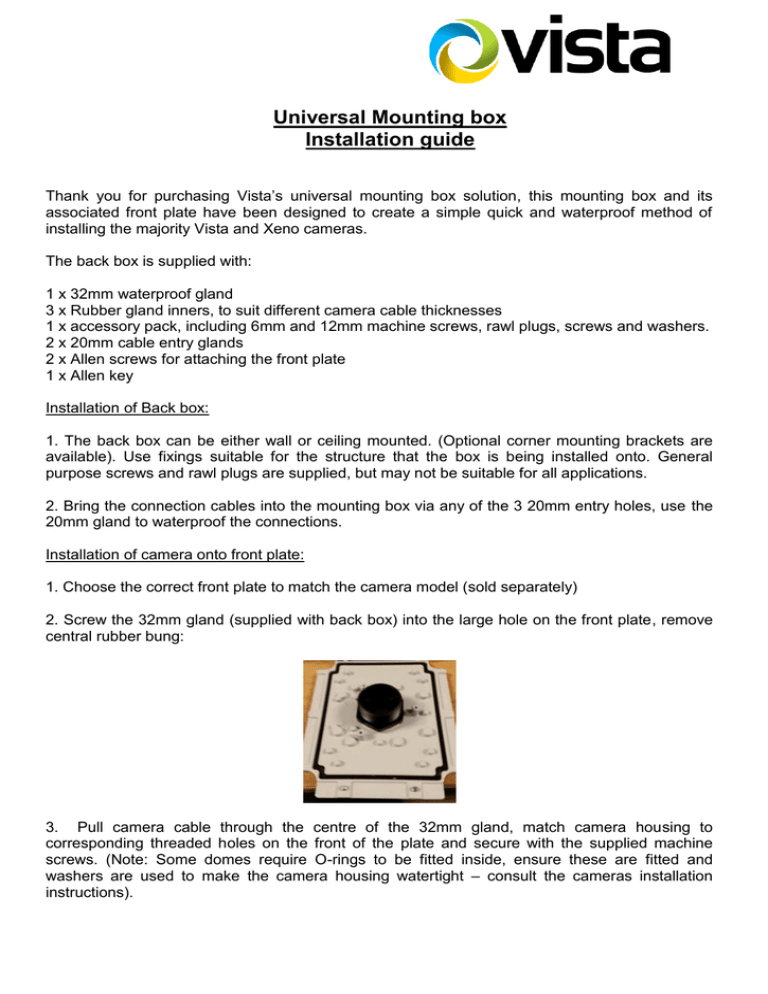
Universal Mounting box Installation guide Thank you for purchasing Vista’s universal mounting box solution, this mounting box and its associated front plate have been designed to create a simple quick and waterproof method of installing the majority Vista and Xeno cameras. The back box is supplied with: 1 x 32mm waterproof gland 3 x Rubber gland inners, to suit different camera cable thicknesses 1 x accessory pack, including 6mm and 12mm machine screws, rawl plugs, screws and washers. 2 x 20mm cable entry glands 2 x Allen screws for attaching the front plate 1 x Allen key Installation of Back box: 1. The back box can be either wall or ceiling mounted. (Optional corner mounting brackets are available). Use fixings suitable for the structure that the box is being installed onto. General purpose screws and rawl plugs are supplied, but may not be suitable for all applications. 2. Bring the connection cables into the mounting box via any of the 3 20mm entry holes, use the 20mm gland to waterproof the connections. Installation of camera onto front plate: 1. Choose the correct front plate to match the camera model (sold separately) 2. Screw the 32mm gland (supplied with back box) into the large hole on the front plate, remove central rubber bung: 3. Pull camera cable through the centre of the 32mm gland, match camera housing to corresponding threaded holes on the front of the plate and secure with the supplied machine screws. (Note: Some domes require O-rings to be fitted inside, ensure these are fitted and washers are used to make the camera housing watertight – consult the cameras installation instructions). 4. Select the rubber bung with the central hole closest in size to the cable supplied with the camera. Each bung is split along one side to allow it to be wrapped around the cable, remove it from the crenulated plastic collar: 5. Open the split on the rubber bung and place it around the camera cable, placing the end with the largest diameter step closest to the 32mm gland. Next slide the crenulated plastic ring over the rubber bung and push up the cable into the 32mm gland: 6. Place the threaded section of the 32mm gland over the camera cable and tighten. 7. Connect the front plate to the back box using the Allen screws and key supplied: 8. Make off the connection between the camera and coax / RJ45. 9. Finally close and tighten the lid using the 2 screws on the short edge: Note: it is recommended that the unused threaded holes on the front plate are filled with silicone sealant.
