LED`s and Determining Planck`s Constant
advertisement

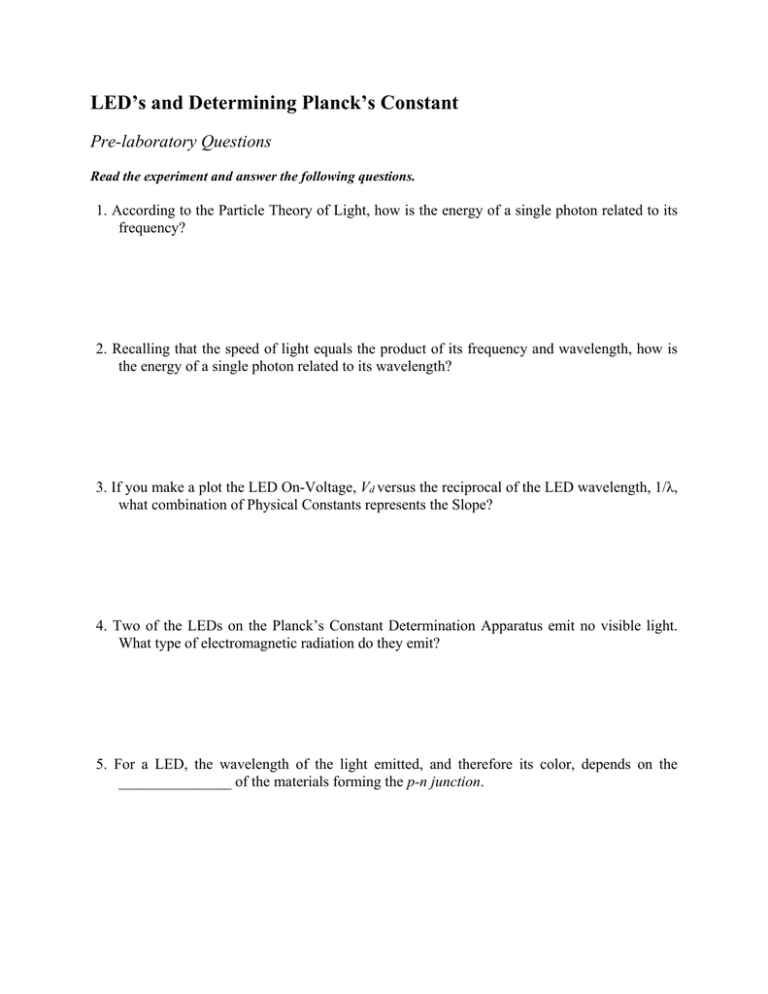
LED’s and Determining Planck’s Constant Pre-laboratory Questions Read the experiment and answer the following questions. 1. According to the Particle Theory of Light, how is the energy of a single photon related to its frequency? 2. Recalling that the speed of light equals the product of its frequency and wavelength, how is the energy of a single photon related to its wavelength? 3. If you make a plot the LED On-Voltage, Vd versus the reciprocal of the LED wavelength, 1/λ, what combination of Physical Constants represents the Slope? 4. Two of the LEDs on the Planck’s Constant Determination Apparatus emit no visible light. What type of electromagnetic radiation do they emit? 5. For a LED, the wavelength of the light emitted, and therefore its color, depends on the _______________ of the materials forming the p-n junction. LED’s and Determining Planck’s Constant I. INTRODUCTION AND OBJECTIVES Light-emitting diode Red, green and blue LEDs of the 5mm type Invented Nick Holonyak Jr. (1962) Electronic symbol A light-emitting diode (LED) is a semiconductor light source. LEDs are used as indicator lamps in many devices, and are increasingly used for lighting. Introduced as a practical electronic component in 1962, early LEDs emitted low-intensity red light, but modern versions are available across the visible, ultraviolet and `infrared wavelengths, with very high brightness. The LED is based on the semiconductor diode. When a diode is forward biased (switched on), electrons are able to recombine with holes within the device, releasing energy in the form of photons. This effect is called electroluminescence and the color of the light (corresponding to the energy of the photon) is determined by the energy gap of the semiconductor. After performing this experiment and analyzing the data, you should be able to: 1. Read the wavelength from LED spectra. 2. Determine the voltage at which the LED stops emitting light. 3. Determine Planck’s constant from a graph of Voltage vs 1/wavelength. II. EQUIPMENT NEEDED • • Red Tide Emission Spectrometer Planck’s Constant Determination LED Array (EISCO). • • • • Digital Voltmeter Digital Milli-ammeter 9 Volt Battery Vernier Logger Pro Software III. THEORY Like a normal diode, the LED consists of a chip of semiconducting material doped with impurities to create a p-n junction. As in other diodes, current flows easily from the p-side, or anode, to the n-side, or cathode, but not in the reverse direction. Charge-carriers—electrons and holes—flow into the junction from electrodes with different voltages. When an electron meets a hole, it falls into a lower energy level, and releases energy in the form of a photon. The wavelength of the light emitted, and therefore its color, depends on the band gap energy of the materials forming the p-n junction. In silicon or germanium diodes, the electrons and holes recombine by a non-radiative transition which produces no optical emission, because these are indirect band gap materials. The materials used for the LED have a direct band gap with energies corresponding to near-infrared, visible or near-ultraviolet light. Conventional LEDs are made from a variety of inorganic semiconductor materials, the following table shows some of the available colors with wavelength range, voltage drop and material: Color Wavelength (nm) Infrared λ > 760 Voltage (V) ΔV < 1.9 Semiconductor Material Gallium arsenide (GaAs) Aluminium gallium arsenide (AlGaAs) 610 < λ < 760 Aluminium gallium arsenide (AlGaAs) Gallium arsenide phosphide (GaAsP) 1.63 < ΔV < 2.03 Aluminium gallium indium phosphide (AlGaInP) Gallium(III) phosphide (GaP) Orange 590 < λ < 610 Gallium arsenide phosphide (GaAsP) 2.03 < ΔV < 2.10 Aluminium gallium indium phosphide (AlGaInP) Gallium(III) phosphide (GaP) Yellow 570 < λ < 590 Gallium arsenide phosphide (GaAsP) 2.10 < ΔV < 2.18 Aluminium gallium indium phosphide (AlGaInP) Gallium(III) phosphide (GaP) Red Green 500 < λ < 570 1.9 < ΔV < 4.0 Indium gallium nitride (InGaN) / Gallium(III) nitride (GaN) Gallium(III) phosphide (GaP) Aluminium gallium indium phosphide (AlGaInP) Aluminium gallium phosphide (AlGaP) Blue 450 < λ < 500 2.48 < ΔV < 3.7 Zinc selenide (ZnSe) Indium gallium nitride (InGaN) Silicon carbide (SiC) as substrate Silicon (Si) as substrate — (under development) Violet 400 < λ < 450 2.76 < ΔV < 4.0 Indium gallium nitride (InGaN) Purple multiple types 2.48 < ΔV < 3.7 Dual blue/red LEDs, blue with red phosphor, or white with purple plastic I-V diagram for a diode: an LED will begin to emit light when the on-voltage, Vd is exceeded. Typical on-voltages are 2-3 Volt. From Conservation energy, one can write, eVd = hf where e is the charge on an electron charge, h is Planck’s Constant and f is the frequency of the emitted photon. Using the wave relationship, c = fλ, we may rewrite this as: Equation 1: hc 1 Vd = e λ This implies that if one graphs the on-voltage of the LED vs the reciprocal of the wavelength of the emitted light, the slope of the graph may be used to calculate Planck’s Constant. A sample of such a graph is shown below: IV. EXPERIMENTAL PROCEDURE 1. A red tide emission spectrometer will be used to display the LED spectra in this experiment. Connect the Fiber-Optic Cable to the SMA connector on the Red Tide Spectrometer. Connect the USB cable from the Spectrometer to the Computer. Mount the other end of the Fiber-Optic Cable in the clamp as shown in the picture below. Point the fiber at the 1st LED in the array. Hook up the battery and the digital meters as shown (The Voltage Range should be 20 V and Ammeter Range 20 mA). Start up the Logger Pro Program. Load the “Plancks_Constant” file from the “Experiments” Folder. Prepare the spectrometer to measure light emission. Click “Collect”. An emission spectrum will be graphed. Turn the selection dial to the 470 nm LED. Turn on the Power Switch on the “Planck’s Constant Determination” box and adjust the yellow dial until a sizable peak appears in the Logger Pro Program Window. A typical LED spectrum is shown below: Use the Examine Tool to display the wavelength that corresponds to the maximum intensity. Record this in the data table. Turn the yellow knob counterclockwise until the LED peak in the spectrum disappears. Record the On-Voltage, Vd where this happens in the data table. Repeat the above procedure for the other LEDs on the Apparatus after Turning the Selection Dial to the LED you want to display and moving the fiber optic cable over that LED. Record the results in the data table. λ (nm) (maximum intensity) Vd (volts) Color Printed LED λ (nm) Blue Green Green/Yellow Yellow/Red Red Infra-Red 1 Infra-Red 2 470 505 570 605 655 880 940 2. Go to page 2 in Logger Pro to plot the On-Voltage, Vd versus the reciprocal of the wavelength, 1/λ. Enter your wavelength and voltage data from the data table. Use “linear fit” to find the best straight line that fits the data points. Print the graph with the linear fit showing. Note that Equation 1 hc 1 Vd = e λ has the form of a straight line, y = mx + b, with slope equal to hc/e. This means that you can calculate an Experimental Planck’s Constant by multiplying the measured slope by e/c. - (Slope) = __________ V.nm Experimental Planck’s Constant = (Slope) x 10-9 x e/c = ______________ J.s Theoretical Planck’s Constant = 6.63 * 10-34 J.s Percent Error = __________ % IV. Conclusion After group discussion, write a one-paragraph conclusion that summarizes the results of this experiment.


