Miter Cutting tutorial for Island Stone Rustic Cladding
advertisement
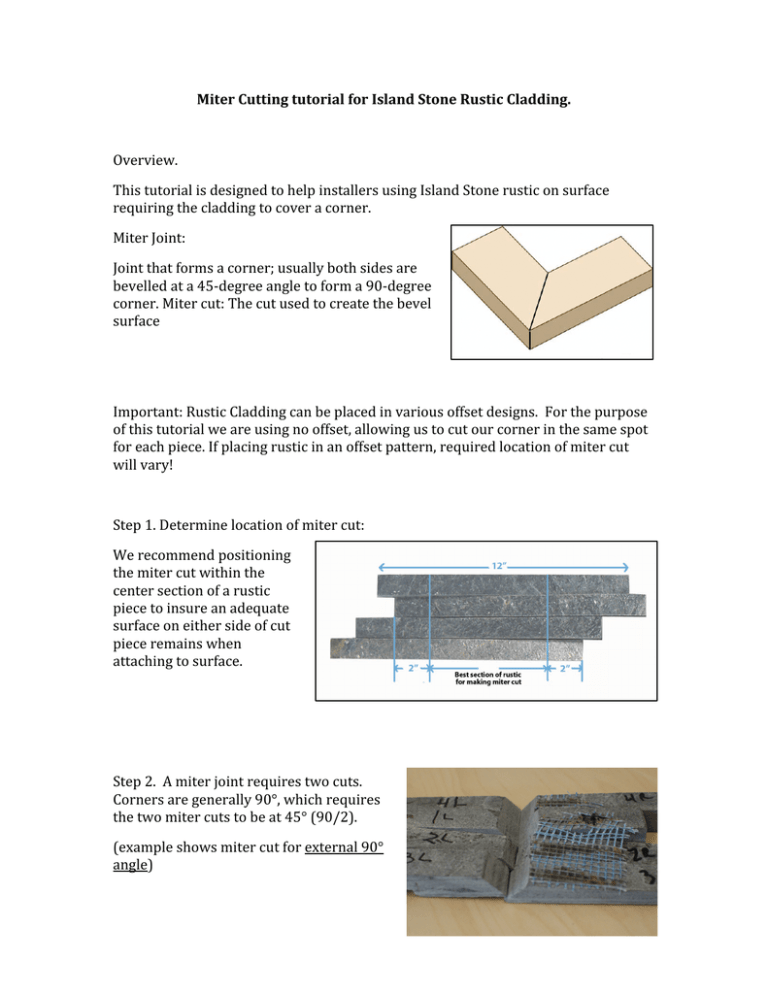
Miter Cutting tutorial for Island Stone Rustic Cladding. Overview. This tutorial is designed to help installers using Island Stone rustic on surface requiring the cladding to cover a corner. Miter Joint: Joint that forms a corner; usually both sides are bevelled at a 45‐degree angle to form a 90‐degree corner. Miter cut: The cut used to create the bevel surface Important: Rustic Cladding can be placed in various offset designs. For the purpose of this tutorial we are using no offset, allowing us to cut our corner in the same spot for each piece. If placing rustic in an offset pattern, required location of miter cut will vary! Step 1. Determine location of miter cut: We recommend positioning the miter cut within the center section of a rustic piece to insure an adequate surface on either side of cut piece remains when attaching to surface. Step 2. A miter joint requires two cuts. Corners are generally 90°, which requires the two miter cuts to be at 45° (90/2). (example shows miter cut for external 90° angle) Step 3: When making cuts, cladding piece should always be placed with the bottom surface down. And all pieces flat against surface of saw. Step 4: With saw positioned at desired angle (45° shown), hold tile flat against table surface and make first miter cut. Step 5. Remove properly cut side and turn remaining piece 180° around and reposition so that saw will cut 2nd matching miter cut. Important! Piece should be positioned so that saw cuts as close as possible to the highest piece of the side being cut. Step 6: Hold pieces flat against table surface and Make second cut. You should now have matching miter pieces to create a desired miter joint with the rustic cladding. Note, expect different heights of corner pieces based on heights of individual pieces. When installing pay special attention to insuring the positioning of each piece of cladding does not move as relates to the other pieces in the set as this will effect the tightness of the interlock with the next piece of cladding Note. For creating a miter join on an internal angle follow same directions with 45° to create internal 90° corner.

