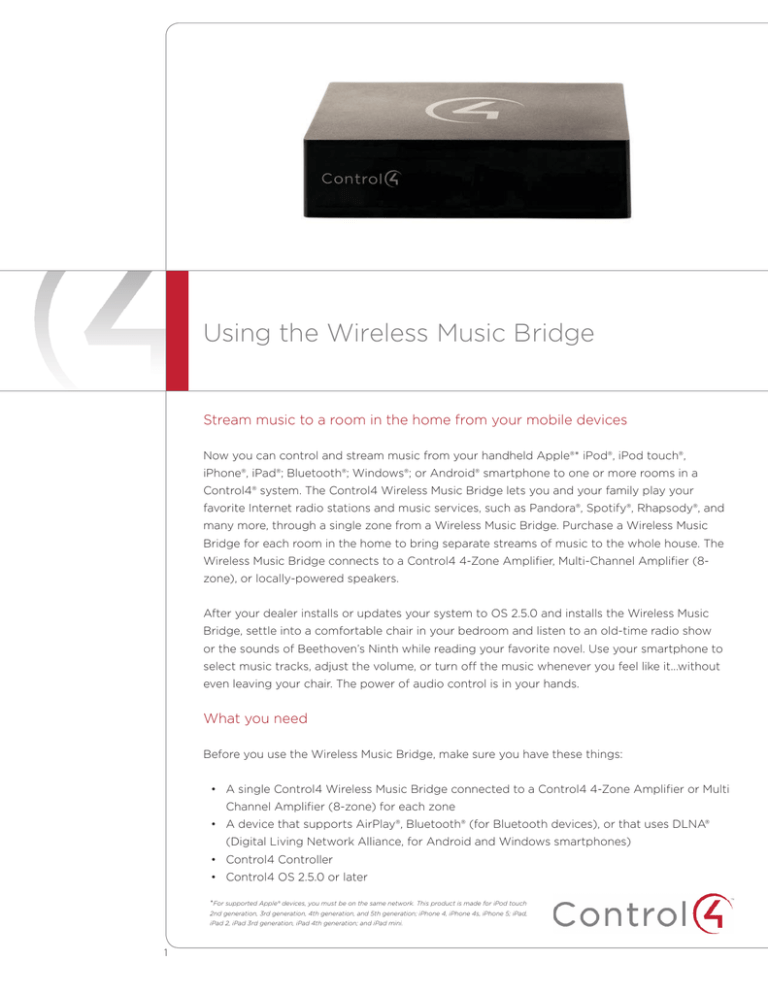
Using the Wireless Music Bridge
Stream music to a room in the home from your mobile devices
Now you can control and stream music from your handheld Apple®* iPod®, iPod touch®,
iPhone®, iPad®; Bluetooth®; Windows®; or Android® smartphone to one or more rooms in a
Control4® system. The Control4 Wireless Music Bridge lets you and your family play your
favorite Internet radio stations and music services, such as Pandora®, Spotify®, Rhapsody®, and
many more, through a single zone from a Wireless Music Bridge. Purchase a Wireless Music
Bridge for each room in the home to bring separate streams of music to the whole house. The
Wireless Music Bridge connects to a Control4 4-Zone Amplifier, Multi-Channel Amplifier (8zone), or locally-powered speakers.
After your dealer installs or updates your system to OS 2.5.0 and installs the Wireless Music
Bridge, settle into a comfortable chair in your bedroom and listen to an old-time radio show
or the sounds of Beethoven’s Ninth while reading your favorite novel. Use your smartphone to
select music tracks, adjust the volume, or turn off the music whenever you feel like it...without
even leaving your chair. The power of audio control is in your hands.
What you need
Before you use the Wireless Music Bridge, make sure you have these things:
• A single Control4 Wireless Music Bridge connected to a Control4 4-Zone Amplifier or Multi
Channel Amplifier (8-zone) for each zone
• A device that supports AirPlay®, Bluetooth® (for Bluetooth devices), or that uses DLNA®
(Digital Living Network Alliance, for Android and Windows smartphones)
• Control4 Controller
• Control4 OS 2.5.0 or later
*For supported Apple® devices, you must be on the same network. This product is made for iPod touch
2nd generation, 3rd generation, 4th generation, and 5th generation; iPhone 4, iPhone 4s, iPhone 5; iPad,
iPad 2, iPad 3rd generation, iPad 4th generation; and iPad mini.
1
• Control4 touch screens or the Control4 MyHome™ app on your smartphones
• Wireless Music Bridge ‘discovered’ in Composer and added to a room (your dealer can
help)
• Your smartphone must be on the same wireless network as the Wireless Music Bridge
(AirPlay and DLNA only)
• A few minutes to read this guide
If you are missing any of the items listed above, contact your Control4 Dealer.
What you can control
• Connect your smartphone, tablet, or touch screen to the Control4 system—No special
code is required to connect to the Wireless Music Bridge.
• Choose the audio app to listen to—Choose to play music, podcasts, and more from the
music service app on your smartphone or tablet through your room’s speakers.
• Adjust the volume—Change the volume on your smartphone, tablet, or touch screen.
• Disconnect one smartphone and connect another—Your kids are tired of listening to your
classical music from your iPad, and they want to switch to hip-hop music on their iPhone.
The Disconnect button on a touch screen lets you disconnect a device that’s currently
playing (for example, an iPad) and connect a different device, such as an iPhone.
Here’s how
Perform the following steps on your smartphone, tablet, or touch screen (as applicable). If you
have any questions or encounter challenges along the way, contact your dealer.
To connect your smartphone:
AirPlay—For iPod, iPhone, iPad and MacOS devices, you must be on the same
network as your device (password and login is required). Tap the AirPlay icon in the
lower-right corner, and then select the Wireless Music Bridge to play through.
Bluetooth—For Bluetooth devices, pair the smartphone within 10 meters of the
Wireless Music Bridge using Simple Secure Pairing (no code is required). Pair the
smartphone when the Wireless Music Bridge is not connected to another Bluetooth
device.
DLNA®—For Windows or Android-based phones, connect the phone using standard
DLNA. The procedure is based on your DLNA-enabled device. See your dealer for
specific instructions for your device.
After you connect, the Wireless Music Bridge icon is a source in Listen on your Navigators.
2
To play music stored on your iOS device (including iPhones, iPods, iPads):
• AirPlay
1 Be sure your iOS device is connected to the same network that your Wireless Music
Bridge is on. Talk to your dealer for help or specific instructions.
2 Open the audio app you want to listen to (for example, Pandora, Spotify, or your
stored music).
3 Start playing audio using the app you opened.
4 Tap the AirPlay icon in the lower-right corner of your screen.
Your Airplay icon
is here. If you do
NOT see this, you
are not connected
to your network.
Check with your
dealer.
5 Select the Wireless Music Bridge’s name (assigned by you and your dealer).
6 If your dealer set up the Wireless Music Bridge to automatically start, then you should
start hearing music playing in the room/zone you’ve selected. Otherwise, you may need
to go to the Listen menu on your Navigator and select the Wireless Music Bridge
as a source to the room you are in.
• Bluetooth
The Wireless Music Bridge uses a Bluetooth Class 2 radio using A2DP (Advanced Audio
Distribution Profile) to give you the highest possible audio quality. While this standard
is very common, you must ensure that your mobile device is capable of supporting this
Bluetooth Profile. See your mobile device specifications for details.
Because there are various ways to configure Bluetooth on a specific device, work with your
Control4 Dealer to learn how to listen to music from your Bluetooth device. In general, you
should be able to connect your mobile device in the following manner:
1 Place your phone or tablet into Bluetooth discovery mode, also known as pairing mode.
3
2 If no user is connected to the Wireless Music Bridge via Bluetooth, it will automatically
be in pairing mode.
•
Your Wireless Music Bridge will show up with the name (assigned by you and your
dealer) and a -BT added to the end.
•
If you cannot find your Wireless Music Bridge in your list, try these steps:
a Using the Navigator screen, find the Wireless Music Bridge you are trying to pair
to and select it as the device. Press the disconnect button to force the Wireless
Music Bridge into pairing/discovery mode.
b Make sure you are within 10 meters line-of-sight of the Wireless Music Bridge.
c Make sure your dealer did NOT disable Bluetooth in your Wireless Music Bridge.
3 Once you have connected your mobile device to the Wireless Music Bridge, open the
audio app you want to listen to (for example, Pandora, Spotify, or your stored music).
4 Start playing audio using the app you opened.
5 Depending on your mobile device, you may need to select the Wireless Music Bridge
as the audio end-point. In general, this is automatic, but this is device dependent.
Your dealer can help you troubleshoot if there is a problem.
• Windows or Android (using DLNA)
Because there are various ways to configure DLNA on a specific device, work with your
Control4 Dealer to learn how to listen to music stored on the Windows server or Android
mobile device that supports the DLNA standards for your Control4 system.
The Wireless Music Bridge can play music files also stored on another DLNA-compatible
product over the network.
To browse the media, you’ll need a DLNA control point application. Many applications are
available from your Windows or Android devices. The Wireless Music Bridge will display
under the Renderer Access Control list of your DLNA control point application.
• iTunes on OSX (Apple) and Windows (Microsoft)
The Wireless Music Bridge can work with your personal computer through the iTunes
interface using AirPlay. The advantage of this function is that all the music stored on your
PC can play seamlessly through the Wireless Music Bridge and your Control4 system,
allowing you to control your music from your PC.
NOTE: Ensure that your PC is configured as discussed below to help provide the best
possible experience.
• AirPlay
1 Be sure your computer is connected to the same network as your Wireless Music
Bridge. Talk to your dealer for help or specific instructions.
2 Open the iTunes application.
3 From the menu bar, select iTunes > Preferences (or file > preferences on Windows).
a Select the Devices icon at the top of the menu.
b Make sure the Allow iTunes audio control from remote speakers is checked.
4
This allows control of your iTunes music from your Navigators.
c Select OK.
4 Tap the AirPlay icon next to the iTunes device controls (see the next figure).
Select the Wireless Music Bridge as the Audio End-Point.
NOTE: iTunes allows multiple end-points to be selected. Each Wireless Music Bridge
can behave as a unique end-point and will have independent volume controls.
5 Select the Wireless Music Bridge’s name (assigned by your dealer).
Your AirPlay icon is
here. If you do not see
this, you are not connected to your network.
Check with your dealer.
6 If your dealer has set up the Wireless Music Bridge to automatically start, then you
should start hearing music playing in the room/zone that was configured by your dealer.
Otherwise, go to the Listen menu on your Navigator’s screen and select the
Wireless Music Bridge as a source in the room you are in.
•
Windows Media Player
To stream music from a Windows PC using DLNA, the PC needs to be configured such
that DLNA devices are recognized by the computer. The example below is taken from
Microsoft’s website on configuring Windows 7 for use with streaming (http://windows.
microsoft.com/en-US/windows7/Stream-your-media-to-devices-and-computers-usingWindows-Media-Player).
5
To turn on Home Media Streaming:
If media sharing isn’t already turned on, follow these steps:
1 Click the Start button.
2 Click All Programs, and then click Windows Media Player. If the Player is currently open
and you’re in Now Playing mode, click the Switch to Library button in the upperright corner of the Player.
3 Click Stream, and then click Turn on home media streaming. The Turn on home media
streaming option won’t be available on the Stream menu if streaming is already on.
4 On the Media streaming options page, click Turn on media streaming. If you’re
prompted for an administrator password or confirmation, type the password or provide
confirmation.
5 Click OK.
NOTES:
(1) If your computer is on a public network, you will be prompted to change the
network location before you can stream media. For more information about network
locations, see “Choosing a network location” in Support at microsoft.com.
(2) If you have set up a homegroup, you might be prompted to share your media
libraries with your homegroup before you can stream media. For more information
about sharing libraries with a homegroup, see “Share libraries with your homegroup” in
Support at microsoft.com.
To stream media to a device using Play To:
You can use Windows Media Player to stream media, or play to, another computer or
media device on your network.
For example, if you have a digital media receiver connected to your home network,
Windows will automatically detect it and allow you to play music on it using Windows
Media Player.
6
To play to another computer or device:
1 Click the Start button.
2 Click All Programs, and then click Windows Media Player. If the Player is currently open
and you’re in Now Playing mode, click the Switch to Library button in the upper-right
corner of the player.
3 If the list pane is closed or if the Burn or Sync tabs are exposed, click the Play tab.
4 Find the items that you want to play in the Player Library, and then drag those items
from the details pane into the list pane.
5 Click the Play To button at the top of the list pane, and then click the device on the
network that will receive the media.
6 In the Play To dialog box, use the playback controls to play, pause, or stop the media
stream, or to change to the next or previous item in the list.
For more information about the Play tab, the list pane, and playback controls, see
Getting started with Windows Media Player. For more information about Play To, see
‘Using the Play To feature to stream media’ in Support at microsoft.com.
NOTE: When you stream music to a digital media receiver, you may not be able to
switch tracks using the device controls or the remote control that came with the device.
Control4 device control functionality:
The Wireless Music Bridge provides commonly-used device controls, including Play/
Pause, Skip/Next, Previous/Last, as well as Volume control. The device controls availability
is dependent on the application being used, the device the application is running on, and
whether AirPlay, Bluetooth or DLNA are being used. For DLNA, the Wireless Music Bridge
acts as a digital media renderer (DMR), and therefore only has Play/Pause and volume control
functions.
• Volume control
Use your device’s slider or a Control4 touch screen to adjust the volume. In most cases,
the Wireless Music Bridge should be configured with an amplifier or Audio Matrix Switch
as an end-point. This allows independent control of the device volume and the room
volume. Be sure to have both the device volume and room volume adjusted to appropriate
levels when playing music. Your dealer can set the room volume to an appropriate level
such that volume control from your device can act as the main volume control.
In general, adjust the device volume first. A nominal level, approximately 50-75%, should
be appropriate, but this is dependent on the device type. Next, adjust the volume of your
room to a comfortable listening level. At this point, you can now simply adjust the device
volume and achieve an audible range that should be pleasing.
7
• Play/Pause
In most cases, Play/Pause can be passed between the device and the Control4 system.
Always start the music from the device. It is NOT possible to start a music session from
the Control4 system without initial startup/connection from a device. Once a session
starts, the Control4 system can Play/Pause the current song. When a Pause command is
received, the Wireless Music Bridge will remain connected to the device unless the device
goes out of range of the Bluetooth/WiFi access points or the Auto-Off timer expires. The
Auto-off timer is set by your installer.
• Last/Previous and Skip/Next
DLNA does NOT have this functionality due to limitations in DLNA technology as a Digital
Media Renderer. AirPlay and Bluetooth commands should behave as expected, as long as
the application allows these commands to be used.
To disconnect your smartphone:
1
To switch smartphones, go to a touch screen and tap Disconnect (right side). This
disconnects the currently playing smartphone, or you can disconnect from the Wireless
Music Bridge by disconnecting the music on your smartphone.
2
To add a different smartphone, connect the smartphone to the Wireless Music Bridge
as described earlier in “To play music stored on your iOS device.”
NOTE: As with all WiFi products, Bluetooth performance and range varies based
on environmental conditions. The Wireless Music Bridge uses a Class 2 Bluetooth
transceiver, which provides up to 10m (33 feet) of range. Microwaves, other wireless
signals such as 802.11 and ZigBee, and building structures can adversely affect signal
strength and distance by which a wireless signal can be received.
Care should be taken when installing the Wireless Music Bridge to make sure location is
taken into consideration, such that performance is optimized. The installer should work
with the consumer to find a suitable location that best fits the consumer’s needs.
“Made for iPod,” “Made for iPhone,” and “Made for iPad” mean that an electronic accessory has been designed to connect specifically to iPod,
iPhone, or iPad, respectively, and has been certified by the developer to meet Apple performance standards. Apple is not responsible for the
operation of this device or its compliance with safety and regulatory standards. Please note that the use of this accessory with iPod, iPhone, or
iPad may affect wireless performance.
8
©2013. Control4 Corporation. All rights reserved. Control4, the Control4 logo, and the 4-ball logo, are registered trademarks or trademarks of Control4
Corporation in the United States and/or other countries. All specifications subject to change without notice. DOC-00076, Rev. A, 5/31/13


