The World’s Most Trusted Vibration Monitors
www.instantel.com
309 Legget Drive, Ottawa, Ontario, Canada, K2K 3A3 • Tel: 1.613.592.4642 • Fax: 1.613.592.4296 • www.instantel.com
R
© 2006 Instantel, a division of VeriChip Corporation. All rights reserved. Instantel, the Instantel logo, Blastmate
Blastware and Minimate are either registered trademarks or trademarks of VeriChip Corporation in the United States
and/or other countries. Printed in Canada. January 2006. M7027 Rev 01
About Calibration
Why Calibration is Important
Calibration is important to ensure
the instrument is performing as it
was designed to, and measures accurately the true ground vibration and
air overpressure. The recommended
interval for calibration of most measuring equipment including seismographs is one year. Across most of
North America and many parts of
Europe regulatory authorities actually require vibration monitors to be
calibrated on an annual basis. This
requirement has been or is being
adopted by several other countries
around the world and some specific
projects even require that seismographs be calibrated every three or
six months.
What the Calibration Certificate Means
Should an authority question your
vibration records, a Calibration
Certificate is the document that provides proof of professional calibration. When your vibration monitor
is calibrated at Instantel, a Calibration Certificate is issued. To ensure
the validity of each calibration, the
reference equipment used is also
calibrated and is traceable to a nationally recognized standard, such
as the National Institute of Standards
and Technology (NIST) in the United States, or the National Research
Council (NRC), in Canada. The calibration certificate also contains the
model, serial number, and date the
instrument was calibrated, and who
performed the calibration.
Importance of Manufacturer
Certified Calibration
Using a manufacturer certified facility ensures that proper procedures
are followed when calibrating your
vibration monitor. This removes
any uncertainty associated with the
reliability and measurement accuracy of your monitor, and ensures
the integrity of the measured record
if it is ever called up as evidence in
a court of law. There are individuals and companies worldwide that
are not certified by the
manufacturer to
perform vibration monitor
calibration, yet
continue to do
so. It is in your
best interest to
have your monitor
calibrated by the
specific manufacturer or their authorized
agents. Using unauthorized facilities may
cause problems in court
if the reference equipment is not traceable, or
if the certification documents are incomplete.
Instantel SensorCheck
The only purpose of the SensorCheck function on Instantel vibration monitors, is to ensure that the
sensors have been connected and
installed correctly. If a sensor was
not level, or was upside down, the
monitor would indicate a failed
SensorCheck. The SensorCheck
is NOT a calibration check and
cannot replace the annual calibration process. SensorChecks do
not compare the measured result
against an external traceable reference sensor, nor does it test
the entire electronic circuit that
is integral to the sensors
response.
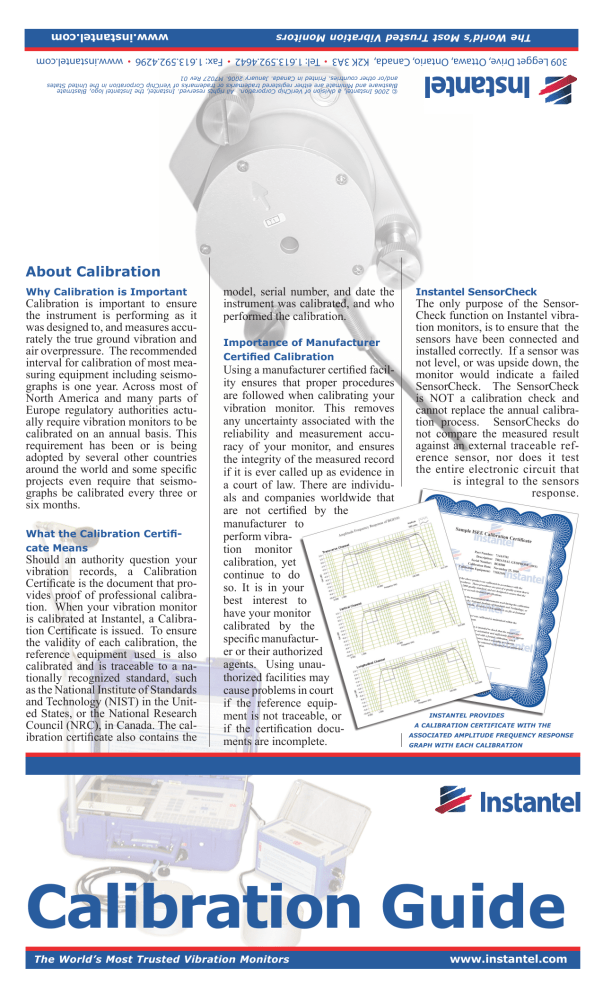
Instantel provides
a Calibration certificate with the
associated Amplitude frequency Response
Graph with each calibration
R
Calibration Guide
The World’s Most Trusted Vibration Monitors
www.instantel.com
Calibration Guide
1
Calibration at the Instantel Factory
Measuring the “As Found” Condition
The “As Found” condition of each channel of a geophone is determined
by attaching the sensor to a shake table and measuring the amplitude
frequency response. Determining the condition of a linear microphone
is a similar process, using a microphone calibration chamber. The “As
Found” condition provides the customer information on how much out
of calibration, if at all, the unit was when
it arrived – this information is
provided to the customer along
with the calibration certificate.
Figure 1:
Sample of the “As Found”
amplitude frequency
response measurement
of an ISEE Geophone
Computerized Calibration System
2
Figure 2:
calibrated ISEE (2-250Hz) Geophone,
Geophone Calibration Station
From figure 1
After the geophone is attached to the
shake table and the “As Found” condition is determined, it is calibrated by
adjusting the frequency response to
meet either the ISEE or DIN standard.
Geophone mounted on shake table
with reference Accelerometers
3
Microphone Calibration Chamber
The linear microphone is inserted into the
microphone calibration chamber, and the
frequency response is adjusted.
Microphone Calibration Chamber
Figure 3:
Calibrated DIN (1-315Hz) Geophone Amplitude
frequency and phase response Graph
Figure 4:
Linear Microphone amplitude Frequency Response
R
The World’s Most Trusted Vibration Monitors
www.instantel.com


