Discussions Quick Start Guide
advertisement
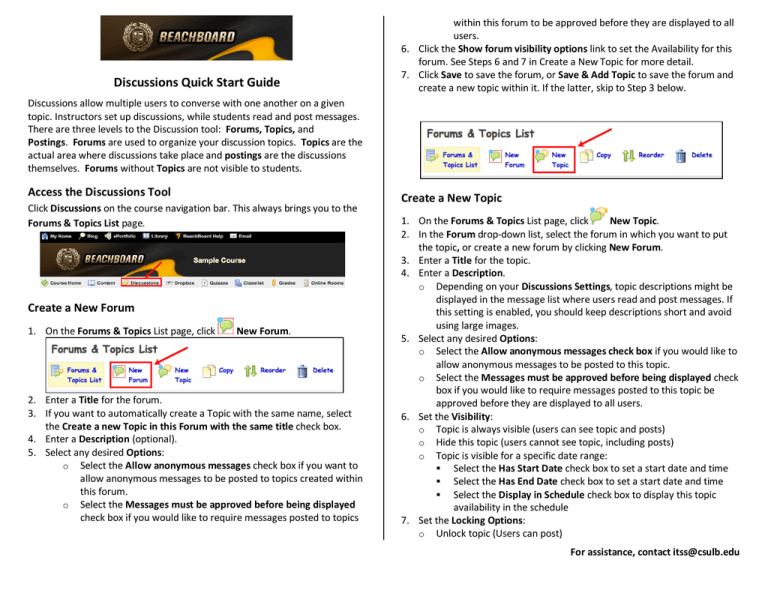
Discussions Quick Start Guide within this forum to be approved before they are displayed to all users. 6. Click the Show forum visibility options link to set the Availability for this forum. See Steps 6 and 7 in Create a New Topic for more detail. 7. Click Save to save the forum, or Save & Add Topic to save the forum and create a new topic within it. If the latter, skip to Step 3 below. Discussions allow multiple users to converse with one another on a given topic. Instructors set up discussions, while students read and post messages. There are three levels to the Discussion tool: Forums, Topics, and Postings. Forums are used to organize your discussion topics. Topics are the actual area where discussions take place and postings are the discussions themselves. Forums without Topics are not visible to students. Access the Discussions Tool Click Discussions on the course navigation bar. This always brings you to the Forums & Topics List page. Create a New Forum 1. On the Forums & Topics List page, click New Forum. 2. Enter a Title for the forum. 3. If you want to automatically create a Topic with the same name, select the Create a new Topic in this Forum with the same title check box. 4. Enter a Description (optional). 5. Select any desired Options: o Select the Allow anonymous messages check box if you want to allow anonymous messages to be posted to topics created within this forum. o Select the Messages must be approved before being displayed check box if you would like to require messages posted to topics Create a New Topic 1. On the Forums & Topics List page, click New Topic. 2. In the Forum drop-down list, select the forum in which you want to put the topic, or create a new forum by clicking New Forum. 3. Enter a Title for the topic. 4. Enter a Description. o Depending on your Discussions Settings, topic descriptions might be displayed in the message list where users read and post messages. If this setting is enabled, you should keep descriptions short and avoid using large images. 5. Select any desired Options: o Select the Allow anonymous messages check box if you would like to allow anonymous messages to be posted to this topic. o Select the Messages must be approved before being displayed check box if you would like to require messages posted to this topic be approved before they are displayed to all users. 6. Set the Visibility: o Topic is always visible (users can see topic and posts) o Hide this topic (users cannot see topic, including posts) o Topic is visible for a specific date range: Select the Has Start Date check box to set a start date and time Select the Has End Date check box to set a start date and time Select the Display in Schedule check box to display this topic availability in the schedule 7. Set the Locking Options: o Unlock topic (Users can post) For assistance, contact itss@csulb.edu Lock topic (Users can’t post, but can still read postings) Unlock topic for a specific date range: Select the Has Start Date check box to set a start date and time Select the Has End Date check box to set a start date and time Select the Display in Schedule check box to display this topic in the schedule 8. Click Save, or Save and New to save the topic and create another one. o o 5. If you want to assess individual messages (rather than manually assigning an overall topic score for each user): o Select the Assess each message and automatically calculate the topic score check box. o Select the Calculation method you want to use to determine users’ overall topic scores based on message scores. Options: Average message score Maximum message score Minimum message score Mode message score - Highest on multiple Mode message score - Lowest on multiple o If you want the calculation to treat unassessed messages as if those messages had received a score of zero, select Include non-scored messages in the calculated score as zero. By default, unassessed messages are ignored when calculating the topic score. 6. Click Save. Compose a Message From the Forums & Topics List page, click on the desired Topic name. Click Compose. Type a Subject and your Message in the appropriate text boxes. Add a File (optional). Then Post or Save Draft of the message. Read Messages Settings: Grid Style: resembles a traditional email reader where each message’s subject, author, and date appear in a list without the full text of the message. To read a message, you click the subject; the full text is displayed in a separate area. You can only print from Grid Style. • Reading Style: shows the full text of all messages in a single view. You read messages simply by scrolling through the page, without having to select messages and read them one at a time in a dedicated reading pane or a popup window. • Threaded View - messages are grouped with their replies • Un-threaded View – messages are not grouped with their replies. • Set up Assessment You can evaluate users’ individual postings and have a topic score automatically calculated for each user, or you can manually assign an overall topic score for each user. Configure a Topic for Assessment 1. On the Forums & Topics List page, click the Edit icon next to the topic you want to configure. 2. Click the Assessment tab. 3. If you want the score to be linked to a grade item, select the item from the Grade Item drop-down list or click New Grade Item to create it. 4. Specify the number you want to Score Out of. Reply to a Message After reading a message, click Reply. Type the message. Click Post. For more information, see our BeachBoard Help Pages. For assistance, contact itss@csulb.edu
