MINI-BEAM Expert Series
Quick Start Guide
Microprocessor-Based TEACH Mode Photoelectric Sensors
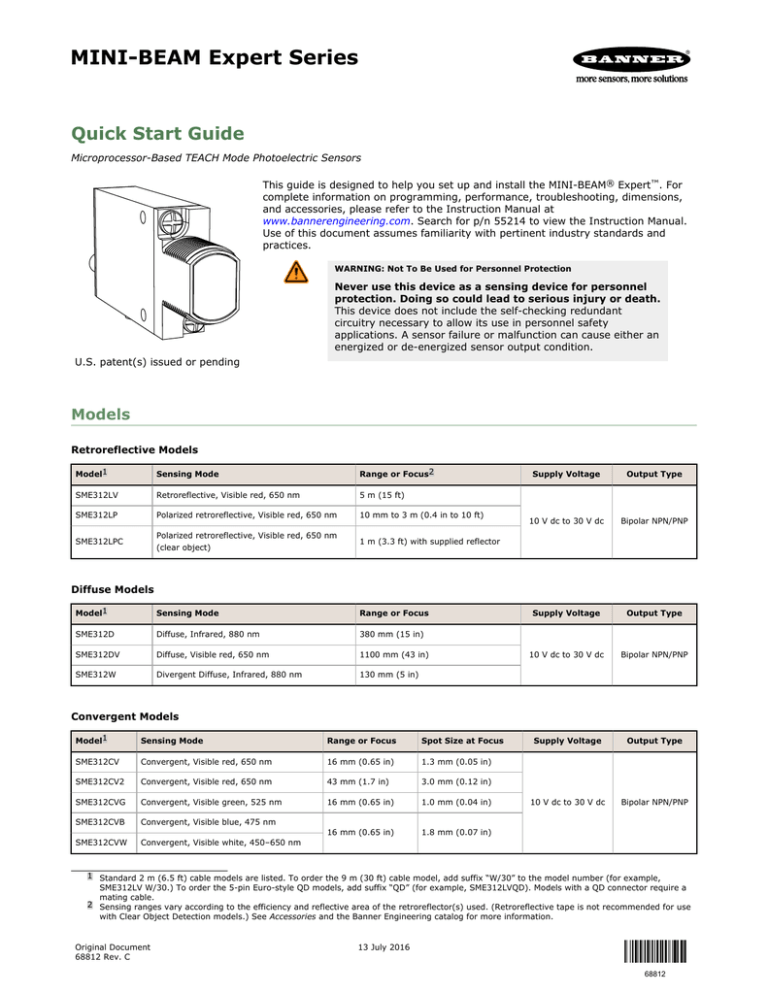
This guide is designed to help you set up and install the MINI-BEAM® Expert™. For
complete information on programming, performance, troubleshooting, dimensions,
and accessories, please refer to the Instruction Manual at
www.bannerengineering.com. Search for p/n 55214 to view the Instruction Manual.
Use of this document assumes familiarity with pertinent industry standards and
practices.
WARNING: Not To Be Used for Personnel Protection
Never use this device as a sensing device for personnel
protection. Doing so could lead to serious injury or death.
This device does not include the self-checking redundant
circuitry necessary to allow its use in personnel safety
applications. A sensor failure or malfunction can cause either an
energized or de-energized sensor output condition.
U.S. patent(s) issued or pending
Models
Retroreflective Models
Model1
Sensing Mode
Range or Focus2
SME312LV
Retroreflective, Visible red, 650 nm
5 m (15 ft)
SME312LP
Polarized retroreflective, Visible red, 650 nm
10 mm to 3 m (0.4 in to 10 ft)
SME312LPC
Polarized retroreflective, Visible red, 650 nm
(clear object)
1 m (3.3 ft) with supplied reflector
Model1
Sensing Mode
Range or Focus
SME312D
Diffuse, Infrared, 880 nm
380 mm (15 in)
SME312DV
Diffuse, Visible red, 650 nm
1100 mm (43 in)
SME312W
Divergent Diffuse, Infrared, 880 nm
130 mm (5 in)
Supply Voltage
Output Type
10 V dc to 30 V dc
Bipolar NPN/PNP
Supply Voltage
Output Type
10 V dc to 30 V dc
Bipolar NPN/PNP
Supply Voltage
Output Type
10 V dc to 30 V dc
Bipolar NPN/PNP
Diffuse Models
Convergent Models
Model1
Sensing Mode
Range or Focus
Spot Size at Focus
SME312CV
Convergent, Visible red, 650 nm
16 mm (0.65 in)
1.3 mm (0.05 in)
SME312CV2
Convergent, Visible red, 650 nm
43 mm (1.7 in)
3.0 mm (0.12 in)
SME312CVG
Convergent, Visible green, 525 nm
16 mm (0.65 in)
1.0 mm (0.04 in)
SME312CVB
Convergent, Visible blue, 475 nm
16 mm (0.65 in)
1.8 mm (0.07 in)
SME312CVW
Convergent, Visible white, 450–650 nm
1 Standard 2 m (6.5 ft) cable models are listed. To order the 9 m (30 ft) cable model, add suffix “W/30” to the model number (for example,
SME312LV W/30.) To order the 5-pin Euro-style QD models, add suffix “QD” (for example, SME312LVQD). Models with a QD connector require a
mating cable.
2 Sensing ranges vary according to the efficiency and reflective area of the retroreflector(s) used. (Retroreflective tape is not recommended for use
with Clear Object Detection models.) See Accessories and the Banner Engineering catalog for more information.
Original Document
68812 Rev. C
13 July 2016
68812
MINI-BEAM Expert Series
Glass Fiber Optic Models
Model1
Sensing Mode
SME312F
Glass Fiber Optic, 880 nm infrared
SME312FV
Glass Fiber Optic, Visible red, 650 nm
SME312FVG
Glass Fiber Optic, Visible green, 525 nm
SME312FVB
Glass Fiber Optic, Visible blue, 475 nm
SME312FVW
Glass Fiber Optic, Visible white, 450–650 nm
Range or Focus
Range varies by sensing mode and
fiber optics used
Supply Voltage
Output Type
10 V dc to 30 V dc
Bipolar NPN/PNP
Supply Voltage
Output Type
10 V dc to 30 V dc
Bipolar NPN/PNP
Plastic Fiber Optic Models
Model1
Sensing Mode
SME312FP
Plastic Fiber Optic, Visible red, 650 nm
SME312FPG
Plastic Fiber Optic, Visible green, 525 nm
SME312FPB
Plastic Fiber Optic, Visible blue, 475 nm
SME312FPW
Plastic Fiber Optic, Visible white, 450–650 nm
Range or Focus
Range varies by sensing mode and
fiber optics used
Overview
Amber output
indicator LED
Bi-color green/red
indicator LED
MINI-BEAM® Expert™ is a complete family of sensors, all housed in the
popular, robust and compact rectangular housing. Their large push button
and easy-to-see indicators provide easy configuration, alignment, and
monitoring during use.
Status Indicators
Normal sensor operation is called RUN mode. Sensor configuration (setting the sensitivity threshold and selecting output
ON and OFF conditions) is performed in TEACH mode. The two LED indicators (bi-color green/red and amber) have distinct
roles in the two operation modes. If contrast is marginal, the bi-color indicator will flash green to indicate instability. If this
occurs, reconfigure or realign the sensor, or clean the sensor or fiber lenses.
The Signal Strength indicator is Banner’s exclusive AID™ (Alignment Indicating Device). Its pulse rate increases as the
received light signal strength increases (during programming). This feature simplifies accurate alignment during TEACH
mode, and gives a relative indication of sensing contrast between the light and dark conditions.
LED
RUN Mode
Solid green
Power is on
Flashing green
Sensed light level is approaching sensing
threshold3
Solid red
TEACH Mode
Sensor “sees” its own modulated light source; pulse rate is proportional to the
received light signal strength4
Amber on
Outputs conducting
Ready to TEACH output ON condition
Amber off
Outputs not conducting
Ready to TEACH output OFF condition
3 This is the Stability indicator, which signals when maintenance, realignment, or reconfiguration is needed during RUN mode.
4 The faster the pulse rate, the stronger the light signal.
2
www.bannerengineering.com - Tel: +1-763-544-3164
P/N 68812 Rev. C
MINI-BEAM Expert Series
Remote Configuration
The remote function can be used to configure the sensor remotely or to disable the push button for security. Connect the
gray wire of the sensor to ground (0 V dc), with a remote programming switch connected between them. Pulse the remote
line according to the diagrams in the configuration procedures. The length of the individual programming pulses is equal to
the value T where: 0.04 seconds ≤ “T” ≤ 0.8 seconds
Installation
Wiring Diagrams
QD Models
Cabled Models
bn
bu
wh
bk
gy
bn
bu
wh
bk
gy
+
10-30V dc
–
Load
Load
Remote
Teach
+
10-30V dc
–
Load
Load
Remote
Teach
Glass Fiber Installation
Retaining Clip
O-ring
1. Install the O-ring (supplied with the fiber) on each fiber end, as
shown in the drawing.
2. While pressing the fiber ends firmly into the ports on the sensor
front, slide the U-shaped retaining clip (supplied with the sensor)
into the slot in the sensor's barrel, until it snaps into place.
Plastic Fiber Installation
Gripper
Unlock
Lock
Sensor Face
Adapters for
0.25- and 0.5-mm fibers
Trimmed fiber
control ends
1. With supplied fiber cutter, make a clean cut at the control
ends of fibers.
2. Unlock the fiber gripper as shown in the drawing.
3. Apply appropriate fiber adaptors to the fiber, if needed.
4. Gently insert the prepared fiber ends into the ports as far
as they will go.
5. Slide the fiber gripper back to lock, as shown in the
drawing.
Plastic fiber
receiver port
Plastic fiber
emitter port
P/N 68812 Rev. C
www.bannerengineering.com - Tel: +1-763-544-3164
3
MINI-BEAM Expert Series
Static Teach
2nd Taught
Condition
1st Taught
Condition
Sensor positions
threshold between
taught conditions
Output OFF
Output ON
The two sensing conditions may be presented in either order. The condition
presented first is the condition for which the output will energize (the “Output
ON” target).
Sensitivity is automatically set (and optimized) when teaching the sensor the
ON and OFF conditions. When the push button is clicked, the sensor samples
each sensing condition and registers it into memory. After the second sensing
condition is registered, the MINI-BEAM Expert automatically sets the sensitivity
to the optimum value for the application, and then returns to RUN mode.
Push button (0.04 seconds ≤ “Click” ≤ 0.8 seconds); Remote line (0.04
seconds ≤ “T” ≤ 0.8 seconds)
1. Access TEACH mode.
Method
Action
Result
Via push button
Press and hold push button until the bi-color (green/
red) indicator begins to flash red, or turns OFF.
Push button method only: The amber LED is on. The
red LED pulses to indicate relative received signal
strength. The sensor is ready for the output ON
condition.
Via remote line
No action required; sensor is ready for 1st sensing
condition.
2. Teach the first sensing condition.
Method
Action
Via push button
Present the first sensing condition and click the push
button.
Via remote line
Result
The amber LED is off. The red LED pulses to indicate
relative signal strength. The sensor registers the
output ON condition and is ready for the output OFF
Present the first sensing condition and single-pulse the condition.
remote line.
3. Teach the second sensing condition and return to RUN mode.
Method
Action
Result
Via push
button
Present the second sensing condition
and click the push button.
Via remote line
Present the second sensing condition
and single-pulse the remote line.
If the teach is accepted the green LED is on (or flashes if the signal is
close to the switching threshold) and the amber LED is off until the
sensing condition changes; the sensor registers the output OFF
condition, positions the threshold, and returns to RUN mode.
If the teach is not accepted, the amber LED is on and the red LED pulses
to indicate the relative received signal strength. The sensor returns to its
wait state and is ready for the first sensing condition.
NOTE: The sensor returns to RUN mode if the first TEACH condition is not registered within 90 seconds. TEACH mode may be
cancelled before either the first or second condition by holding the push button depressed for more than two seconds.
Enabling or Disabling the Push Button
In addition to its programming function, the remote line may be used to disable the push buttons for security. Disabling
the push buttons prevents undesired tampering with the sensor configuration settings.
1. Connect the sensor’s gray wire.
2. Four-pulse the remote line to enable or disable the push button.
The sensor toggles between enable and disable settings and returns to RUN mode.
4
www.bannerengineering.com - Tel: +1-763-544-3164
P/N 68812 Rev. C
MINI-BEAM Expert Series
Specifications
Supply Voltage and Current
10 V dc to 30 V dc (10% maximum ripple) at less than 45 mA,
exclusive of load
Supply Protection Circuitry
Protected against reverse polarity and transient voltages
Adjustments
Push-button TEACH mode sensitivity setting; remote TEACH mode
input is provided
Indicators
Two LEDs: amber and bi-color green/red
Construction
Reinforced thermoplastic polyester housing, totally encapsulated, oring seal, acrylic lenses, and stainless steel screws.
Required Overcurrent Protection
WARNING: Electrical connections must be made by
qualified personnel in accordance with local and
national electrical codes and regulations.
Overcurrent protection is required to be provided by end product
application per the supplied table.
Overcurrent protection may be provided with external fusing or via
Current Limiting, Class 2 Power Supply.
Supply wiring leads < 24 AWG shall not be spliced.
For additional product support, go to http://
www.bannerengineering.com.
Supply Wiring (AWG)
Required Overcurrent Protection (Amps)
20
5.0
22
3.0
24
2.0
26
1.0
28
0.8
30
0.5
Connections
PVC-jacketed 5-conductor 2 m (6.5 ft) or 9 m (30 ft) unterminated
cable, or 5-pin Euro-style quick-disconnect (QD) fitting are available.
QD cables are ordered separately.
Application Notes
The first condition presented during TEACH mode becomes the output
ON condition.
Output Configuration
Bipolar: One current sourcing (PNP) and one current sinking (NPN)
open-collector transistor
Output Rating
150 mA maximum each output at 25° C, derated to 100 mA at 70° C
(derate ≈1 mA per °C)
Off-state leakage current: less than 5 μA at 30 V dc
ON-state saturation current: less than 1 V at 10 mA; less than 1.5 V at
150 mA
Output Protection Circuitry
Protected against false pulse on power-up and continuous overload or
short-circuit of outputs
Output Response Time
Sensors will respond to either a “light” or a “dark” signal of 500
microseconds or longer duration, 1 kHz max.
NOTE: 1 second delay on power-up; outputs do not
conduct during this time.
Repeatability
100 microseconds (all models)
Rating
Meets NEMA standards 1, 2, 3, 3S, 4, 4X, 6, 12, and 13; IEC IP67
Operating Conditions
Temperature: –20° to +70° C (–4° to +158° F)
Max. Relative Humidity: 90% at 50° C (non-condensing)
Troubleshooting
If the MINI-BEAM Expert’s Power LED alternately flashes red/green, this indicates a microprocessor memory error. To clear
the error, re-teach the sensor or cycle the power ON and OFF and re-teach the sensor. If this does not solve the problem,
or if it occurs frequently, replace the sensor.
Banner Engineering Corp. Limited Warranty
Banner Engineering Corp. warrants its products to be free from defects in material and workmanship for one year following the date of shipment. Banner Engineering Corp.
will repair or replace, free of charge, any product of its manufacture which, at the time it is returned to the factory, is found to have been defective during the warranty
period. This warranty does not cover damage or liability for misuse, abuse, or the improper application or installation of the Banner product.
THIS LIMITED WARRANTY IS EXCLUSIVE AND IN LIEU OF ALL OTHER WARRANTIES WHETHER EXPRESS OR IMPLIED (INCLUDING, WITHOUT LIMITATION,
ANY WARRANTY OF MERCHANTABILITY OR FITNESS FOR A PARTICULAR PURPOSE), AND WHETHER ARISING UNDER COURSE OF PERFORMANCE, COURSE
OF DEALING OR TRADE USAGE.
This Warranty is exclusive and limited to repair or, at the discretion of Banner Engineering Corp., replacement. IN NO EVENT SHALL BANNER ENGINEERING CORP. BE
LIABLE TO BUYER OR ANY OTHER PERSON OR ENTITY FOR ANY EXTRA COSTS, EXPENSES, LOSSES, LOSS OF PROFITS, OR ANY INCIDENTAL,
CONSEQUENTIAL OR SPECIAL DAMAGES RESULTING FROM ANY PRODUCT DEFECT OR FROM THE USE OR INABILITY TO USE THE PRODUCT, WHETHER
ARISING IN CONTRACT OR WARRANTY, STATUTE, TORT, STRICT LIABILITY, NEGLIGENCE, OR OTHERWISE.
Banner Engineering Corp. reserves the right to change, modify or improve the design of the product without assuming any obligations or liabilities relating to any product
previously manufactured by Banner Engineering Corp.
Copyright Notice
Any misuse, abuse, or improper application or installation of this product or use of the product for personal protection applications when the product is identified as not
intended for such purposes will void the product warranty. Any modifications to this product without prior express approval by Banner Engineering Corp will void the product
warranties. All specifications published in this document are subject to change; Banner reserves the right to modify product specifications or update documentation at any
time. For the most recent version of any documentation, refer to: www.bannerengineering.com. © Banner Engineering Corp. All rights reserved.
www.bannerengineering.com - Tel: +1-763-544-3164


