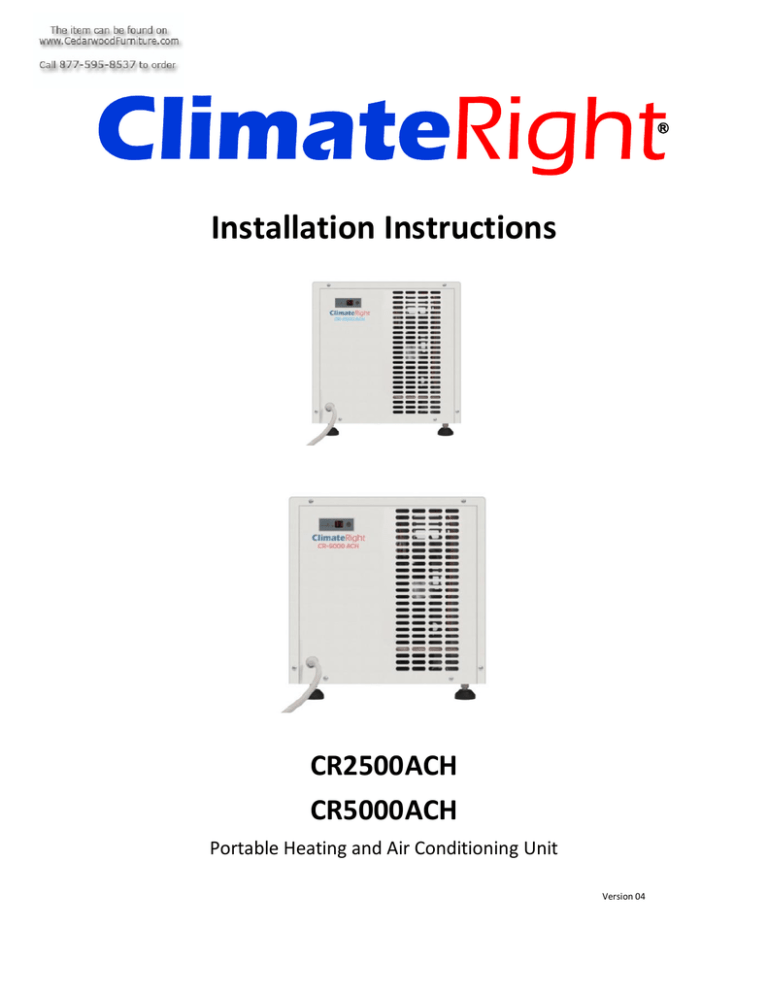
Installation Instructions
advertisement

Installation Instructions CR2500ACH CR5000ACH Portable Heating and Air Conditioning Unit Version 04 INSTALLATION INSTRUCTIONS REQUIRED TOOLS (NOT SUPPLIED) · Electric Drill · Pencil · Tape Measure · 3-1/2” Bi-Metal Hole Saw (See picture at right) · Six (6) - #6 Flat head wood or sheet metal screws, 1” length recommended. (Customer must choose the length and supply the screws based on the thickness and type material being screwed into.) · Screwdriver to match screw heads · Exterior caulk (optional) · Hacksaw (optional) Figure 1 Building Flange INCLUDED PARTS Quick Connect Hose System A. (2) Unit Connector Flanges (Pre-mounted to ClimateRight®) B. (4) Hose Flanges (Pre-mounted to Hoses) C. (2) 4’ Flexible Air Hose D. (2) Building Flanges E. (4) Flange Caps 2 INSTRUCTIONS 1. Choose a firm, flat and level location next to the structure. Be aware of anything that may be sensitive to water as the unit will drain water from the condensation drain tube onto the ground. The unit must be within 4’ (48”) of the structure (closer, if there will be bends in the air hose) and 6’ to a 120V power outlet. The closer the unit is to the structure, the better the airflow will be. (See Figure 2.1) 2. Place the ClimateRight unit at the chosen location. Orient the unit with the Air Inlet and Outlet toward the structure or at a maximum of 90 degrees from the structure. Note: It is important to face the control panel toward an area from which the remote control will be used, but do not turn the unit so the air hoses will bend more than 90 degrees. If the unit must be turned up to 90 degrees, a gentle curve is preferred over a sharp bend in the air hose. The sharp bend will degrade airflow and heating and cooling capacity. All control functions will be performed from the remote control. 3. Before marking locations to drill the holes for the flanges, make sure there are no electrical wires, pipes or obstructions of any type behind the proposed drilling locations. 4. Find a location where the first hole will be located. The hole locations should not be placed where objects could block the air flow. Mark the first location with a pencil. 5. The second hole location is recommended to be spaced a minimum of 12” diagonally from the first hole location. Mark this location with a pencil. (See Figure 2.2) Figure 2.2 Figure 2.1 3 6. With no obstructions behind the marked locations, drill out the holes with the 3-1/2” hole saw. 7. Once the holes have been drilled, insert a ClimateRight Building Flange (D). Note: Check the length of the flange, if the Building Flange is too long, it can be cut to length with a hacksaw. The grooves on the flange are spaced at 1” intervals. 8. If necessary, mark the screw hole locations with a pencil and drill pilot holes for the screws. (For #6 wood screws use a 1/16” drill bit.) 9. Optional: Lay down a bead of caulk on the side of the Building Flange that will face the building. (See Figure 3) 10. Take 3 screws and secure the Building Flange into the structure. Repeat steps 6-9 for the second Building Flange (D). 11. The Air Hoses (C) and Hose Flanges (B) are pre-assembled at the factory. Take one of these assemblies and extend the accordion style hose so it is long enough to reach the unit and the structure. 12. Mate the Hose Flange (B) to the ‘Air Outlet’ Unit Connector Flange (A) (See Figure 4) that is pre-installed on the unit. Turn the Hose Flange clockwise until they “click” together. 13. Take the other side of the Air Hose and Hose Flange and install it onto the upper Building Flange (D). 14. Install the second Air Hose onto the ‘Air Inlet’ by repeating steps 11 and 12, except install onto the lower Building Flange. 15. Take the power cord and plug the unit into a GFCI protected receptacle or a receptacle with a weatherproof (while-in-use) cover. 16. The ClimateRight unit is now ready for use. Refer to the Owner’s Manual for instructions on how to operate the unit. Figure 3 Figure 4 4 On the Internet: The most recent information about ClimateRight can be found at www.climaterightair.com Corporate Address: ClimateRight, LLC. 808 Rhoads Ave Columbus, OH 43205 CR2500ACH12S is a registered trademark of ClimateRight, LLC. CR5000ACH12S ©2014 ClimateRight, LLC.


