Quick Start Guide Congratulations on your new Opti
advertisement

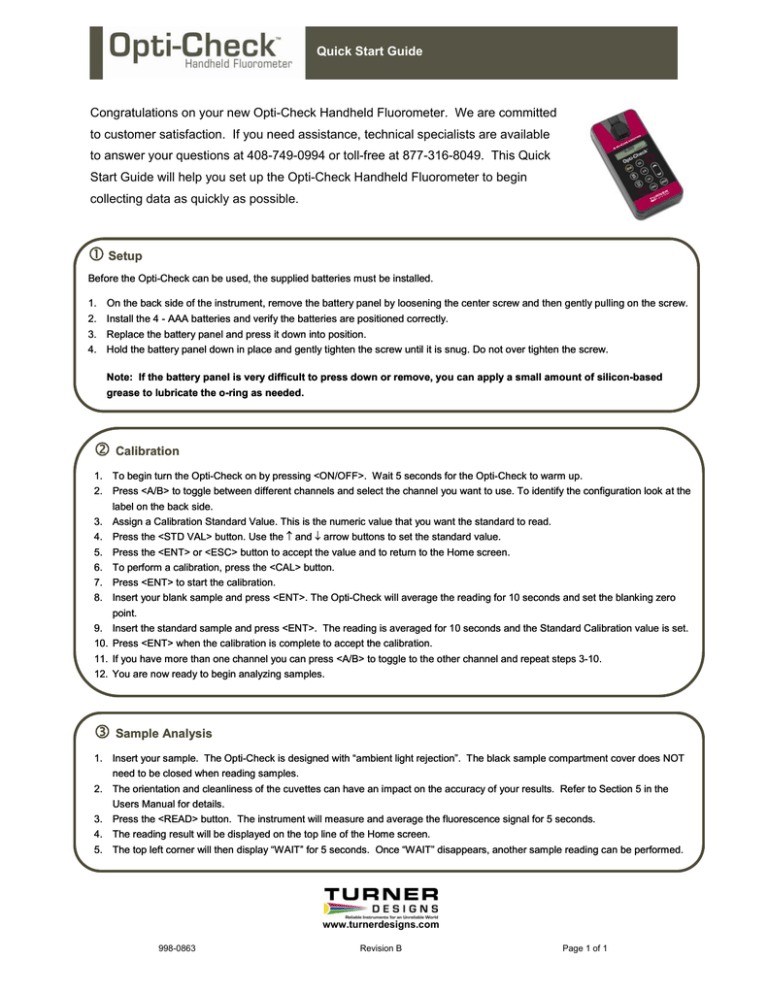
Quick Start Guide Congratulations on your new Opti-Check Handheld Fluorometer. We are committed to customer satisfaction. If you need assistance, technical specialists are available to answer your questions at 408-749-0994 or toll-free at 877-316-8049. This Quick Start Guide will help you set up the Opti-Check Handheld Fluorometer to begin collecting data as quickly as possible. c Setup Before the Opti-Check can be used, the supplied batteries must be installed. 1. On the back side of the instrument, remove the battery panel by loosening the center screw and then gently pulling on the screw. 2. Install the 4 - AAA batteries and verify the batteries are positioned correctly. 3. Replace the battery panel and press it down into position. 4. Hold the battery panel down in place and gently tighten the screw until it is snug. Do not over tighten the screw. Note: If the battery panel is very difficult to press down or remove, you can apply a small amount of silicon-based grease to lubricate the o-ring as needed. d Calibration 1. To begin turn the Opti-Check on by pressing <ON/OFF>. Wait 5 seconds for the Opti-Check to warm up. 2. Press <A/B> to toggle between different channels and select the channel you want to use. To identify the configuration look at the label on the back side. 3. Assign a Calibration Standard Value. This is the numeric value that you want the standard to read. 4. Press the <STD VAL> button. Use the ↑ and ↓ arrow buttons to set the standard value. 5. Press the <ENT> or <ESC> button to accept the value and to return to the Home screen. 6. To perform a calibration, press the <CAL> button. 7. Press <ENT> to start the calibration. 8. Insert your blank sample and press <ENT>. The Opti-Check will average the reading for 10 seconds and set the blanking zero point. 9. Insert the standard sample and press <ENT>. The reading is averaged for 10 seconds and the Standard Calibration value is set. 10. Press <ENT> when the calibration is complete to accept the calibration. 11. If you have more than one channel you can press <A/B> to toggle to the other channel and repeat steps 3-10. 12. You are now ready to begin analyzing samples. e Sample Analysis 1. Insert your sample. The Opti-Check is designed with “ambient light rejection”. The black sample compartment cover does NOT need to be closed when reading samples. 2. The orientation and cleanliness of the cuvettes can have an impact on the accuracy of your results. Refer to Section 5 in the Users Manual for details. 3. Press the <READ> button. The instrument will measure and average the fluorescence signal for 5 seconds. 4. The reading result will be displayed on the top line of the Home screen. 5. The top left corner will then display “WAIT” for 5 seconds. Once “WAIT” disappears, another sample reading can be performed. www.turnerdesigns.com 998-0863 Revision B Page 1 of 1


