You must set nitrogen pressure before use
advertisement

5020 Old Ellis Point - Suite 200
Roswell, Georgia 30076
WWW.Genesisshocks.com
678-659-9454
Fax - 678-659-9457
E-mail - info@Genesisshocks.com
You must set nitrogen pressure before use
Single and Double Adjustable Shocks
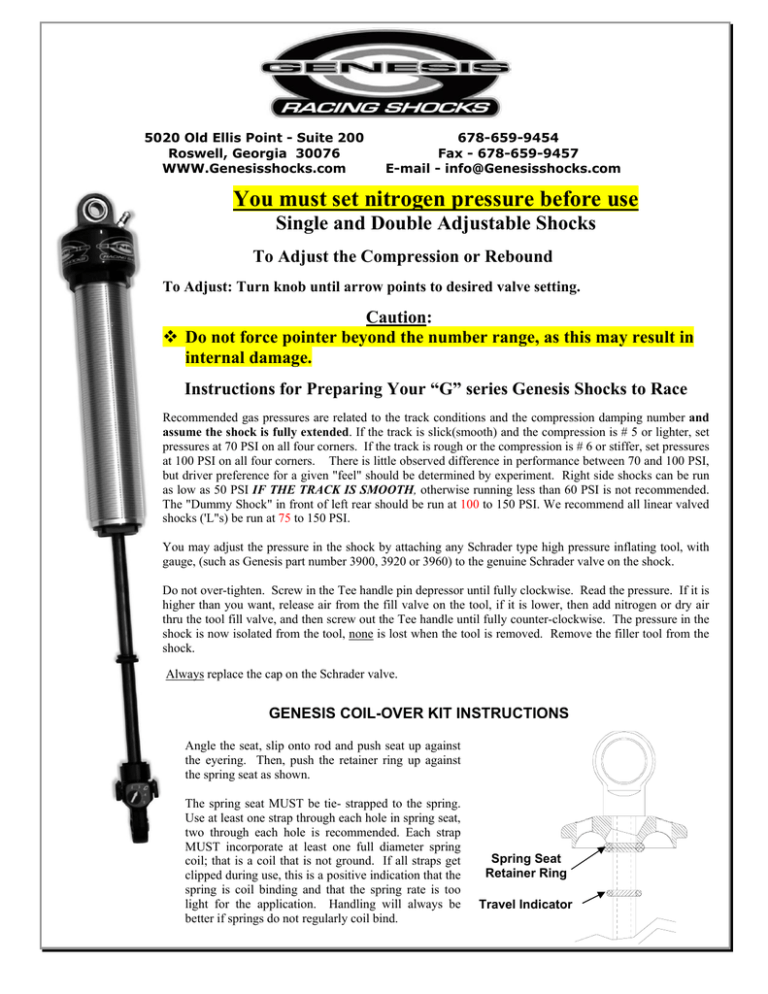
To Adjust the Compression or Rebound
To Adjust: Turn knob until arrow points to desired valve setting.
Caution:
Do not force pointer beyond the number range, as this may result in
internal damage.
Instructions for Preparing Your “G” series Genesis Shocks to Race
Recommended gas pressures are related to the track conditions and the compression damping number and
assume the shock is fully extended. If the track is slick(smooth) and the compression is # 5 or lighter, set
pressures at 70 PSI on all four corners. If the track is rough or the compression is # 6 or stiffer, set pressures
at 100 PSI on all four corners. There is little observed difference in performance between 70 and 100 PSI,
but driver preference for a given "feel" should be determined by experiment. Right side shocks can be run
as low as 50 PSI IF THE TRACK IS SMOOTH, otherwise running less than 60 PSI is not recommended.
The "Dummy Shock" in front of left rear should be run at 100 to 150 PSI. We recommend all linear valved
shocks ('L"s) be run at 75 to 150 PSI.
You may adjust the pressure in the shock by attaching any Schrader type high pressure inflating tool, with
gauge, (such as Genesis part number 3900, 3920 or 3960) to the genuine Schrader valve on the shock.
Do not over-tighten. Screw in the Tee handle pin depressor until fully clockwise. Read the pressure. If it is
higher than you want, release air from the fill valve on the tool, if it is lower, then add nitrogen or dry air
thru the tool fill valve, and then screw out the Tee handle until fully counter-clockwise. The pressure in the
shock is now isolated from the tool, none is lost when the tool is removed. Remove the filler tool from the
shock.
Always replace the cap on the Schrader valve.
GENESIS COIL-OVER KIT INSTRUCTIONS
Angle the seat, slip onto rod and push seat up against
the eyering. Then, push the retainer ring up against
the spring seat as shown.
The spring seat MUST be tie- strapped to the spring.
Use at least one strap through each hole in spring seat,
two through each hole is recommended. Each strap
MUST incorporate at least one full diameter spring
coil; that is a coil that is not ground. If all straps get
clipped during use, this is a positive indication that the
spring is coil binding and that the spring rate is too
light for the application. Handling will always be
better if springs do not regularly coil bind.
Spring Seat
Retainer Ring
Travel Indicator
5020 Old Ellis Point - Suite 200
Roswell, Georgia 30076
WWW.Genesisshocks.com
678-659-9454
Fax - 678-659-9457
E-mail - info@Genesisshocks.com
"SO" PREFIX OFFSET EYERING MOUNTING ORIENTATION
The offset eyering shock with small gas reservoir, as shown above, is supplied on shock
numbers such as G3SO75. The purpose is to provide additional clearance between the
shock and the upper A-arm ball joint. This allows for full compression without damaging
the shock. It is recommended in several applications.
All Genesis Shocks are indexed in two
separate areas and locks adjusting nut in
place using only a wire tie.


