installation, operation and maintenance instructions - Dual-Lite
advertisement
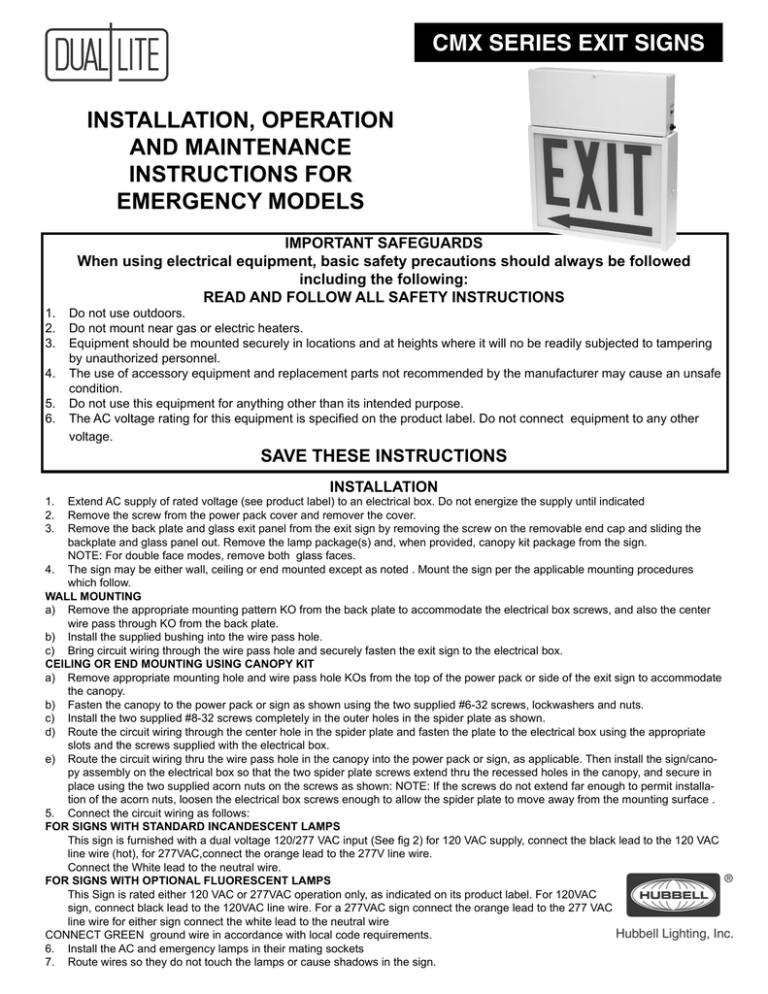
CMX SERIES EXIT SIGNS INSTALLATION, OPERATION AND MAINTENANCE INSTRUCTIONS FOR EMERGENCY MODELS IMPORTANT SAFEGUARDS When using electrical equipment, basic safety precautions should always be followed including the following: READ AND FOLLOW ALL SAFETY INSTRUCTIONS 1. Do not use outdoors. 2. Do not mount near gas or electric heaters. 3. Equipment should be mounted securely in locations and at heights where it will no be readily subjected to tampering by unauthorized personnel. 4. The use of accessory equipment and replacement parts not recommended by the manufacturer may cause an unsafe condition. 5. Do not use this equipment for anything other than its intended purpose. 6. The AC voltage rating for this equipment is specified on the product label. Do not connect equipment to any other voltage. SAVE THESE INSTRUCTIONS INSTALLATION 1. Extend AC supply of rated voltage (see product label) to an electrical box. Do not energize the supply until indicated 2. Remove the screw from the power pack cover and remover the cover. 3. Remove the back plate and glass exit panel from the exit sign by removing the screw on the removable end cap and sliding the backplate and glass panel out. Remove the lamp package(s) and, when provided, canopy kit package from the sign. NOTE: For double face modes, remove both glass faces. 4. The sign may be either wall, ceiling or end mounted except as noted . Mount the sign per the applicable mounting procedures which follow. WALL MOUNTING a) Remove the appropriate mounting pattern KO from the back plate to accommodate the electrical box screws, and also the center wire pass through KO from the back plate. b) Install the supplied bushing into the wire pass hole. c) Bring circuit wiring through the wire pass hole and securely fasten the exit sign to the electrical box. CEILING OR END MOUNTING USING CANOPY KIT a) Remove appropriate mounting hole and wire pass hole KOs from the top of the power pack or side of the exit sign to accommodate the canopy. b) Fasten the canopy to the power pack or sign as shown using the two supplied #6-32 screws, lockwashers and nuts. c) Install the two supplied #8-32 screws completely in the outer holes in the spider plate as shown. d) Route the circuit wiring through the center hole in the spider plate and fasten the plate to the electrical box using the appropriate slots and the screws supplied with the electrical box. e) Route the circuit wiring thru the wire pass hole in the canopy into the power pack or sign, as applicable. Then install the sign/canopy assembly on the electrical box so that the two spider plate screws extend thru the recessed holes in the canopy, and secure in place using the two supplied acorn nuts on the screws as shown: NOTE: If the screws do not extend far enough to permit installation of the acorn nuts, loosen the electrical box screws enough to allow the spider plate to move away from the mounting surface . 5. Connect the circuit wiring as follows: FOR SIGNS WITH STANDARD INCANDESCENT LAMPS This sign is furnished with a dual voltage 120/277 VAC input (See fig 2) for 120 VAC supply, connect the black lead to the 120 VAC line wire (hot), for 277VAC,connect the orange lead to the 277V line wire. Connect the White lead to the neutral wire. FOR SIGNS WITH OPTIONAL FLUORESCENT LAMPS This Sign is rated either 120 VAC or 277VAC operation only, as indicated on its product label. For 120VAC sign, connect black lead to the 120VAC line wire. For a 277VAC sign connect the orange lead to the 277 VAC line wire for either sign connect the white lead to the neutral wire CONNECT GREEN ground wire in accordance with local code requirements. 6. Install the AC and emergency lamps in their mating sockets 7. Route wires so they do not touch the lamps or cause shadows in the sign. 8. Connect the battery. The equipment is supplied with one battery lead (red positive) connected. If the battery is supplied with terminals, connect the blue wire to the negative (-) terminal. If the battery is supplied with leads, splice the two blue leads (-) together with the provided wire nut. NOTE: The emergency lamps will not illuminate at this time. 9. Energize the AC supply. The charge light and the AC lamps will illuminate. 10. Replace the backplate, glass face(s) and power pack cover. OPERATION 1. To test the equipment , depress the test switch. The charge light will go out and the emergency lights will illuminate. The AC lamp will remain illuminated. 2. Release the test switch. The emergency lights will go out and the charge light will illuminate. 3. The Automatic will return and maintain the battery in a fully charged state. NOTE: Allow the battery to charge for a minimum of 24 hours after installation or after a power failure before conducting a 90 minute test. CAUTION: This equipment is furnished with a sophisticated solid-state transfer switch which will automatically disconnect the emergency lamps from the battery if: a) The output is overloaded b) The output is shorted. Figure 1 Electrical Box (Not Supplied) Figure 2 #8-32 Screw Spider Plate Canopy Power Pack Housing for Battery and Charger or Transformer and Rectifier Assembly Power Pack Cover Back Plate Lock Washer End Cap Nut Emergency Lamps Sign Frame Glass Panel MAINTENANCE Always turn off AC power to the equipment before servicing.Servicing should be performed only by qualified service technicians. Use only manufacturer approved replacement parts. 1. Battery- the battery supplied with this equipment requires no maintenance. However it should be tested periodically and replaced when it will on longer operate the emergency lamps for the duration of a 30 second or 90 minute test. The battery supplied has a life expectancy of 5-7 years when used in normal ambient temperature (72 degrees F). When replacement is required , refer to the replacement battery label on the battery for the required part number. 2. Replacement of Lamps: Refer to the replacement label inside the equipment for the required lamp part number. CAUTION: Use only specified replacement lamps > the use of lamps with wattage ratings other than those required may result in premature lamp failure, discoloration of the glass plates and or noncompliance with NFPA Life Safety Code 101 illumination requirements Dual-Lite l www.dual-lite.com • 701 Millennium Boulevard • Greenville, SC 29607 (864) 678-1000 • Fax (864) 678-1415 A Hubbell Lighting Inc. brand with representatives’ offices in principal cities throughout North America. Copyright© Dual-Lite, All Rights Reserved - Specifications subject to change without notice. Printed in U.S.A. 0602125_B 8/07
