Ohm’s Law
advertisement
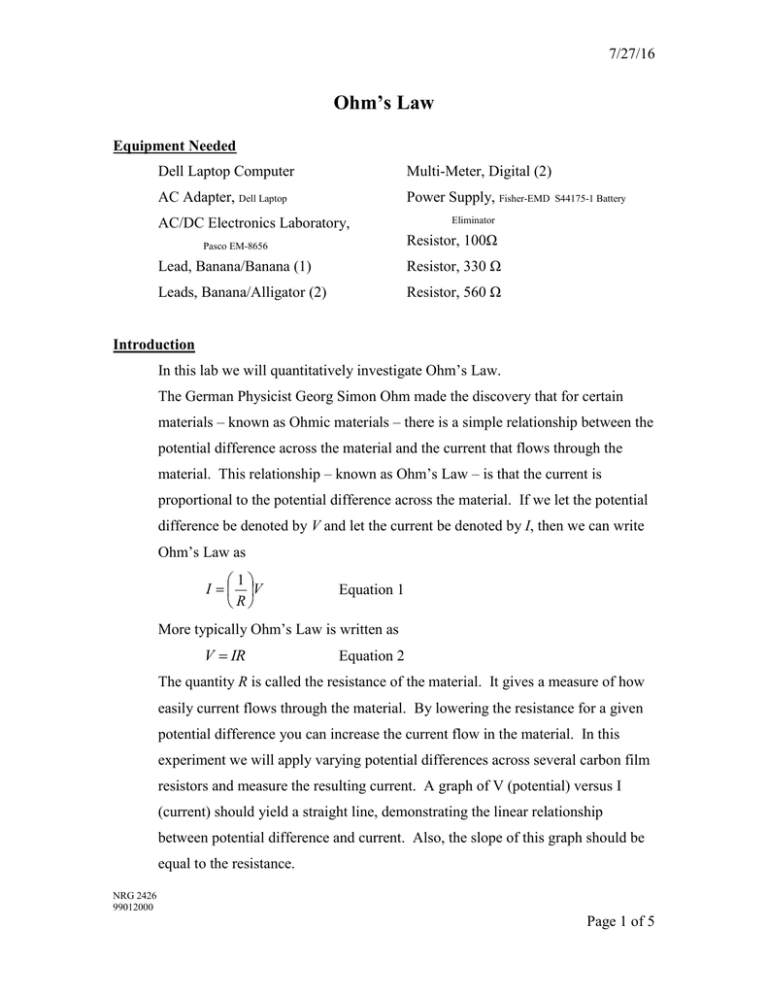
7/27/16 Ohm’s Law Equipment Needed Dell Laptop Computer Multi-Meter, Digital (2) AC Adapter, Dell Laptop Power Supply, Fisher-EMD AC/DC Electronics Laboratory, S44175-1 Battery Eliminator Pasco EM-8656 Resistor, 100Ω Lead, Banana/Banana (1) Resistor, 330 Ω Leads, Banana/Alligator (2) Resistor, 560 Ω Introduction In this lab we will quantitatively investigate Ohm’s Law. The German Physicist Georg Simon Ohm made the discovery that for certain materials – known as Ohmic materials – there is a simple relationship between the potential difference across the material and the current that flows through the material. This relationship – known as Ohm’s Law – is that the current is proportional to the potential difference across the material. If we let the potential difference be denoted by V and let the current be denoted by I, then we can write Ohm’s Law as 1 I V R Equation 1 More typically Ohm’s Law is written as V IR Equation 2 The quantity R is called the resistance of the material. It gives a measure of how easily current flows through the material. By lowering the resistance for a given potential difference you can increase the current flow in the material. In this experiment we will apply varying potential differences across several carbon film resistors and measure the resulting current. A graph of V (potential) versus I (current) should yield a straight line, demonstrating the linear relationship between potential difference and current. Also, the slope of this graph should be equal to the resistance. NRG 2426 99012000 Page 1 of 5 7/27/16 Procedure 1. For most circuitry labs you need to learn how to read the diagram and duplicate it using the equipment at hand. For this reason you should wire your own circuits. Do not turn on the battery eliminator until your instructor or the lab tech has checked your wiring. Failure to do so may damage the apparatus. 2. In the Pasco Electronics Laboratory (PEL) you should find the three resistors you need already inserted. If not they are in the baggy under the pc board. 3. Read the resistances of the three resistors and record them for future reference. At the end of this lab you will also find a sheet with instructions for reading resistor codes. Using this sheet read the resistances of the three resistors and record them. 4. Meter settings a. The DMM used as a voltmeter will be set on the 20vdc scale for the duration of this lab. b. The DMM used as an ammeter will be set on the 200mA scale for the duration of this lab. c. If you have difficulty understanding how to set the DMMs, ask your instructor or the lab tech. Failure to set the meters properly may cause damage. 5. Wire up the 100 resistor as shown in Figure 1. Figure 1 Circuit schematic for verification of Ohm’s Law A DC R V 6. Beginning with the 1.5vdc setting on the battery eliminator we will take readings of voltage and amperage and record them. Record. 7. Repeat this for the 2.2vdc, 3vdc, 4.5vdc, and 5vdc voltage settings on the battery eliminator. Record. 8. Repeat steps 5, 6, and 7 for the 330 and the 560 resistors. NRG 2426 99012000 Page 2 of 5 7/27/16 Data Chart 1 100 Resistor 330 Resistor 560 Resistor Volts Volts mA Volts mA Volts mA Nominal Measured Measured Measured Measured Measured Measured 1.5 2.2 3 4.5 5 Data Analysis We would like to verify that each of the resistors obeyed Ohm’s Law. On a single coordinate system we will construct separate graphs for each of the sets of data points we have corresponding to each of the resistors. Graph the voltage vs. the corresponding current. Remember, it is always y vs. x. You can put all three sets of data on a single graph. If you don’t know how to do this ask your instructor or the lab tech. Writing Ohm’s Law in the form of V IR we see that our data should lie on a straight line and that the slope of our line should be the resistance of the resistor. From Ohm’s Law, we expect the line to pass through the origin because the yintercept is 0. Experimentally, we may not observe this due to our neglecting of things such as contact resistance and internal resistance. Individually, for each set of data points use Excel© to determine the best-fit line that passes through the data points. Be sure to add the formula for the slope. Be careful about the units you use. How does the resistance of the resistor given by the slope compare to the value you measured with DMM? Compare the three values of the resistor. o The bands on the resistor o The measured value with the ohm meter o The value determined experimentally NRG 2426 99012000 Page 3 of 5 7/27/16 The value bands on the resistor tell you what its tolerance is. The DMM is a 0.5% meter. Which of the three values would you think is the most correct? Explain your answer. Report Format This is only a guideline. Your instructor may use this format more or less or he may have his own lab report format. Your lab report should include the following: 1. A one-paragraph description of the goal of this experiment. 2. A one or two paragraph description of your experiment in your own words. 3. A one-paragraph description in words of your data. 4. You should include both your table of data and the graphs you’ve drawn. Make sure that your graphs are properly labeled, and include a descriptive title. 5. Your report should next contain a one-paragraph description of your results. Be sure to explicitly show your calculations. 6. Make a reasonable attempt to account for any discrepancies. 7. Finally, include a one-paragraph summary explaining very plainly the principal results of the lab. Your report should be written with correct English spelling and grammar, and should be well organized, neat, and legible. NRG 2426 99012000 Page 4 of 5 7/27/16 How to read Resistor Color Codes First the code Black Brown Red Orange Yellow Green Blue Violet Gray White 0 1 2 3 4 5 6 7 8 9 How to read the code First find the tolerance band, it will typically be gold ( 5%) and sometimes silver (10%). Starting from the other end, identify the first band - write down the number associated with that color. Now 'read' the next color. Now read the third or 'multiplier' band and write down that number of zeros. If the 'multiplier' band is Black (for zero) don't write any zeros down. If the 'multiplier' band is Gold move the decimal point one to the left. If the 'multiplier' band is Silver move the decimal point two places to the left. If the resistor has one more band past the tolerance band it is a quality band. Read the number as the '% Failure rate per 1000 hour's of operation at full power load'. (To get better failure rates, resistors are typically specified to have twice the needed wattage dissipation that the circuit produces) 1% resistors have three bands to read digits to the left of the multiplier. They have a different temperature coefficient in order to provide the 1% tolerance. NRG 2426 99012000 Page 5 of 5
