Lab 2 Pipette
advertisement
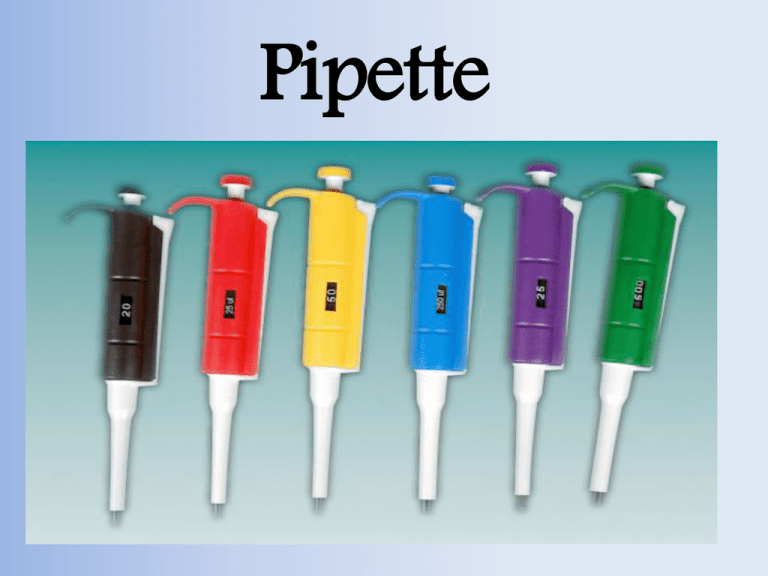
Pipette 2 3 Objective For students to learn basic concepts of measurement using the micropipette. Overview of Today’s lecture 1. Types of pipettes 2. Uses of micropipette 4. Tips to improve your Pipetting technique Pipettes • Used to transport a measured volume of liquid. • Types: 1. Automatic pipettes 2. Glass pipettes 6 1. Automatic pipettes • They may be of fixed or variable volume • Types – Micropipettes: dispense from 1 μl to 1000 μl – Macropipettes: dispense a greater volume of liquid. Replacement tips 7 2. Glass pipettes 1. Bulb pipettes: • Calibrated for a single volume. • Typical volumes: 10, 25, and 50 ml. 2.Graduated pipettes: • Straight-walled, • Graduated for different volumes as 1, 2, 5 & 10 ml. 8 200-1000 μL 278 This is a Micropipette it is used to accurately transfer small quantities of liquid. On this model the desired volume can be adjusted within the range of microliters (μL). How does it work? 278 It works much like a syringe that would deliver an injection. Inside there is a spring loaded piston that moves up and down. 278 Proper Use 200-1000 278 Setting Volume Set the correct volume on your micropipette by turning the adjustment knob (typically the plunger button). This pipette’s range is 2001000 μL and is set to deliver 278μL 278 1.00-10.00 278 Setting Volume Settings can vary between models and manufacturers. Some companies will change the color of the plunger button. Attaching tip Be sure to choose the proper size tip. Attaching tip 278 Press the pipette into the tip firmly to create an airtight seal. Attaining a Sample 278 HOLD STEP ONE – press plunger to first stop and hold. Attaining a Sample 278 HOLD STEP TWO – Insert tip into sample only far enough to ensure it stays submerged but not to the bottom where it will get blocked KEEP the pipette VERTICAL at all times 278 Attaining a Sample KEEP the pipette VERTICAL at all times STEP THREE – Allow plunger to return to the home position SLOWLY so you don’t draw in air bubbles, or splash sample up into tip or the pipette itself. Attaining a Sample Removed tip from sample before the plunger was all the way home CORRECT Likely allowed the plunger to move to home too quickly. Delivering the Sample 278 STEP FOUR – insert tip into the area you wish to deliver your sample. KEEP the pipette VERTICAL at all times Delivering the Sample 278 HOLD KEEP the pipette VERTICAL at all times STEP FIVE – depress the plunger slowly to the first stop, then continue to the second stop, this will evacuate the entire contents of the tip. And HOLD Delivering the Sample 278 HOLD KEEP the pipette VERTICAL at all times STEP SIX – While still holding the plunger at the second stop. Withdraw the tip from the well. Delivering the Sample 278 STEP SEVEN – Allow the plunger to return home. KEEP the pipette VERTICAL at all times Discarding the Tip STEP EIGHT – Place tip into the opening of the waste container, then depress the tip ejector. Tip Ejector 278 Be sure to use a new tip each time. WASTE KEEP the pipette VERTICAL at all times Things to AVOID !! Never use a pipette in anything but a vertical orientation. Things to AVOID !! 278 Never use a pipette without a tip. HAPPY PIPETTING
