Features and Weaknesses of Physics testing of image detectors
advertisement

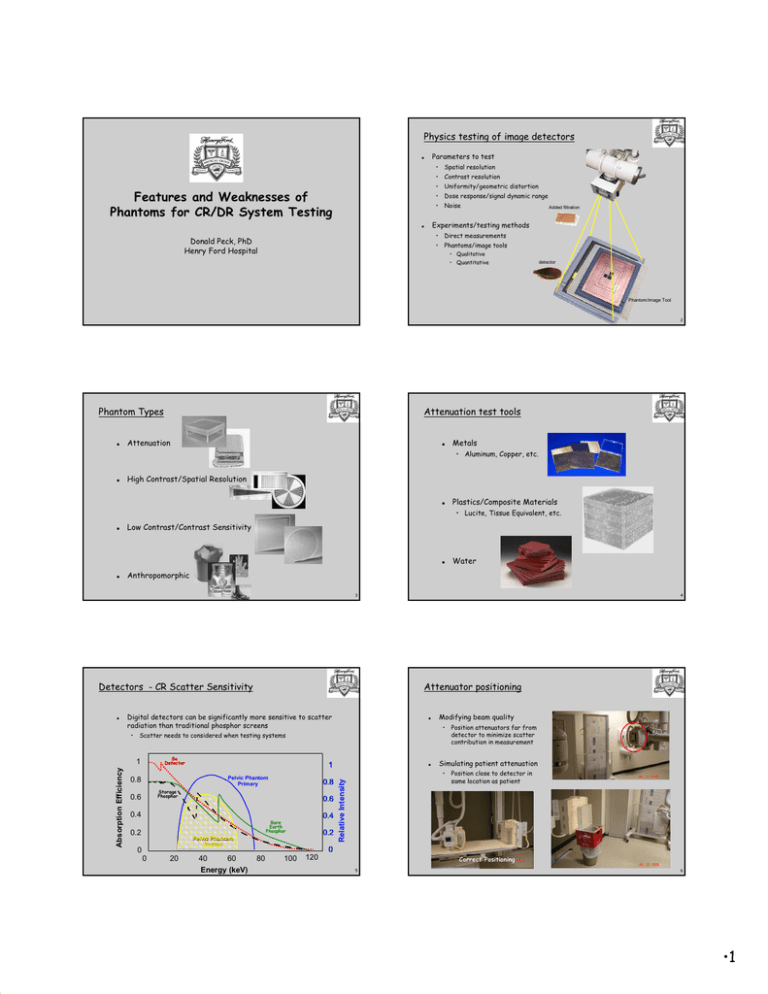
Physics testing of image detectors Parameters to test G Features and Weaknesses of Phantoms for CR/DR System Testing • Spatial resolution • Contrast resolution • Uniformity/geometric distortion • Dose response/signal dynamic range • Noise Added filtration Experiments/testing methods G Donald Peck, PhD Henry Ford Hospital • Direct measurements • Phantoms/image tools • Qualitative • Quantitative detector Phantom/image Tool 2 Phantom Types G Attenuation test tools Attenuation G Metals • Aluminum, Copper, etc. G High Contrast/Spatial Resolution G Plastics/Composite Materials • Lucite, Tissue Equivalent, etc. G Low Contrast/Contrast Sensitivity G Anthropomorphic G Water 3 Detectors - CR Scatter Sensitivity Digital detectors can be significantly more sensitive to scatter radiation than traditional phosphor screens • G Modifying beam quality • Scatter needs to considered when testing systems Se Detector 1 Absorption Efficiency Attenuator positioning 1 0.8 Storage Phosphor 0.6 0.6 0.4 0.4 Rare Earth Phosphor 0.2 0.2 Pelvic Phantom Scatter 0 0 20 40 60 Energy (keV) G Position attenuators far from detector to minimize scatter contribution in measurement Simulating patient attenuation • Pelvic Phantom Primary 0.8 Relative Intensity G 4 Position close to detector in same location as patient 0 80 100 120 Correct Positioning Incorrect Positioning 5 6 •1 Attenuator Construction G Attenuation test tools Attenuator “purity” may not be acceptable for the measurement • G Measurement of mammography HVL requires attenuators that are at least 99.9% Aluminum G G G Easy to use Placement of attenuator needs to be considered based on the test Purity or Uniformity of material may not be adequate for some tests Tissue equivalent materials may not be uniform 7 High Contrast/Spatial Resolution Test tools G Line pair patterns G Mesh patterns G Edge phantoms 8 Line pair patterns 9 Aliasing and Moiré Effect 10 Line pair patterns Grid Detector Pitch 11 12 •2 Moiré Effect MTF/DQE Measurement IEC 62220-01 (2003) G • Method for determining Detective Quantum Efficiency (DQE) of digital imaging systems • Defines specifications for a test device required to make these measurements 13 G G MTF/DQE Measurement Issues Requires Pre-processed image values that are “linear” with exposure G • Only issue at high kVp • Important if comparing to other MTF/DQE measurements Determination of edge response • Need to bin pixel data along edge • Phantom positioning critical for consistent results G Line Spread Function • Variations in method used may produce different results • Important to standardize if comparing to other MTF/DQE measurements Distance Edge Response Function Fluorescent Radiation Noise Power Spectrum (NPS) determination • Need to remove effects of trends associate with heel effect, etc. • Variations in method used may produce different results • Important to standardize if comparing to other MTF/DQE measurements LSF Edge Spread Function Smoothing/fitting of edge response curves to allow utilization of Fourier Analysis ESF G Fluorescent radiation 12000 10000 Image Value MTF/DQE Measurement Issues 14 8000 6000 4000 2000 0 0 2 4 6 8 10 12 14 16 18 20 22 24 26 28 30 32 Image Position Distance 15 MTF Measurements High Contrast/Spatial Resolution Test tools G Quantitative results G Good indication of changes G G CsI indirect detection 1 • MTF Determination 0.9 RQA5, Ver XQ/i RQA5, Hor XQ/i • Requires development of software to do the calculations RQA5, Ver DR-1000 0.8 RQA5, Hor DR-1000 0.7 0.6 0.6 MTF 0.7 0.5 0.4 0.3 0.3 0.2 0.2 0.1 • Task Group No. 162 “Research Software for 2D Image” • Valid for determining if changes have occurred over time if performed “consistently” 0.5 0.4 • Requires standardization of methods used if comparisons between systems or results from different physicists are compared 0.1 0 0 2 4 6 8 Spatial frequency (cycles/mm) 10 Edge Phantoms • Objective Selenium direct detection 1 0.9 0.8 Line pair patterns • Subjective Subtleties in the measurement can make comparisons between measurements by different tests inaccurate MTF G 16 0 0 2 4 6 8 10 Spatial frequency (cycles/mm) 17 18 •3 Low Contrast/Contrast Sensitivity test tools Contrast threshold detection index (TCDD) G Contains objects of varying size and attenuation G TCDD gives an indication of the lowest contrast detectable (CT) as a function of the detail size (the square root of the detail Area, A) and can be quoted in terms of the threshold detection index (HT) Requires observers to determine which objects are visible G • HT(A) = 1/[CT * A½] Subjective G High value for HT(A) indicates good visibility 19 IPEM Criteria (example) Institute of Physics and Engineering in Medicine (IPEM) G G 20 Goals: • Improving standards in clinical practice • Providing advice on scientific and engineering issues in healthcare to other healthcare professionals, government and the public. G Most results are subjective ! Develops Reports and other publications to achieve these goals • Owns several journals: • Physics in Medicine and Biology • Physiological Measurement • Medical Engineering and Physics • Report 91 Recommended Standards for the Routine Performance Testing of Diagnostic X-Ray Imaging Systems • Specifies the use of phantoms throughout the testing procedures 21 Original Equipment Manufacturer (OEM) Products ACR Radiography/Fluoroscopy Accreditation Phantom G G Modules included • Chest • General • Fluoroscopy G G Automated Image Quality Control Tool • Reproducible quantitative results Phantom image • 22 • May detect sub-visible changes in image quality performance to initiate timely preventive maintenance Radiography Chest/Abdomen ACR Discontinued Radiography/Fluoroscopy Accreditation Program in 2005 • Highly automated procedure • Most provide data reporting in spreadsheet format 23 •4 Test Phantom for Kodak (i.e. CareStream) DIRECTVIEW Total Quality Tool KODAK User Interface G Uniformity G Noise Spatial frequency response (MTF) G Exposure linearity G Pixel size accuracy and aspect ratio G Phantom image artifacts G G Laser Beam Function G Residual signal erase 24 x 30 cm 35 x 43 cm 18 x 24 cm 26 *Images provided by Eastman Kodak Company Kodak Temporal Test Results Kodak Test Result Details MTF (slow scan) 29.5% 27 Test Limits G Pre-set by OEM G Basis for limit may not be justified in OEM literature G 28 DIN 6868-58 (2001) and 6868-13 (2002) G Acceptance testing and constancy checks of projection radiography systems with digital image receptors • German standard for testing of Storage Phosphor systems using a specially designed phantom to measure image quality parameters • Can purchase a phantom that will meet the requirements of this standard from several vendors If system fails a test, Service Engineer may not be educated how to correct problem 29 30 •5 Anthropomorphic phantoms G Shape “mimicking” G Anatomically Accurate Shape “mimicking” 31 Shape “mimicking” 32 Anatomically Accurate 33 34 European Protocol for QC of … mammography Addendum on Digital Mammography Image Processing G G G 35 It is acknowledged that at present it is not possible to get unprocessed images from some systems. unprocessed The image processing may introduce artifacts on phantom images and may be different from image processing for mammograms due to histogram or local texture based processing techniques. Therefore care needs to be taken in interpretation of these processed images. processed 36 •6


