INS #
049-239
Installation Instructions for the AUX Universal Edge Lit Exit Lens
WARNING
Risk of Fire/Electric Shock
If not qualified, consult an electrician.
Warning
Risk of Electric Shock
Disconnect power at fuse or circuit breaker before
installing or servicing.
Important Safeguards
WHEN USING ELECTRICAL EQUIPMENT, BASIC SAFETY PRECAUTIONS SHOULD ALWAYS BE OBSERVED
INCLUDING THE FOLLOWING.
1. READ AND FOLLOW ALL SAFETY INSTRUCTIONS
2. Dry location only. Do not use outdoors.
3. Do not use in hazardous locations, or near gas or electric heaters.
4. Do not let power supply cords touch hot surfaces.
5. Do not use this equipment for other than the intended use.
6. Installation is to be performed only by qualified personnel.
7. Install in accordance with National Electric Code and local regulatory agency requirements.
8. The use of accessory equipment not recommended by the manufacturer may cause an unsafe condition.
9. Equipment should be mounted in locations and at heights where it will not readily be subjected to tampering
by unauthorized personnel.
10. SAVE THESE INSTRUCTIONS
Installation
1. Install electronics housing as described in the instructions included in the fixture.
2.Determine the configuration of the lens: single sided or double sided; chevrons
required or not required; and mirror background, white background, or clear.
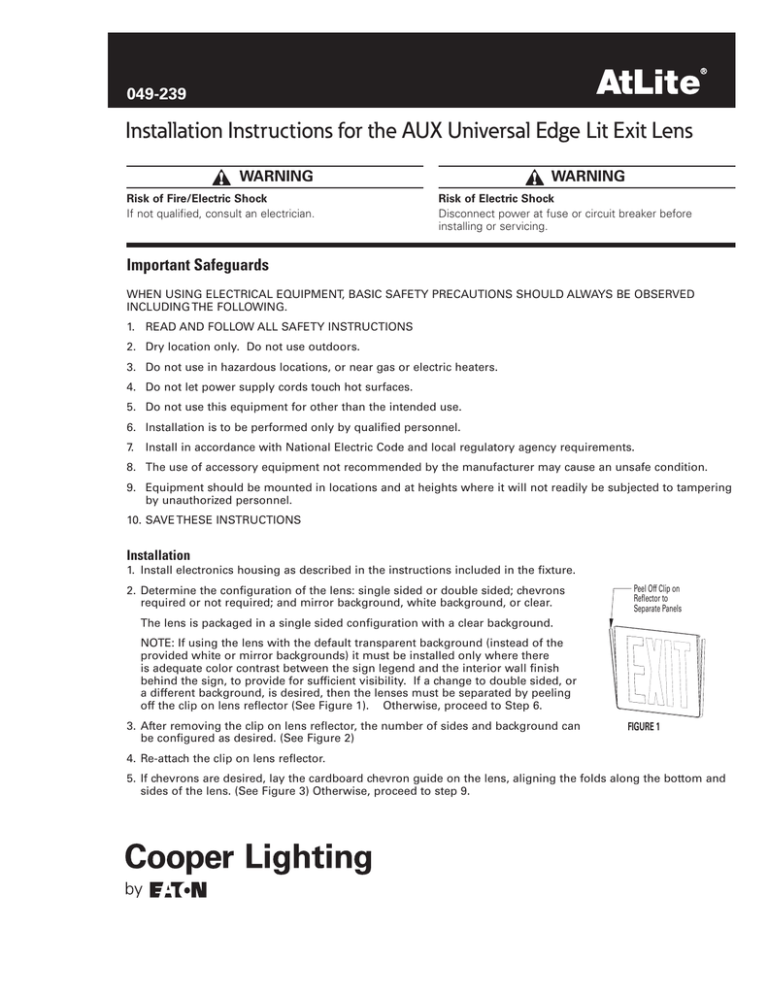
Peel Off Clip on
Reflector to
Separate Panels
The lens is packaged in a single sided configuration with a clear background.
NOTE: If using the lens with the default transparent background (instead of the
provided white or mirror backgrounds) it must be installed only where there
is adequate color contrast between the sign legend and the interior wall finish
behind the sign, to provide for sufficient visibility. If a change to double sided, or
a different background, is desired, then the lenses must be separated by peeling
off the clip on lens reflector (See Figure 1). Otherwise, proceed to Step 6.
3.After removing the clip on lens reflector, the number of sides and background can
be configured as desired. (See Figure 2)
FIGURE 1
4.Re-attach the clip on lens reflector.
5.If chevrons are desired, lay the cardboard chevron guide on the lens, aligning the folds along the bottom and
sides of the lens. (See Figure 3) Otherwise, proceed to step 9.
Installation Instructions for the AUX Universal Edge Lit Exit Lens
6.Apply the stick on chevrons through the windows in the chevron guide as desired. Remove bubbles in the sticker
by rubbing them out with the back of your thumbnail.
7. Repeat on the back of the lens as needed.
8.Insert the lens into the housing until both snaps engage. (See Figure 4)
9.Illuminate the sign as described in the housing instructions.
White or Mirror
White
or Mirror
Insert
Panels
Insert Panels
flector
Apply Chevrons
ApplyWindows
Chevrons
through
as through
needed.Windows
as needed.
Screen Printed or
Screen
Clear
LensPrinted or
Clear Lens
r
rinted or
ns
Lens Assembly
Lens Assembly
Chevron Guide
Chevron Guide
FIGURE 3
FIGURE 3
Lens Assembly
Apply Chevrons
through Windows
as needed.
Chevron Guide
Clip on Reflector
Clip on Reflector
Screen Printed Lens
Screen Printed Lens
FIGURE 2
FIGURE 2
FIGURE 3
FIGURE 4
DISCLAIMER OF WARRANTIES AND LIMITATION OF LIABILITY
The information, recommendations, descriptions and safety notations in this document are based on Eaton Corporation’s
(“Eaton”) experience and judgment and may not cover all contingencies. If further information is required, an Eaton sales
office should be consulted. Sale of the product shown in this literature is subject to the terms and conditions outlined in
appropriate Eaton selling policies or other contractual agreement between Eaton and the purchaser.
THERE ARE NO UNDERSTANDINGS, AGREEMENTS, WARRANTIES, EXPRESSED OR IMPLIED, INCLUDING WARRANTIES
OF FITNESS FOR A PARTICULAR PURPOSE OR MERCHANTABILITY, OTHER THAN THOSE SPECIFICALLY SET OUT IN ANY
EXISTING CONTRACT BETWEEN THE PARTIES. ANY SUCH CONTRACT STATES THE ENTIRE OBLIGATION OF EATON. THE
CONTENTS OF THIS DOCUMENT SHALL NOT BECOME PART OF OR MODIFY ANY CONTRACT BETWEEN THE PARTIES.
In no event will Eaton be responsible to the purchaser or user in contract, in tort (including negligence), strict liability or otherwise for any special, indirect, incidental or consequential damage or loss whatsoever, including but not limited to damage or
loss of use of equipment, plant or power system, cost of capital, loss of power, additional expenses in the use of existing
power facilities, or claims against the purchaser or user by its customers resulting from the use of the information, recommendations and descriptions contained herein. The information contained in this manual is subject to change without notice.
Eaton
1000 Eaton Boulevard
Cleveland, OH 44122
United States
Eaton.com
Eaton’s Cooper Lighting Business
1121 Highway 74 South
Peachtree City, GA 30276
www.cooperlighting.com.com
© 2014 Eaton
All Rights Reserved
Printed in USA
Publication No. ADA140170
Eaton is a registered trademark.
All trademarks are property
of their respective owners.
F


