A1SiN Oxidation Surface Area Profilometry With 3D
advertisement
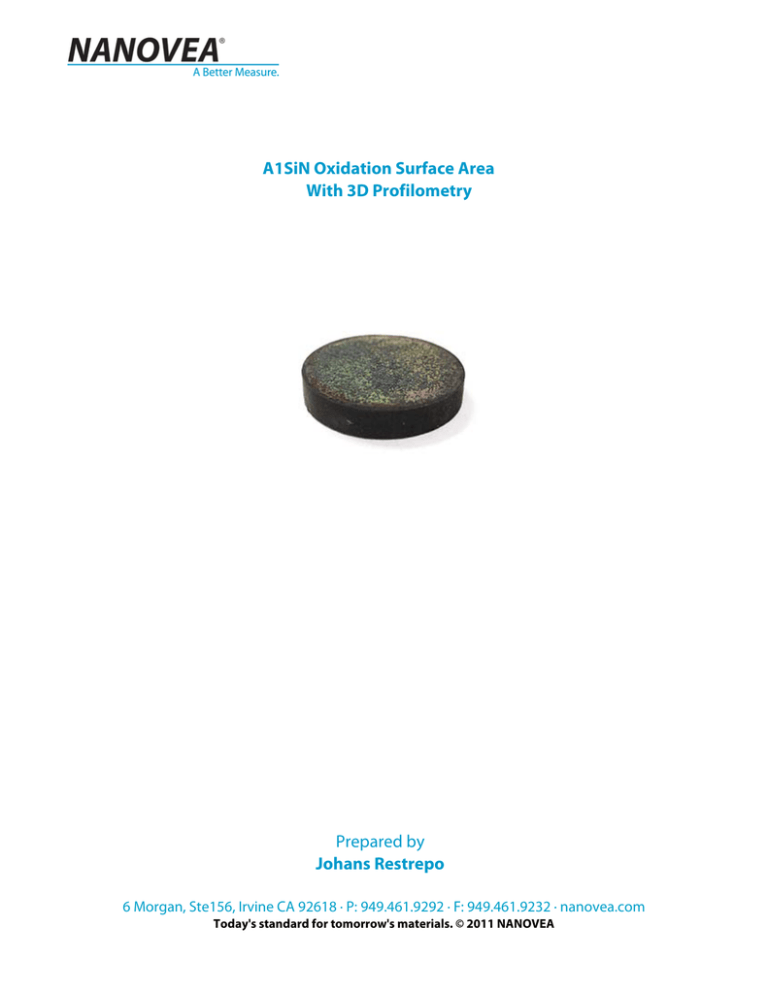
A1SiN Oxidation Surface Area With 3D Profilometry Prepared by Johans Restrepo 6 Morgan, Ste156, Irvine CA 92618 · P: 949.461.9292 · F: 949.461.9232 · nanovea.com Today's standard for tomorrow's materials. © 2011 NANOVEA INTRO: Oxidation resistance is critical for metal components in high temperature environments. Exposure to high temperatures can result in the depletion of the metal with rapid oxidation and material loss. Without protective coatings, surface oxidation adversely affects the performance and durability of the metal component. For example, engine parts, turbine blades, tooling and many others. It will be critical to test the protective coating chosen for a given application. IMPORTANCE OF 3D NON CONTACT PROFILOMETER FOR OXIDATION RESISTENT COATINGS To reliably understand and evaluate oxidation resistance the surface can be measured after an oxidation resistance test. Understanding surface parameters can lead to the best selection of processing and control measures. Insuring the quality control of such parameters will heavily rely upon quantifiable, reproducible and reliable inspection of the coating surface. The Nanovea 3D Non-Contact Profilometers utilize chromatic confocal technology with unique capability to measure extreme rough surfaces and steep angles. Where other techniques fail to provide reliable data, due to probe contact, surface variation, angle, absorption or reflectivity, Nanovea Profilometers succeed. MEASUREMENT OBJECTIVE The 3D Non Contact Profilometer will be used to characterize the surface of two samples with A1SiN coatings, one with a low level of silicon the other with a high level. The A1SiN coating was deposited on H13 Steel by magnetron sputtering then submitted to an oxidation resistance test (900°C-1hour). 2 MEASUREMENT SET-UP & TIPS: Measurements area randomly selected on the sample, drastic changes in surface topography are not an issue for Nanovea Profilometers. Small height variation down to nanometers up to 27mm of height variation can easily be measured. MEASUREMENT PRINCIPLE: The axial chromatism technique uses a white light source, where light passes through an objective lens with a high degree of chromatic aberration. The refractive index of the objective lens will vary in relation to the wavelength of the light. In effect, each separate wavelength of the incident white light will re-focus at a different distance from the lens (different height). When the measured sample is within the range of possible heights, a single monochromatic point will be focalized to form the image. Due to the confocal configuration of the system, only the focused wavelength will pass through the spatial filter with high efficiency, thus causing all other wavelengths to be out of focus. The spectral analysis is done using a diffraction grating. This technique deviates each wavelength at a different position, intercepting a line of CCD, which in turn indicates the position of the maximum intensity and allows direct correspondence to the Z height position. Nanovea optical pens have zero influence from sample reflectivity. Variations require no sample preparation and have advanced ability to measure high surface angles. Capable of large Z measurement ranges. Measure any material: transparent or opaque, specular or diffusive, polished or rough. 3 RESULTS: Sample 1 | Low Silicon 3D Profile & Roughness Results 2D Extraction & Step Height 4 RESULTS: Sample 1 | High Silicon 3D Profile & Roughness Results 2D Extraction & Step Height 5 High Silicon Low Silicon CONCLUSION: In this application, we have shown how the Nanovea 3D Non Contact Profilometer can precisely characterize both the topography and the nanometer details of an oxidized surface. By comparing the two surfaces it has been clearly shown the AlSiN coating with high silicon performed much better then that with a lower. From the 3D surface measurements, areas of interest can quickly be identified and then analyzed with a list of endless measurements (Dimension, Roughness Finish Texture, Shape Form Topography, Flatness Warpage Planarity, Volume Area, Step-Height Depth Thickness and others). To further view in detail, a 2D cross section can quickly be chosen to analyze at nanometer range. With this information oxidized surfaces can be broadly investigated with a complete set of surface measurement resources. 6
