RCA - new dimensions in metrology THE NEED INTRODUCTION
advertisement
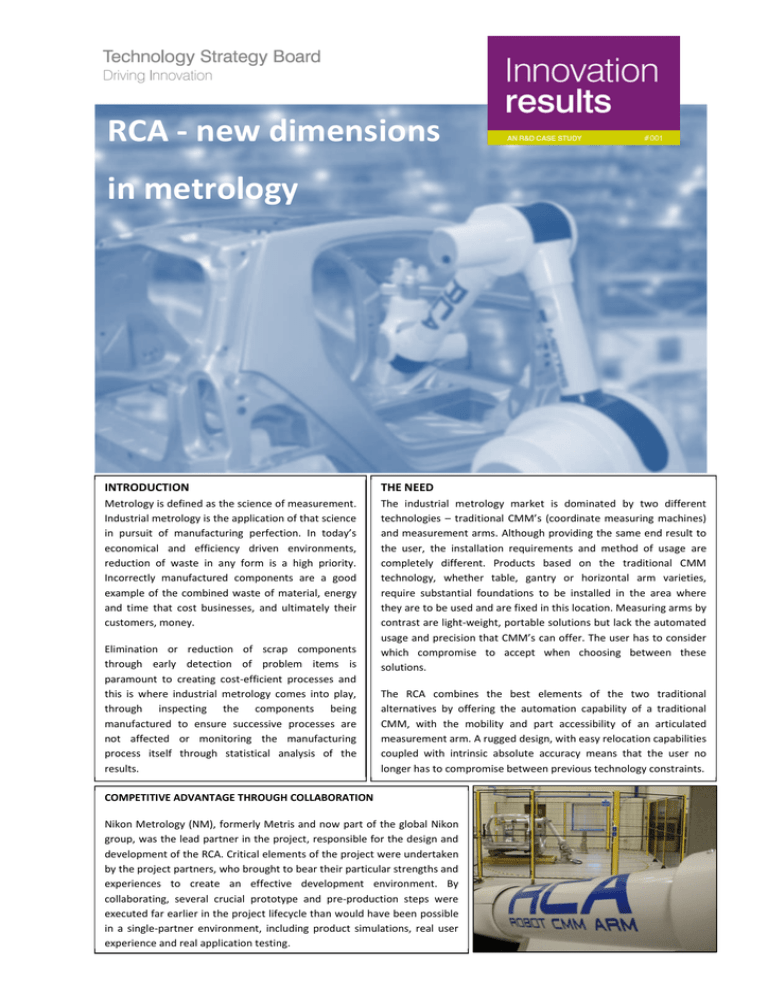
RCA - new dimensions in metrology INTRODUCTION THE NEED Metrology is defined as the science of measurement. Industrial metrology is the application of that science in pursuit of manufacturing perfection. In today’s economical and efficiency driven environments, reduction of waste in any form is a high priority. Incorrectly manufactured components are a good example of the combined waste of material, energy and time that cost businesses, and ultimately their customers, money. The industrial metrology market is dominated by two different technologies – traditional CMM’s (coordinate measuring machines) and measurement arms. Although providing the same end result to the user, the installation requirements and method of usage are completely different. Products based on the traditional CMM technology, whether table, gantry or horizontal arm varieties, require substantial foundations to be installed in the area where they are to be used and are fixed in this location. Measuring arms by contrast are light-weight, portable solutions but lack the automated usage and precision that CMM’s can offer. The user has to consider which compromise to accept when choosing between these solutions. Elimination or reduction of scrap components through early detection of problem items is paramount to creating cost-efficient processes and this is where industrial metrology comes into play, through inspecting the components being manufactured to ensure successive processes are not affected or monitoring the manufacturing process itself through statistical analysis of the results. The RCA combines the best elements of the two traditional alternatives by offering the automation capability of a traditional CMM, with the mobility and part accessibility of an articulated measurement arm. A rugged design, with easy relocation capabilities coupled with intrinsic absolute accuracy means that the user no longer has to compromise between previous technology constraints. COMPETITIVE ADVANTAGE THROUGH COLLABORATION Nikon Metrology (NM), formerly Metris and now part of the global Nikon group, was the lead partner in the project, responsible for the design and development of the RCA. Critical elements of the project were undertaken by the project partners, who brought to bear their particular strengths and experiences to create an effective development environment. By collaborating, several crucial prototype and pre-production steps were executed far earlier in the project lifecycle than would have been possible in a single-partner environment, including product simulations, real user experience and real application testing. Project Partner: Tata Motors European Technical Centre (TMETC) TMETC provided appropriate test cases and beta site opportunities, to test the RCA prototypes in real-world scenarios. TMETC have access to automotive development and manufacturing centres that allow real-world scenarios and problems to be analysed. Some key improvements were identified that were incorporated into the product design. TMETC is also a partner in the Low Carbon Vehicle Technology Project and the RCA was widely used in supporting Electric Vehicle development. Project Partner: The University of Warwick The University of Warwick (UoW) provided important, multidisciplinary research expertise from the Warwick Manufacturing Group (WMG) and the Warwick Mathematics Institute (WMI) for the validation and assessment of the integrity of the RCA design. The UoW team worked closely with Nikon Metrology (formerly Metris) to help prove the feasibility of the RCA through the virtual assessment of available measurement work space, environmental testing and assessment of the design against established international metrology standards. Additional achievements include the definition of fundamental mathematical principles for the mechanical design of kinematic systems and presenting project outputs at internationally leading metrology conferences including CMSC ‘09 ‘10 and LVMC ’09. The project has also resulted in the installation of a state of the art controlled lighting facility at UoW with the capability of simulating a wide range of lighting scenarios for product evaluations. NEXT STEPS Nikon Metrology are concurrently progressing a further design iteration of the RCA product, to incorporate design-formanufacture improvements to support a full commercial product release. During this period, the third generation (G3) design will be made available through a limited production release to applicable customers with suitable applications for the product. This will raise the profile of the RCA in the metrology market place, whilst managing the implementation of this new technology into a highly competitive environment. Further developments are planned to improve the performance of the RCA to further encroach on the domains of existing technology products. PROJECT: 100618 (TP: AH041C) PARTNERS: Nikon Metrology, University of Warwick and Tata Motors European Technical Centre. TOTAL PROJECT INVESTMENT: £2,014,983 TSB INVESTMENT: £1,025,675 CONTACT DETAILS: Chris Marriott VP, Engineering Nikon Metrology UK Ltd Argosy Road, East Midlands Airport, Castle Donington Derbyshire DE74 2SA E: chris.marriott@nikonmetrology.com T: 01332 811349
