Introduction IT Essentials 5.0
advertisement
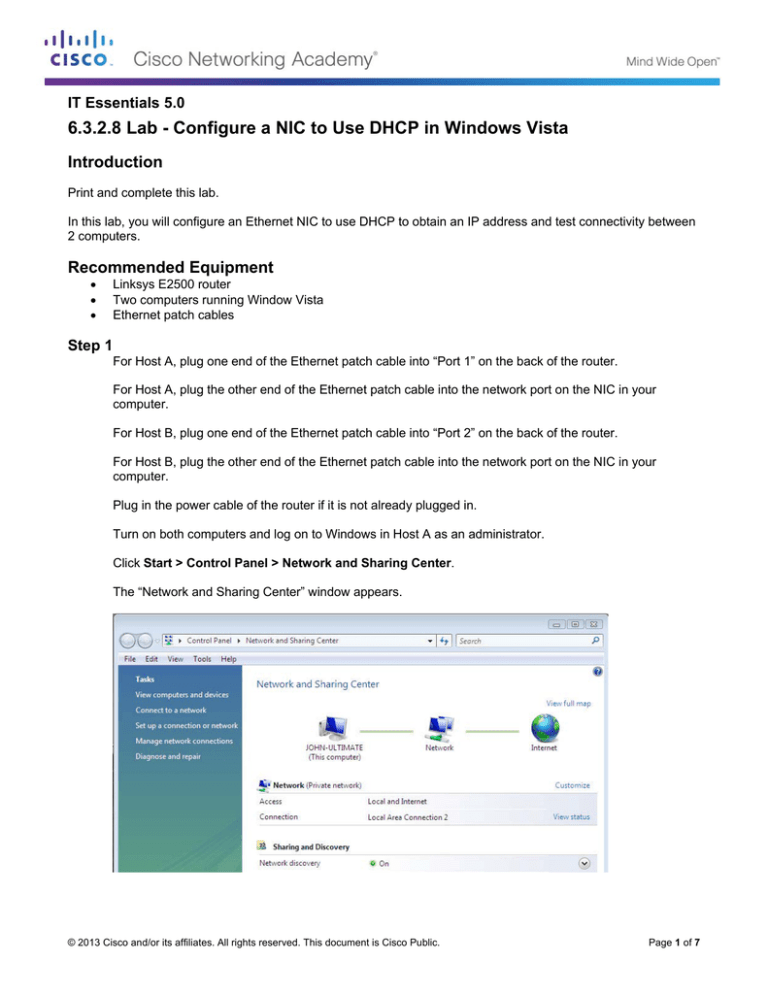
IT Essentials 5.0 6.3.2.8 Lab - Configure a NIC to Use DHCP in Windows Vista Introduction Print and complete this lab. In this lab, you will configure an Ethernet NIC to use DHCP to obtain an IP address and test connectivity between 2 computers. Recommended Equipment • • • Linksys E2500 router Two computers running Window Vista Ethernet patch cables Step 1 For Host A, plug one end of the Ethernet patch cable into “Port 1” on the back of the router. For Host A, plug the other end of the Ethernet patch cable into the network port on the NIC in your computer. For Host B, plug one end of the Ethernet patch cable into “Port 2” on the back of the router. For Host B, plug the other end of the Ethernet patch cable into the network port on the NIC in your computer. Plug in the power cable of the router if it is not already plugged in. Turn on both computers and log on to Windows in Host A as an administrator. Click Start > Control Panel > Network and Sharing Center. The “Network and Sharing Center” window appears. © 2013 Cisco and/or its affiliates. All rights reserved. This document is Cisco Public. Page 1 of 7 IT Essentials Chapter 6 Lab Step 2 Click View status, and then choose Properties > Continue if asked. The “Local Area Connection Properties” window opens. What is the name and model number of the NIC in the “Connect using:” field? What are the items listed in the “This connection uses the following items:” field? Step 3 Select Internet Protocol Version 4 (TCP/IPv4). Click Properties. The “Internet Protocol Version 4 (TCP/IPv4) Properties” window opens. © 2013 Cisco and/or its affiliates. All rights reserved. This document is Cisco Public. Page 2 of 7 IT Essentials Chapter 6 Lab What is the IP address, Subnet mask, and Default gateway listed in the fields of the “Use the following IP address:” area? Select the Obtain an IP address automatically radio button, if it is not already selected. Select the Obtain DNS server address automatically radio button, if it is not already selected. Click OK. The “Internet Protocol Version 4 (TCP/IPv4) Properties” window closes. © 2013 Cisco and/or its affiliates. All rights reserved. This document is Cisco Public. Page 3 of 7 IT Essentials Chapter 6 Lab Click OK. Step 4 Check the lights on the back of the NIC. These lights will blink when there is network activity. Click Start. In Start Search type cmd and press Enter. © 2013 Cisco and/or its affiliates. All rights reserved. This document is Cisco Public. Page 4 of 7 IT Essentials Chapter 6 Lab The “cmd.exe” window opens. Type ipconfig /all, and then press Enter. What is the IP address of the computer? What is the subnet mask of the computer? What is the default gateway of the computer? What are the DNS servers for the computer? What is the MAC address of the comptuer? Is DHCP Enabled? What is the IP address of the DHCP server? On what date was the Lease Obtained? On what date does the Lease Expire? Step 5 Type ping your IP address. For example, ping 192.168.1.113 © 2013 Cisco and/or its affiliates. All rights reserved. This document is Cisco Public. Page 5 of 7 IT Essentials Chapter 6 Lab Record one of the replies of your ping command. If the ping was not successful, ask the instructor for assistance. Step 6 Login to Host B as an administrator and make sure the Obtain an IP address automatically and the Obtain DNS server address automatically radio buttons are selected. Click OK > OK. Open a command window. Type ipconfig /all in the command window. What is the IP address of the computer? What is the subnet mask of the computer? What is the default gateway of the computer? © 2013 Cisco and/or its affiliates. All rights reserved. This document is Cisco Public. Page 6 of 7 IT Essentials Chapter 6 Lab What are the DNS servers for the computer? What is the IP address of the DHCP server? Step 7 Return to the “Internet Protocol Version 4 (TCP?IP4) Properties” window. Select the radio buttons Use the following IP address and Use the following DNS server address. Enter in the IP address information for the NIC. Click OK > OK. Open the command window. Type ping IP address for Host B. If the ping was not successful, ask the instructor for assistance. Step 8 From Host B type ping IP address for Host A. Was the ping successful? From Host A type ping IP address for Host B. Was the ping successful? Step 9 Return configurations to the settings at the start of the lab, unless stated otherwise by the instructor. Select the radio buttons Obtain an IP address automatically and Obtain DNS server address automatically. Click OK > OK. © 2013 Cisco and/or its affiliates. All rights reserved. This document is Cisco Public. Page 7 of 7

