HOW TO: Create a Table of Contents Styles
advertisement
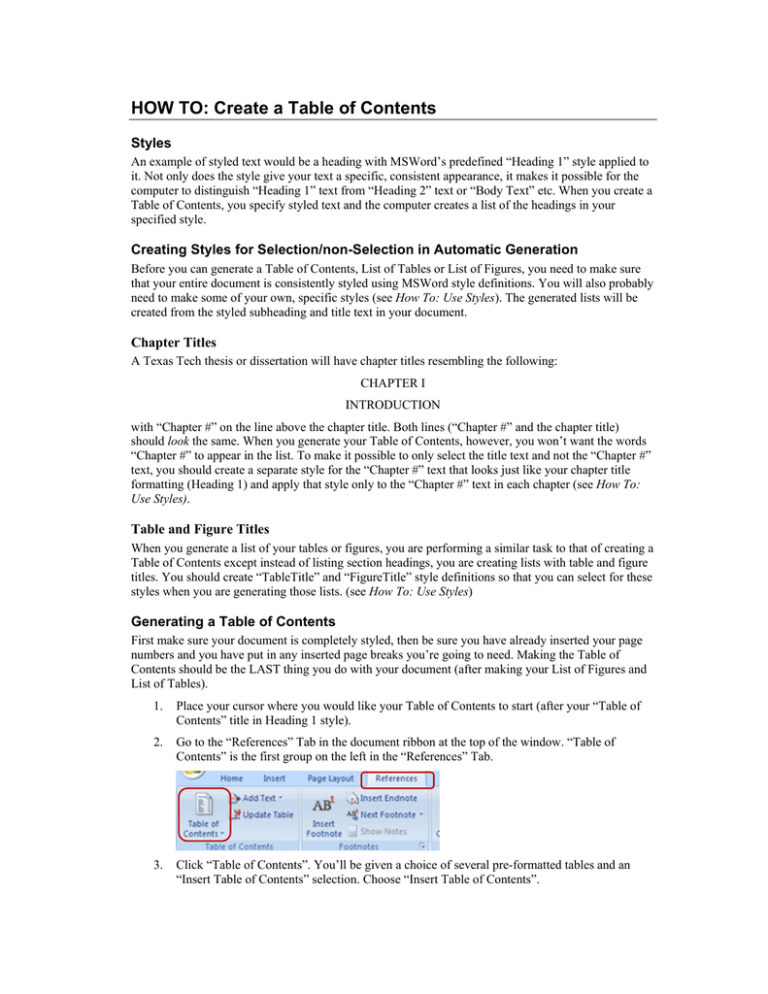
HOW TO: Create a Table of Contents Styles An example of styled text would be a heading with MSWord’s predefined “Heading 1” style applied to it. Not only does the style give your text a specific, consistent appearance, it makes it possible for the computer to distinguish “Heading 1” text from “Heading 2” text or “Body Text” etc. When you create a Table of Contents, you specify styled text and the computer creates a list of the headings in your specified style. Creating Styles for Selection/non-Selection in Automatic Generation Before you can generate a Table of Contents, List of Tables or List of Figures, you need to make sure that your entire document is consistently styled using MSWord style definitions. You will also probably need to make some of your own, specific styles (see How To: Use Styles). The generated lists will be created from the styled subheading and title text in your document. Chapter Titles A Texas Tech thesis or dissertation will have chapter titles resembling the following: CHAPTER I INTRODUCTION with “Chapter #” on the line above the chapter title. Both lines (“Chapter #” and the chapter title) should look the same. When you generate your Table of Contents, however, you won’t want the words “Chapter #” to appear in the list. To make it possible to only select the title text and not the “Chapter #” text, you should create a separate style for the “Chapter #” text that looks just like your chapter title formatting (Heading 1) and apply that style only to the “Chapter #” text in each chapter (see How To: Use Styles). Table and Figure Titles When you generate a list of your tables or figures, you are performing a similar task to that of creating a Table of Contents except instead of listing section headings, you are creating lists with table and figure titles. You should create “TableTitle” and “FigureTitle” style definitions so that you can select for these styles when you are generating those lists. (see How To: Use Styles) Generating a Table of Contents First make sure your document is completely styled, then be sure you have already inserted your page numbers and you have put in any inserted page breaks you’re going to need. Making the Table of Contents should be the LAST thing you do with your document (after making your List of Figures and List of Tables). 1. Place your cursor where you would like your Table of Contents to start (after your “Table of Contents” title in Heading 1 style). 2. Go to the “References” Tab in the document ribbon at the top of the window. “Table of Contents” is the first group on the left in the “References” Tab. 3. Click “Table of Contents”. You’ll be given a choice of several pre-formatted tables and an “Insert Table of Contents” selection. Choose “Insert Table of Contents”. GRADUATE SCHOOL TEXAS TECH UNIVERSITY 4. You will get a “Table of Contents” dialog box where you will be able to set the levels and formatting for your Table of Contents 5. The “Options” button brings you to a “Table of Contents Options” box where you can indicate the hierarchy of headings you want to appear in your Table of Contents. 6. The “Modify…” button gives you a “Style” dialog box where you can further format how your listing will appear. Each TOC style corresponds to how that Heading level will appear in your Table of Contents listing. The “Modify…” button brings you to the familiar “Modify Style” dialog box (see How to: Use Styles). If you have made a “ChapterTitleStyle” based on Heading 1 (see “How to: Use Styles”), the “Options” window will list it at TOC level 1. To keep the text styled as ChapterTitleStyle from appearing in your Table of Contents, de‐select the “ChapterTitleStyle” so that it won’t be included in the automated TOC generation. 7. 8. 9. Once you have set your TOC levels and have formatted the text, click “Ok” in the “Table of Contents” dialog box. The listing will be automatically generated. If you change any of your document after creating your Table of Contents, you can select the entire Table of Contents, right-click and be given the option to either update the entire table or just update the page numbers. Don’t edit any of the text in your Table of Contents until you are no longer making any edits that will require you to update your listing Generating a List of Tables/Figures The process for making an automated List of Tables or an automated List of Figures is essentially the same, except you will use the “Insert Table of Figures” function from the “Captions” Group on the “References” Tab. 2 Revised 8-25-08 GRADUATE SCHOOL TEXAS TECH UNIVERSITY In the “Table of Figures” use the following settings: Turn off the hyperlink function Set “Style” to your custom “TableStyle” Set “Caption Label” to “(none)” This create s List of Tables. Repeat to create your List of Figures, selecting for “FigureStyle” in the “Table of Figures Options” dialog box. When the computer asks you if you want to replace the existing list, click “No”. Editing Automated Lists for Thesis-Dissertation Guidelines Some manual editing of your final, automated Table of Contents, List of Tables and List of Figures lists will be necessary to make your list compliant with Graduate School formatting guidelines (see Graduate School Formatting Guidelines: http://www.depts.ttu.edu/gradschool/current/THDGuidelines.php) • Delete the repeated “Table” and “Figure” designations at the beginning of the List of Tables and List of Figures lists – Also delete the entry for “Table of Contents” • Individually select the front matter roman numeral page numbers in the Table of Contents and change them to lower-case using the Aa command in the “Font” Group on the “Home” Tab. • Abbreviate long titles to make them simple descriptive titles no longer than 2-3 lines. 3 Revised 8-25-08
