Science SCI.V.2.2 Grade: 7 –
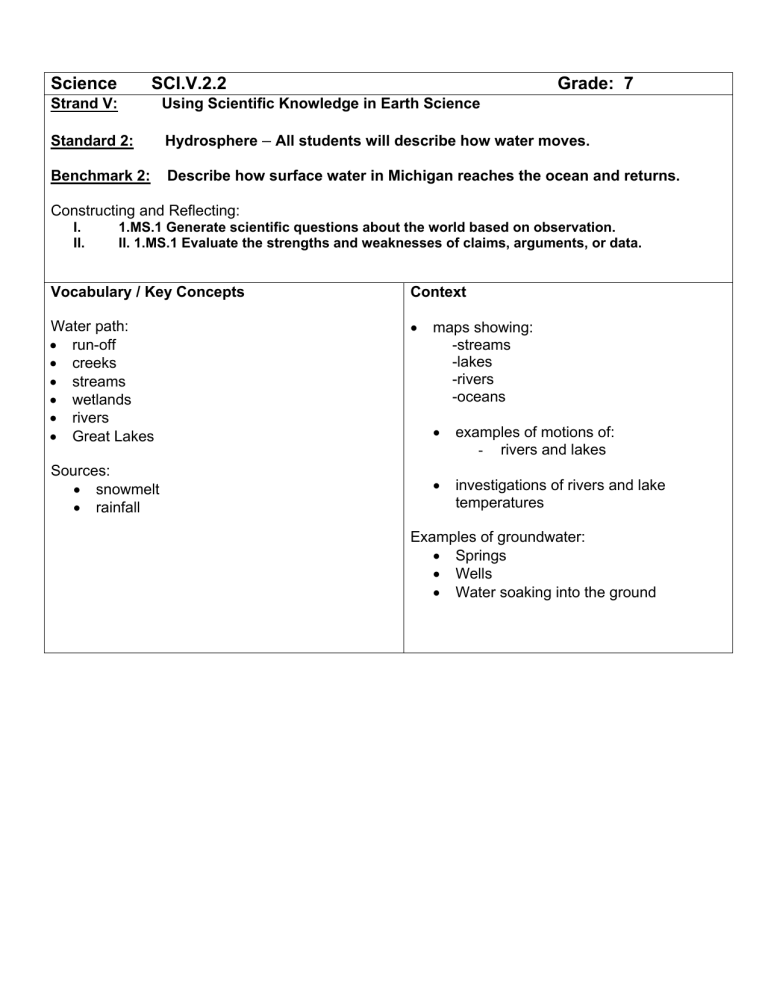
Science SCI.V.2.2
Strand V: Using Scientific Knowledge in Earth Science
Grade: 7
Standard 2: Hydrosphere
–
All students will describe how water moves.
Benchmark 2: Describe how surface water in Michigan reaches the ocean and returns.
Constructing and Reflecting:
I. 1.MS.1 Generate scientific questions about the world based on observation.
II. II. 1.MS.1 Evaluate the strengths and weaknesses of claims, arguments, or data.
Vocabulary / Key Concepts
Water path:
•
run-off
•
creeks
•
streams
•
wetlands
•
rivers
•
Great
Sources:
•
snowmelt
•
rainfall
Context
•
maps
-streams
-lakes
-rivers
-oceans
•
examples of motions of:
rivers and lakes
•
investigations of rivers and lake temperatures
Examples of groundwater:
•
Springs
•
Wells
•
Water soaking into the ground
Knowledge and Skills
Students will explain the pathways that water takes from Michigan to the ocean and back. They will describe how water in Michigan reaches the ocean through runoff, creeks, streams, and rivers; and then returns in the form of precipitation by way of the water cycle.
Resources
Coloma Resources:
Stream Bed – Demo of how flowing water moves the land around it.
Other Resources
Earth’s Waters (Prentice Hall Book) http://www.globe.gov
Science Explosion: Hydrosphere
Science Lakes Video – Hilger Production
Instruction
Focus Question: In Michigan, what path does water take when it flows toward the ocean?
Students examine a map of the U.S., Michigan, and their local area. On the U.S. map, students highlight major rivers and tributaries from Michigan to the Atlantic Ocean; on the local and state maps highlight streams, creeks, and rivers.
Students also study, discuss, and show each other how topographic maps can be used to determine the direction of stream flow. Students work together to determine the paths that water takes to reach the Great Lakes and/or the Atlantic Ocean.
Assessment
Coloma Assessment
Students will construct relief maps showing the
Paw Paw River waterbed.
Rubric
15 – Accuracy (run off rivers, lakes, etc.)
5 – Elevation
5 – Neatness
10 – Labels
10 – Land features
45 – Total Points
Optional Assessment
Groups of students are given sets of laminated maps to study locations of large bodies of water, rivers, streams, etc. They consider alternate routes that water takes to the ocean from their location in Michigan. To determine direction of flow of streams and rivers, students check elevation by using topographic maps of the area. Students write an explanation of the path that water takes and presents the conclusions to the class.
Teacher Notes:
Various types of maps are used to locate the sources of water on the Earth in its solid and liquid forms. Water can be traced in Michigan from its source to sea level, and the water cycle can be used to explain how water returns from the oceans to Michigan. Much of our water supply is located below the surface in ground water deposits, which are replenished by rain that soaks into the ground.
Ground water and surface water can be polluted by human activities. “Fresh water, limited in supply, is essential for life and also for most industrial processes. Rivers, lakes, and groundwater can be depleted or polluted, becoming unavailable or unsuitable for life.” (BSL)
Focus Questions:
•
How do various maps identify the source of water above and below the Earth in all forms?
•
What path does water take to reach the Great Lakes from our community?
Name
Chapter 2 Project Worksheet 1
Date Class
Use this worksheet to help you plan our model watershed.
1. Study pictures of river systems to get a better idea of what they look like. Maps can also help you learn about watersheds and river systems. Discuss with your group what your model will look like.
2. On a separate sheet of paper, draw a "bird's-eye" view of the watershed your group plans to model. Include a divide, the main river, and at least two tributaries. Show the main river's headwaters, floodplain, and mouth. Include another river features you wish to include, such as meanders, oxbow lakes, and delta.
3. Draw a side view, or profile, of the main river, showing the downhill path from its headwaters to its mouth. Show where tributaries enter the river and how the volume of the river changes along its course. You may also wish to draw side views of each tributary.
4. Add at least one example of a standing body of water -- a lake, a pond, or a wetland -- to your drawing in Step 2 above. Show how water enters and leaves each body of water.
Draw a side view of each body, showing the slope of the land around it.
5. Now combine the bird's-eye view and side views to make a final sketch of your watershed model. Use markers or pencils to add color to your drawing, as follows:
•
Make the land areas brown. Use dark brown for the lowest land areas and light brown for the highest land areas. Shade the rest of the land from dark to light to show how it slopes.
•
Use blue for the main river, its tributaries, and standing bodies of water.
•
Use dark blue for deeper water and light blue for shallower water.
•
Add a little green to any wetlands in your drawing.
•
Add a little brown at the mouth of the river to show a delta.
•
At the bottom of your drawing, make a key with the color codes you used.
Earth’s Waters Teaching Resources
